


Utilizing virtualization technology, businesses are taking steps to shrink their infrastructure and carbon footprints by consolidating their existing physical servers into VMs that are hosted on higher density hardware supporting dozens of CPUs and hundreds of gigabytes and terabytes of RAM and disk storage.
Must-read Windows coverage
- CrowdStrike Outage Disrupts Microsoft Systems Worldwide
- 10 Best Project Management Software for Windows in 2024
- Windows 10 Extended Security Updates Promised for Small Businesses and Home Users
- Securing Windows Policy
While many solutions are available to enable virtualization of multiple systems, VMware’s hypervisor, known as vSphere, is arguably the industry standard for hosting and managing VMs in a centralized, cost-effective model for businesses of any scale.
SEE: VMware vSphere: The smart person’s guide (TechRepublic)
In this article, we’ll cover the installation of the hypervisor on bare-metal hardware in order to host VMs. Here’s a list of requirements necessary to accomplish this task:
Requirements
- VMware ESXi installer (optical media-based or USB flash drive)
- Server hardware (VMware-certified is highly recommended but not required)
- Keyboard
- Mouse
- Monitor
- Internet access (optional but highly recommended)
Installation
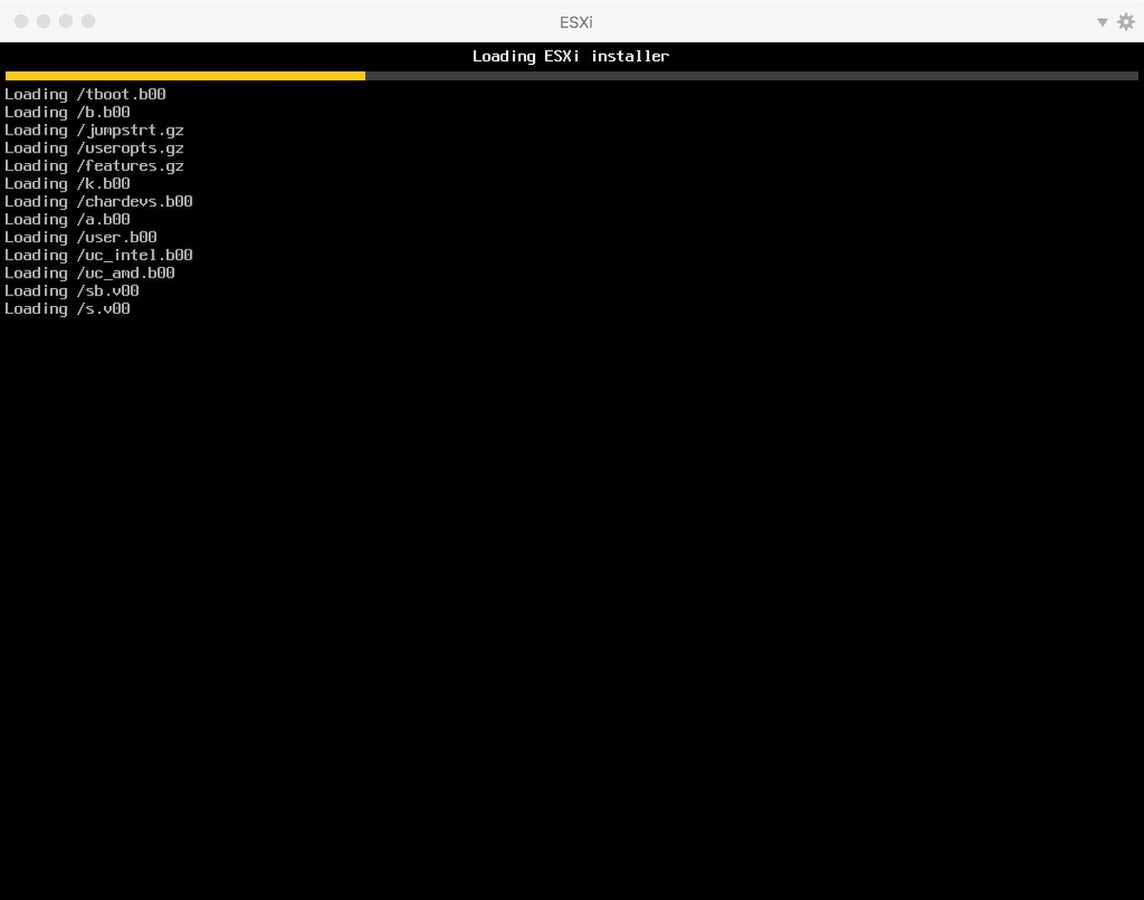
First, power on your server and boot to the installation media (Figure A).
Figure A
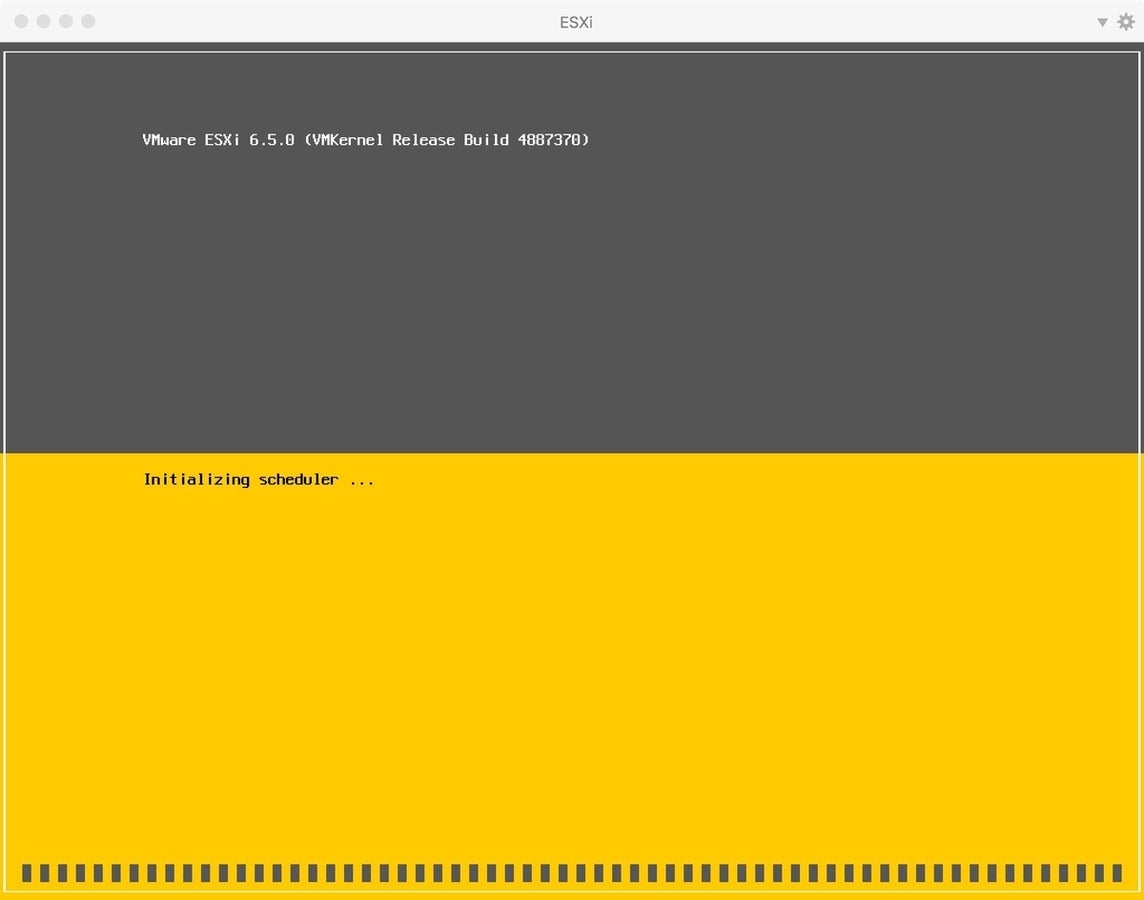
After the files have been loaded, the VMware ESXi screen will appear and the files will be initialized (Figure B).
Figure B
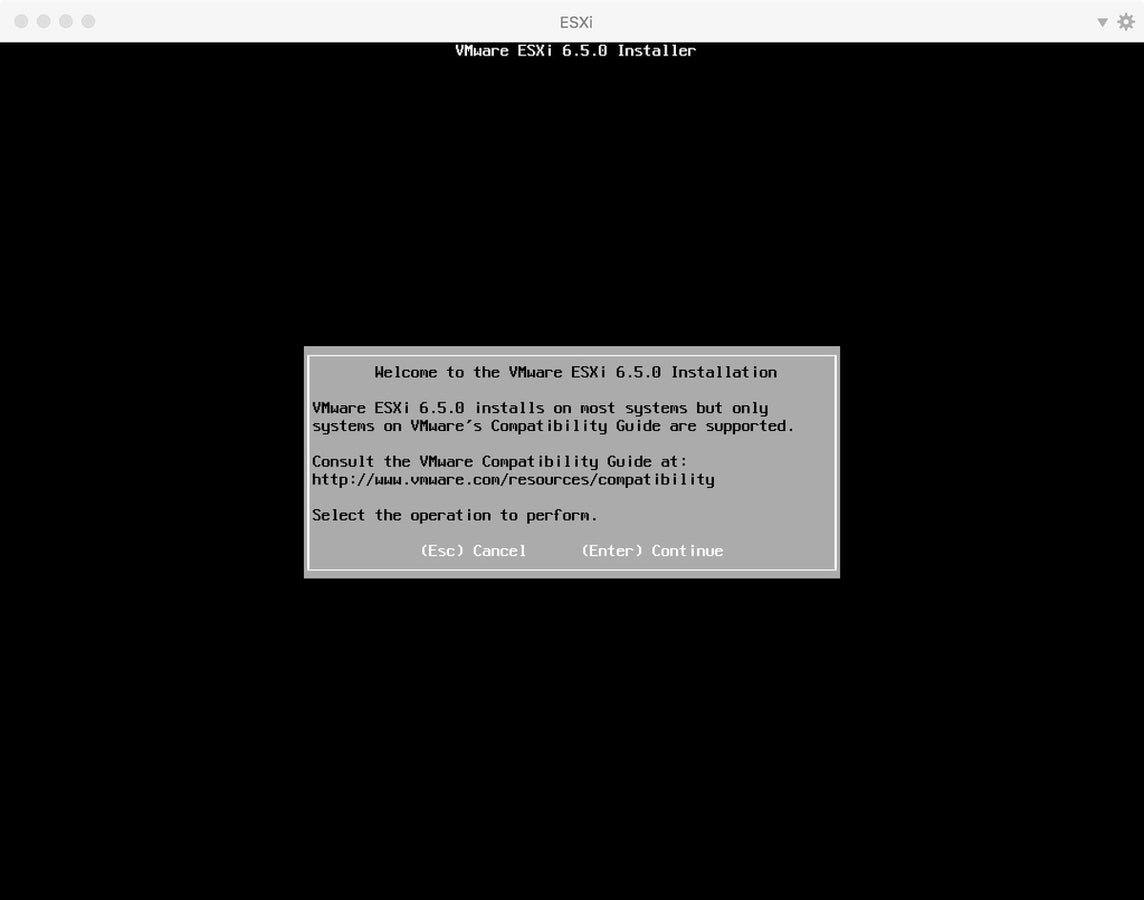
If you haven’t already checked your server’s compatibility, now would be a good time to do so, prior to furthering the installation process. Once verified, press Enter (Figure C).
Figure C
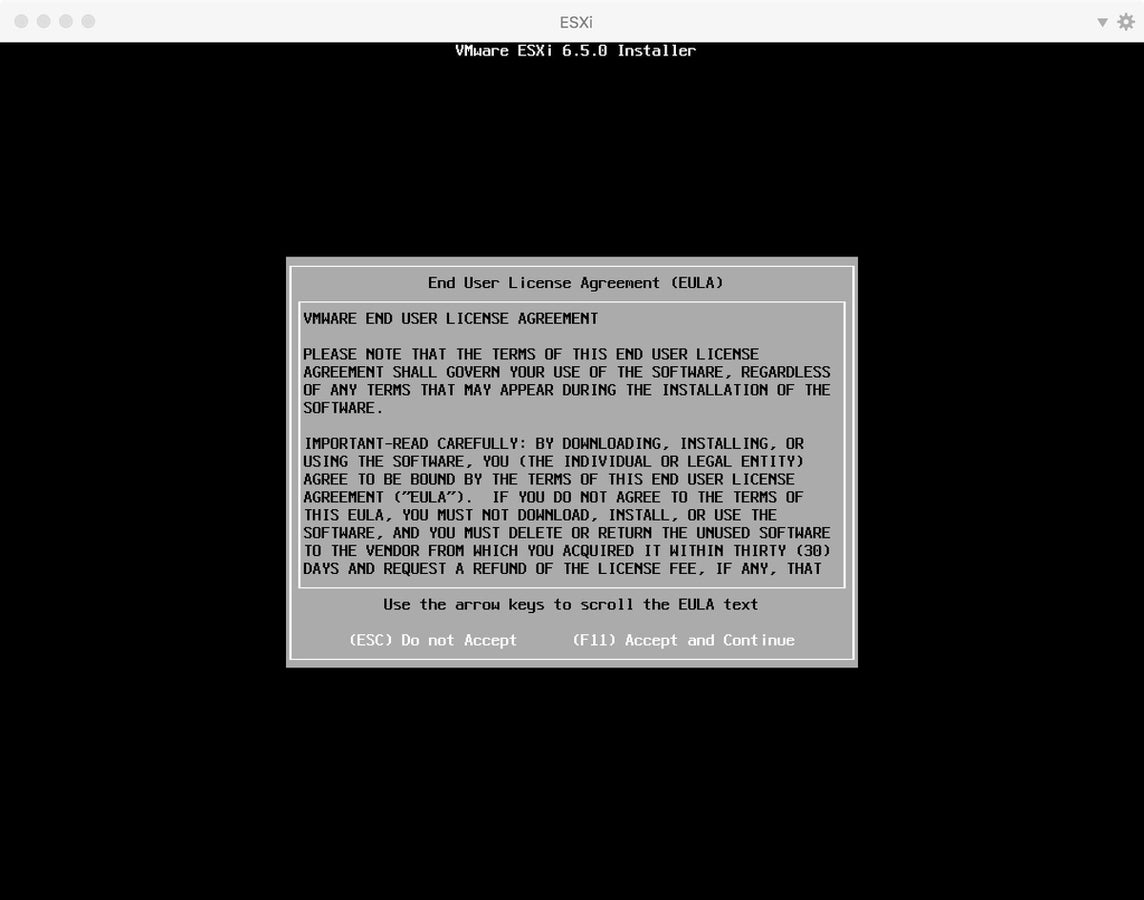
Then, press F11 to accept the EULA (Figure D).
Figure D
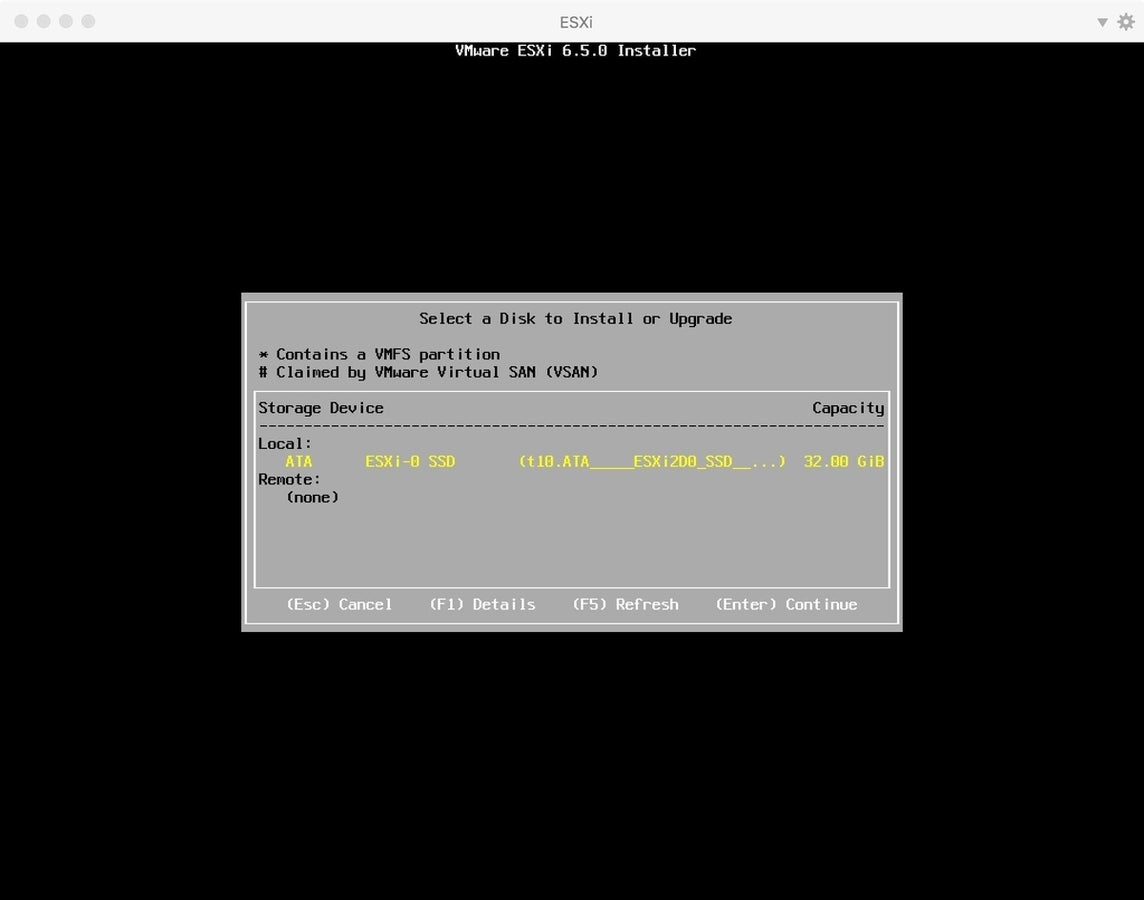
Before installing the hypervisor, a system scan will enumerate the hardware installed on the server and locate a drive to install ESXi to (Figure E).
Figure E

Press Enter to proceed (Figure F).
Figure F
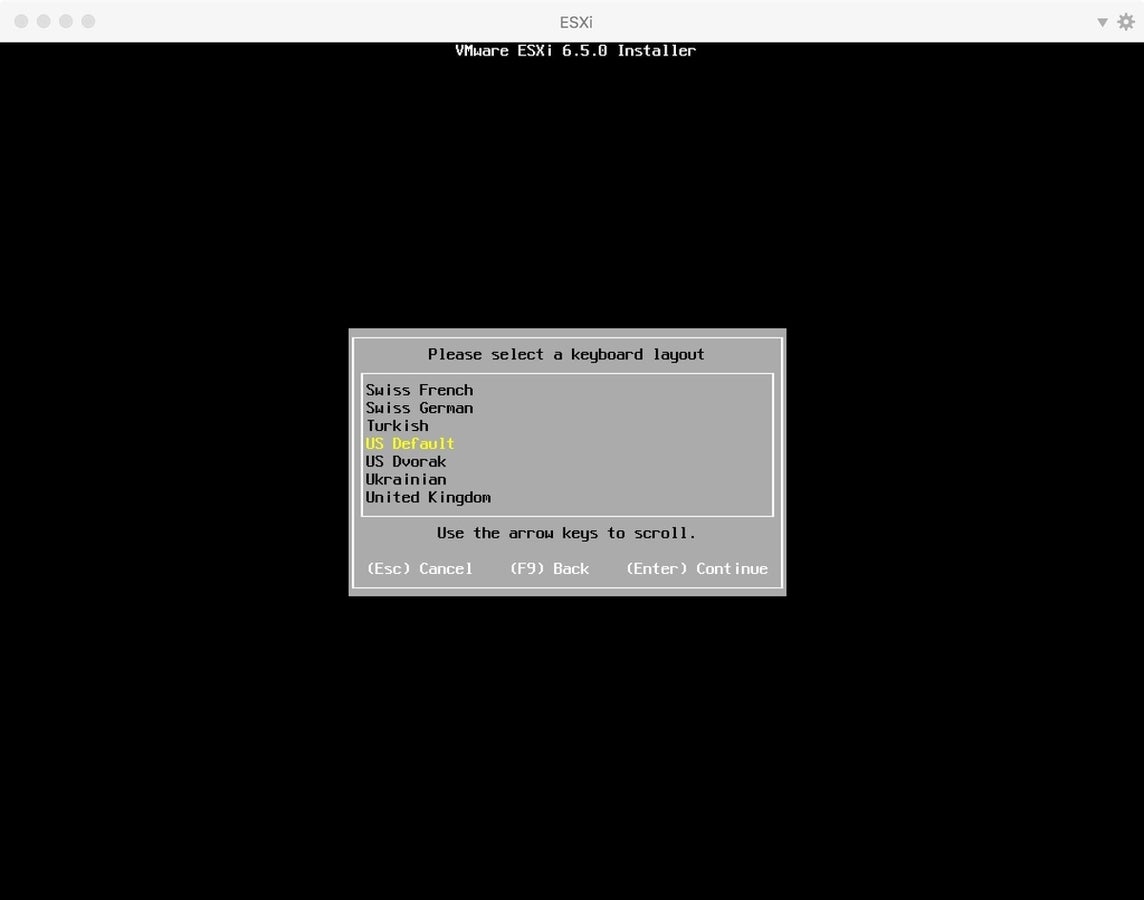
On the next screen, select the keyboard layout that pertains to your desired language (Figure G).
Figure G
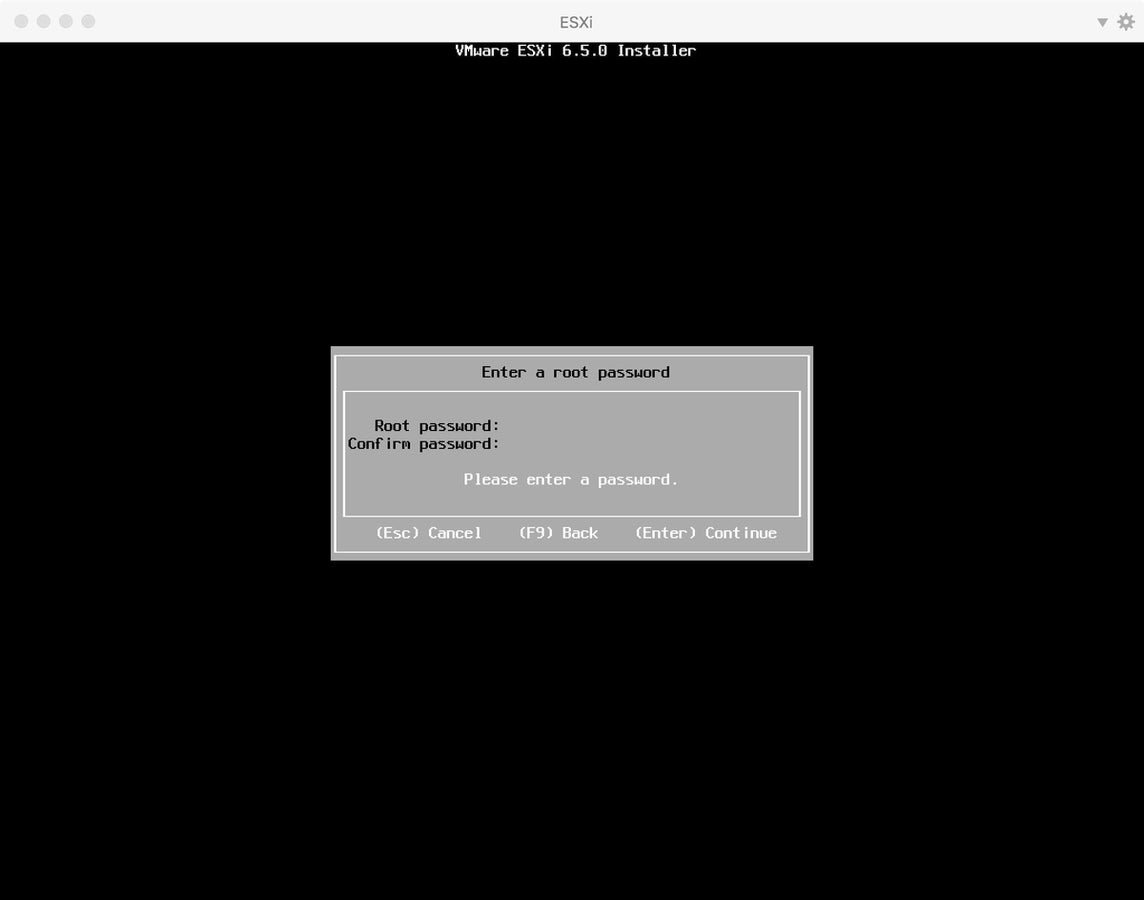
Press Enter to select and confirm the password for the root account used to manage the ESXi installation later (Figure H).
Figure H
Next, confirm the install on the selected disk by pressing F11, which will repartition the disk as well, and installation will commence (Figure I and Figure J).
Figure I
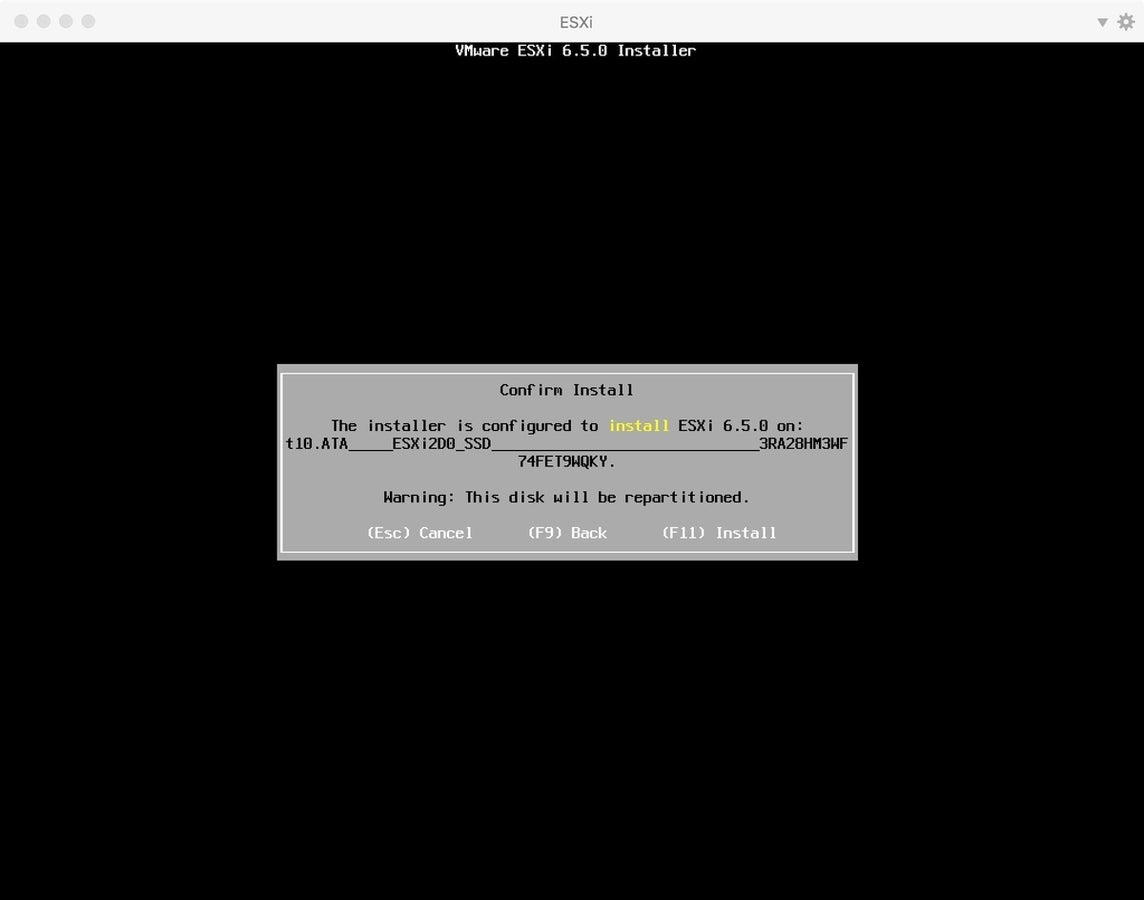
Figure J
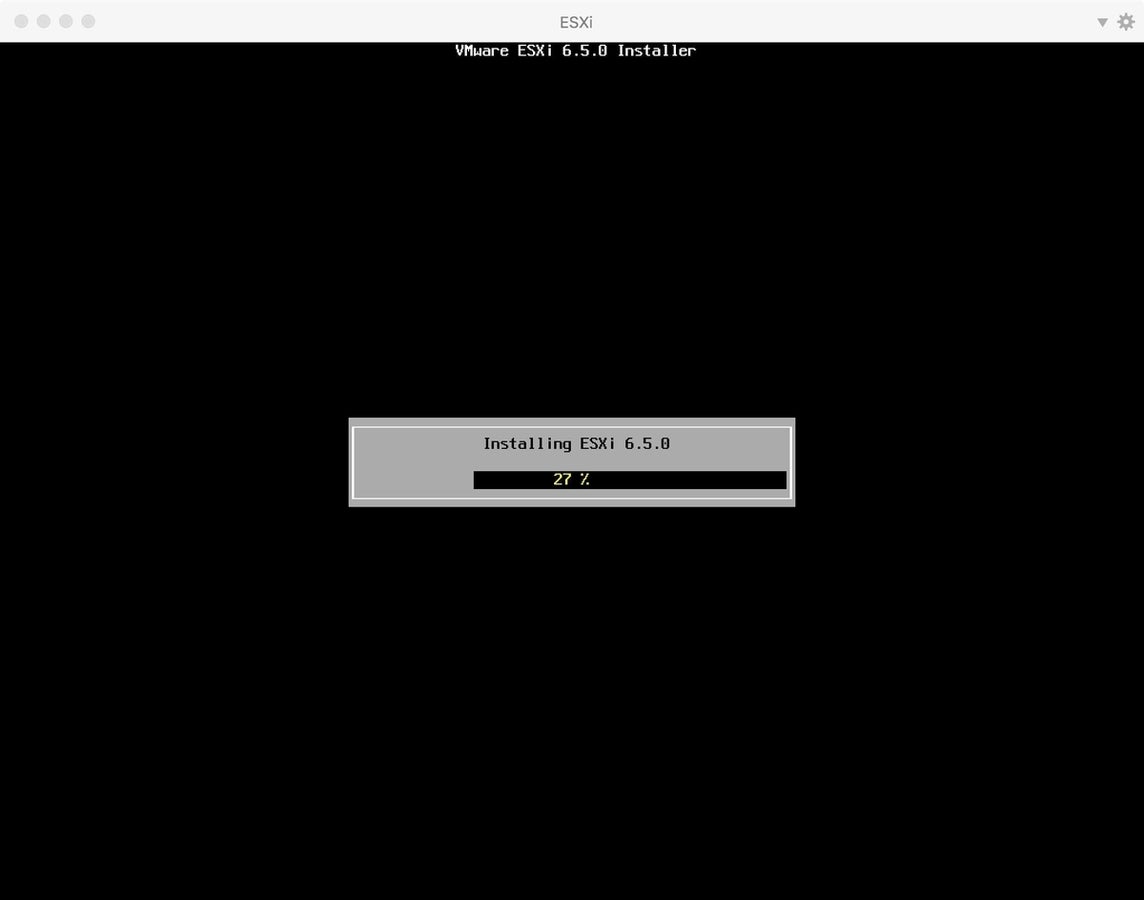
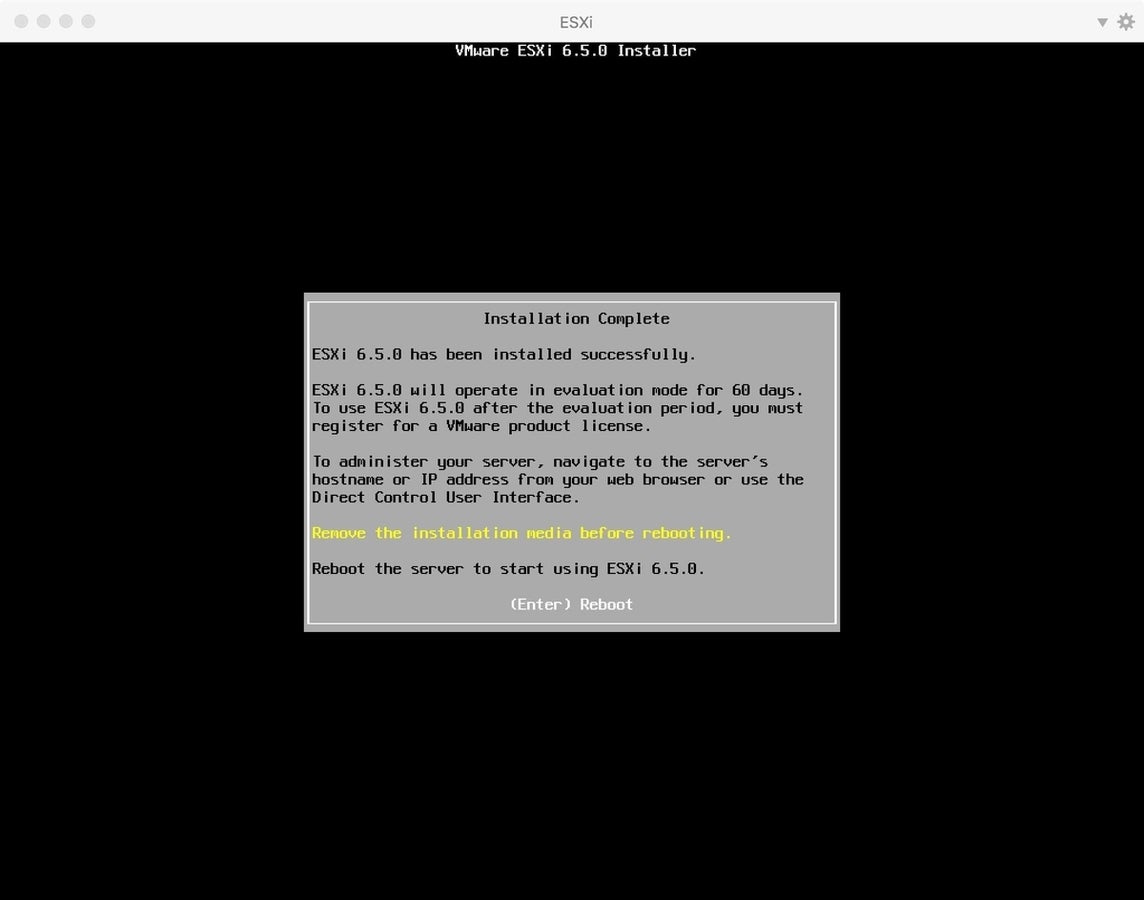
Depending on the configuration of the computer and speed of the hardware components installed in the server, the installation should complete within several minutes. A confirmation message will appear onscreen requesting that the user remove the installation media and press Enter to reboot the server (Figure K).
Figure K
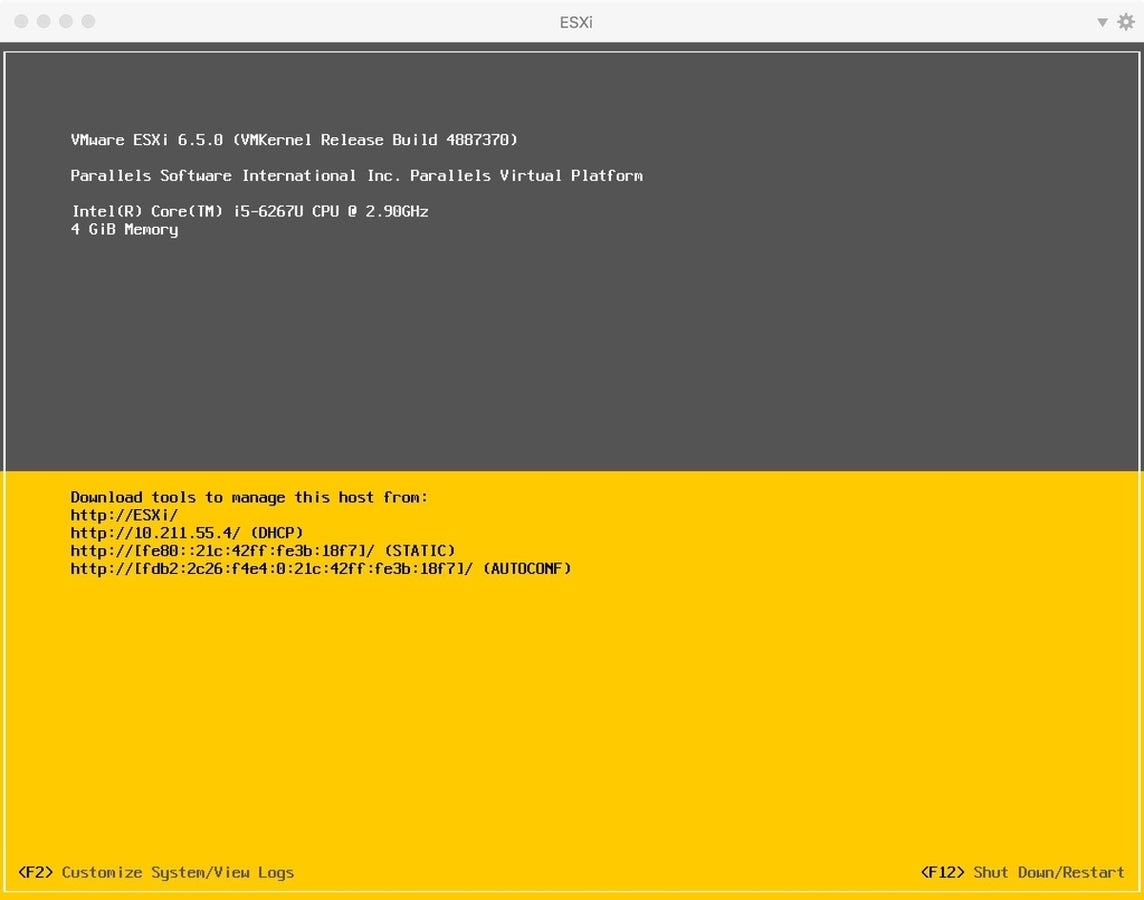
After it boots, VMware will load on the server and obtain an IP address from DHCP or may be manually configured from the server itself (Figure L).
Figure L
Also read…
- How to create a bootable VMware ESXi USB drive in Windows (TechRepublic)
- Basics of VMWare vSphere & ESXi Virtualization Software (TechRepublic Academy)
- How to create a bootable VMware ESXi USB drive on Macs (TechRepublic)
- VMware vSphere: The smart person’s guide (TechRepublic)
- VMware takes aim at enterprise hybrid cloud (ZDNet)
Other advice?
What are your thoughts on installing ESXi? Do you have any tips to aid in the installation of ESXi? Share your suggestions with fellow TechRepublic members.