


KeePass
KeePass is a free and open source password manager geared toward power users and tech enthusiasts.
In this article, we walk you through how to set up and use KeePass. We also answer some frequently asked questions about KeePass and its feature set.
1. Downloading and installing KeePass
Unlike other popular password managers, KeePass is a completely free password manager. This means that you won’t have to worry about losing out on features for choosing to download the free version or picking one paid subscription over another.
In our hands-on review, KeePass received a score of 3.2 out of 5 stars. Check out our full KeePass review.
To download KeePass, I went on their official website and navigated to the Downloads section. I’m using my personal Windows laptop so I chose to click on the KeePass Installer for Windows.
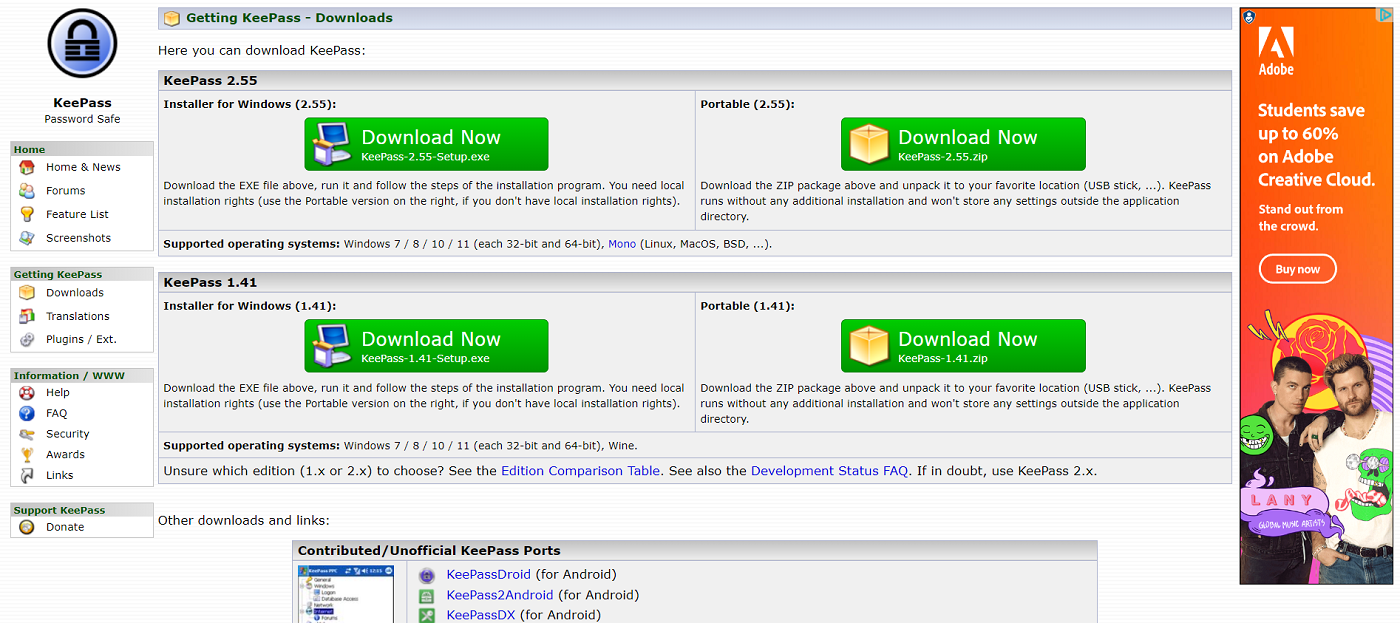
If you’re using a different operating system, simply look for the appropriate download link under KeePass’ Contributed/Unofficial KeePass Ports list.
After it finished downloading, I ran the setup installer and went through the necessary install steps. Once installed, I launched the app and was redirected to a blank KeePass dashboard.
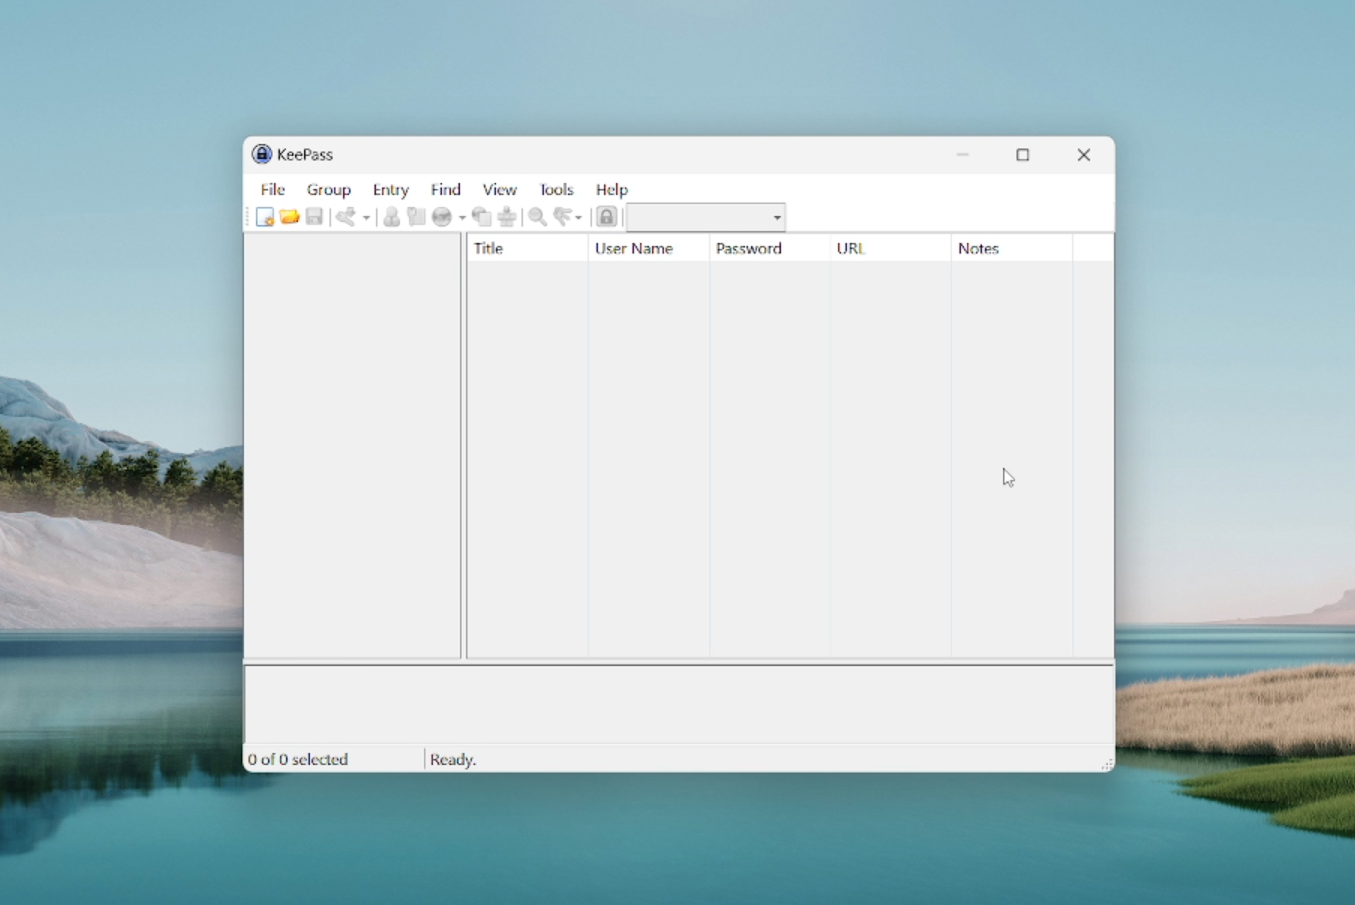
As we noted in our full KeePass review, KeePass doesn’t have much in terms of an initial guide on how to use their software.
Fortunately, I’ll show you how to set everything up in this article.
2. Setting up a KeePass database
Once I got to this blank dashboard, I went over to the menu bar and hovered over File and clicked New.
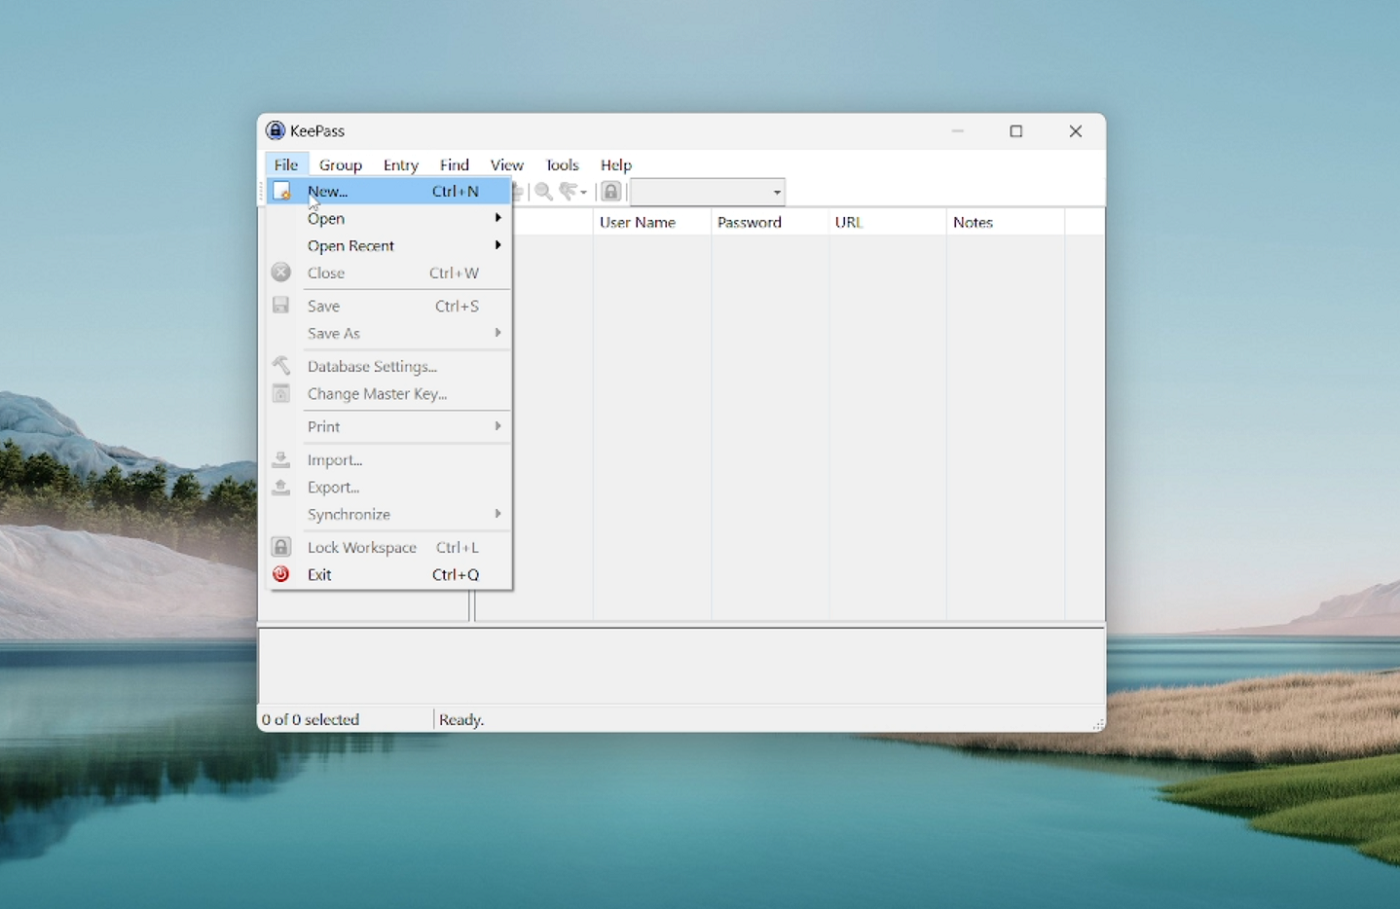
This will prompt KeePass to start creating a New Database. A KeePass database is your password vault. It’s the file that will store your passwords and other information securely.
After clicking New, KeePass asked me if I wanted to proceed in creating a new database and I clicked OK. From there, I chose where I wanted to have my new database file saved and its.
Afterwards, KeePass prompted me to provide a master password for my database.The master password is important because it serves as your main key to access your KeePass databases. In theory, this is the only password you will need to manually create and remember, as KeePass has a built-in password generator that can create random and secure passwords.
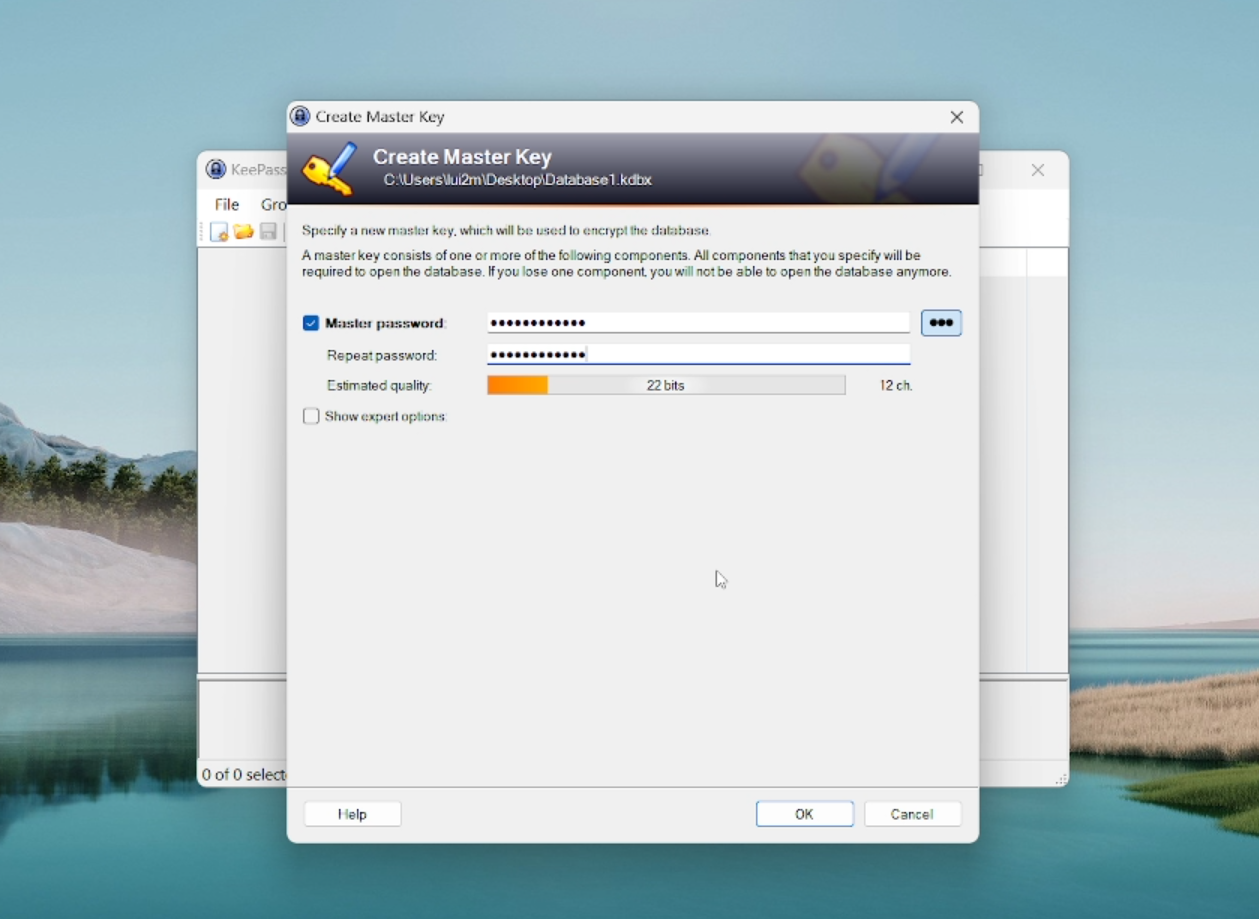
Clicking on “Show expert options” brings up KeePass’ two options for multi-factor authentication (MFA): key file and linking to a Windows user account.
Choosing key file lets you set a file to save — on your computer, a USB flash drive, or another device — to act as an additional requirement in tandem with your master password to access your database.
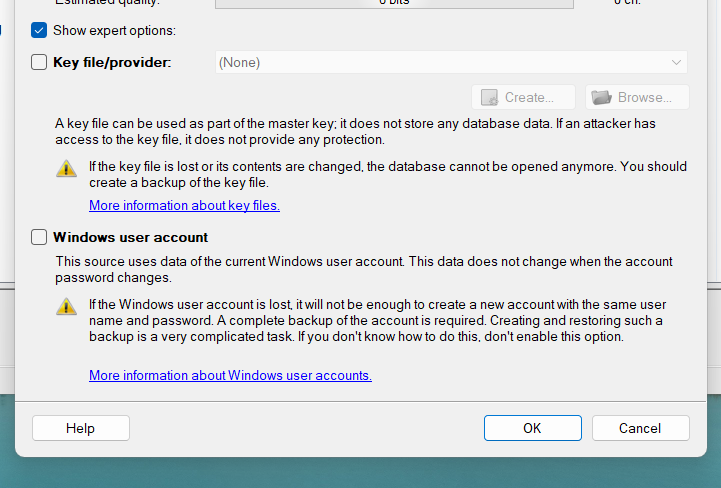
Meanwhile, linking to a Windows user account lets you access your KeePass database only if you’re logged into a specific Windows user account.
For this demonstration, I chose to only have a master password. After setting a password, I re-typed my chosen name for the new database.
SEE: Penetration Testing and Scanning Policy (TechRepublic Premium)
3. Saving a new entry with KeePass
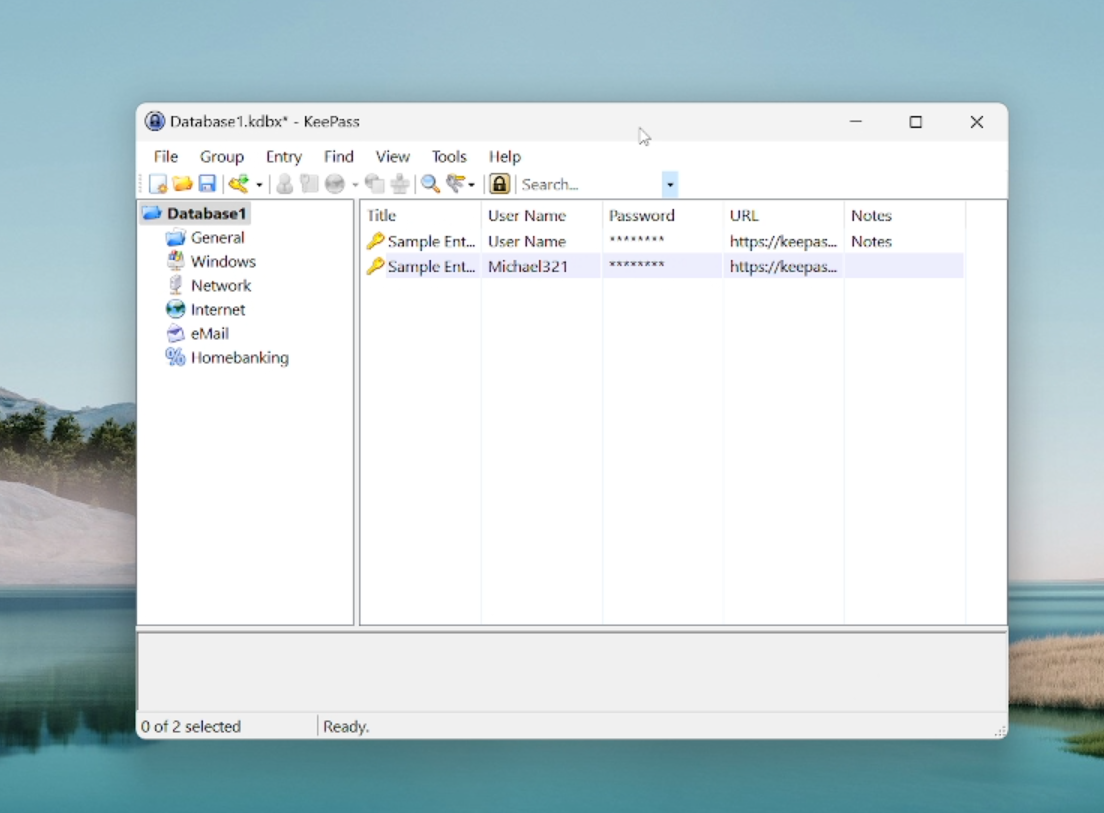
Now that we’ve got a database to work with, it’s time to save our first password entry. As we saw, KeePass includes two sample entries when you create your first database. You can play around with these to get a feel for how it works.
To save a new entry, you can either click the new entry button on the menu bar, right click on any space within the dashboard, and click Add Entry or use the shortcut Ctrl + I.
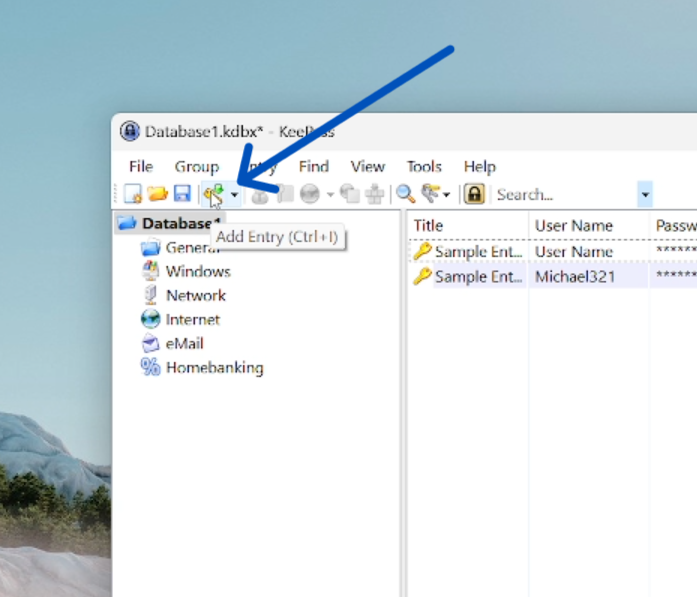
In this case, I used the new entry button. From there, KeePass showed me the add entry menu and I filled in the fields for the Goodreads account I wanted to create.
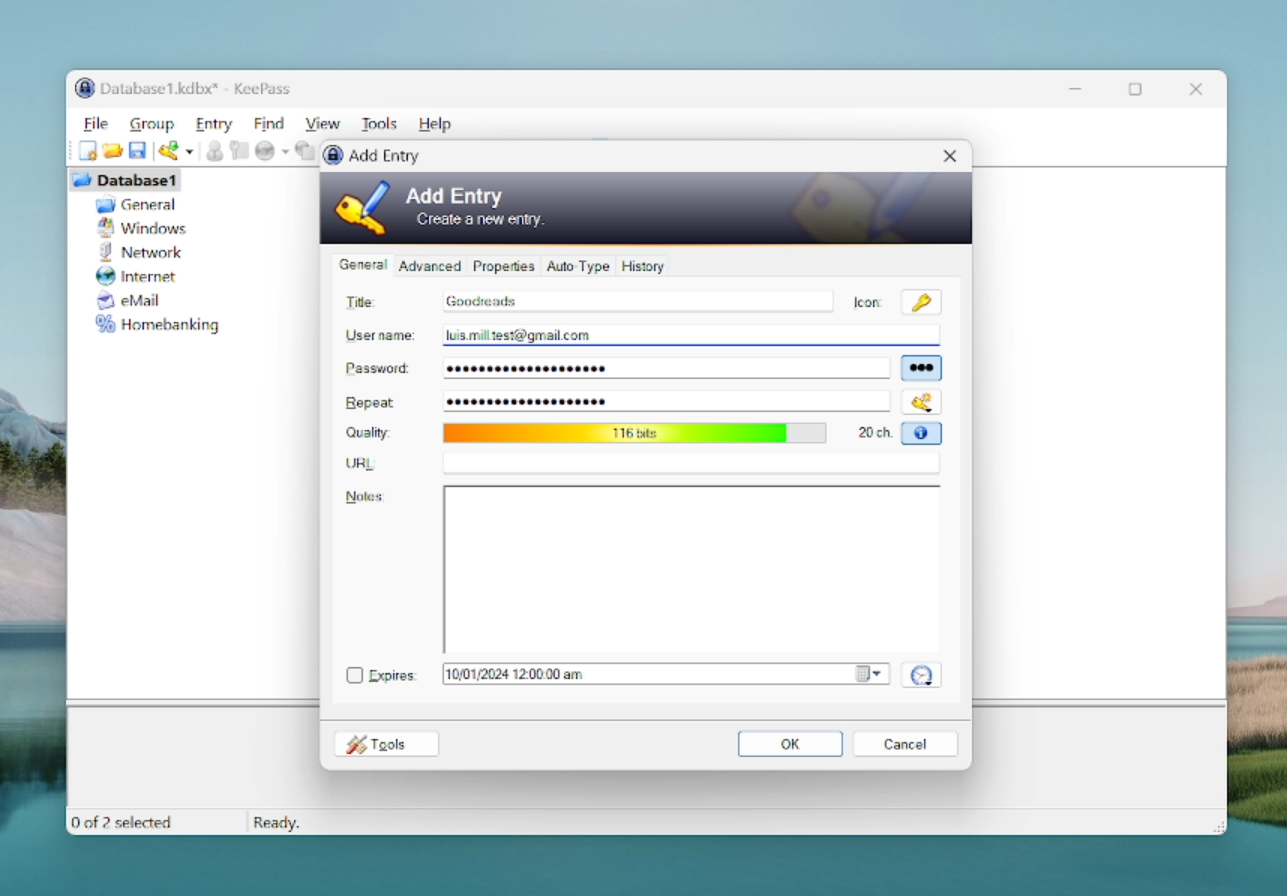
By default, KeePass will generate a 20-character password but you can choose the length. You can also set it to have either numbers, upper or lower case letters, and special symbols.
After I finished filling out the fields, I checked the generated password, pressed OK, and my KeePass login was saved.
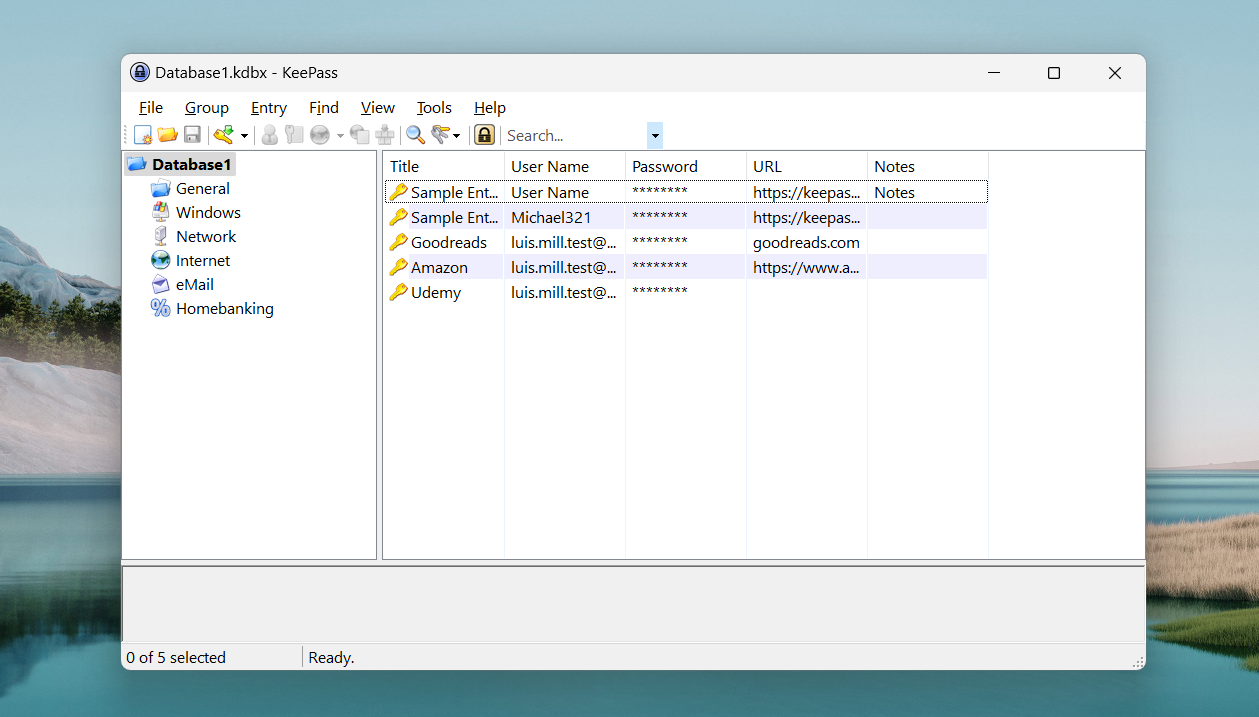
To access my new Goodreads credentials, I had the option to go to the newly saved login, right click it, and copy the saved username or password.
More cloud security coverage
- Blackpoint Cyber vs. Arctic Wolf: Which MDR Solution is Right for You?
- 6 Best Open Source Password Managers for Windows
- Unified by Design: The Smart Stack Advantage of NinjaOne and Microsoft Intune
- Free Business Email: I Found 8 Legit Ways to Get One
KeePass frequently asked questions (FAQs)
Is KeePass actually free?
Yes, KeePass is completely free. This is one of its main selling points as it doesn’t have any paid or premium version. Instead, you get all its password management features for free.
Does KeePass have a mobile app?
While KeePass doesn’t have an official mobile application per se, it has a number of mobile ports that were created by its community members. As of publication, KeePass had six Android ports and five iOS ports listed on their official website.
What are KeePass plugins?
These are downloadable add-ons created by KeePass users that extend the functionality and features of the base client. They can range from having more multifactor authentication options, the ability to change the appearance of KeePass, or bake in new import and export capabilities.
How do I add KeePass plugins?
After downloading the ZIP file of your chosen KeePass plugin, head over to the Tools button on the KeePass menu bar. From there, click the Plugins button then click Open Folder. This opens the “Plugins folder” of your KeePass client.
Once you have that open, extract the ZIP file of your downloaded plugin and copy the extracted folder into the KeePass “Plugins folder.” Afterwards, restart the KeePass application to properly load your new plugin.
Make sure that your chosen plugin is compatible with the version of KeePass you have installed on your computer.
Where can I go if I encounter issues with KeePass?
KeePass has an official Help Center page that houses different guides and articles to address issues. You can also visit its strong community forum found on SourceForge to get some assistance from other KeePass users.
Where should I keep my KeePass database?
I advise you to store your KeePass database on multiple locations. Aside from having a copy on your main computer, you can also store it on a separate USB flash drive, an external hard drive or SSD, or a secondary machine.
This ensures that you have a backup of all your data and also gives you more ways to access your logins whenever you need them.
Some users choose to save their database files on the cloud for convenience and easier access. However, this increases the risk of your data being leaked online so make sure that your chosen cloud storage method is secure.
What we think of KeePass
In our full review, KeePass received a rating of 3.2 out of 5 stars. We highlighted its customizability and unique plugin system as its main standout features. This makes it a prime choice for power users that want a secure and personalized password manager experience.
Unfortunately, its unintuitive user interface, steep learning curve, and dated design make it hard to recommend for less tech savvy users, especially compared to other password managers.
If you want to learn more, read our full KeePass review.