You need to scan a paper document on the go and your trusty iPhone or iPad is available. You can use a variety of scanning apps on your mobile device, but one handy option is to use the built-in Notes app. By creating a new note, or editing an existing one, you can scan a document relevant to the note itself. Your scanned image can appear in color, grayscale, or black and white. You can set the scan to go off manually or automatically. After you’ve taken the scan, you can crop and resize the image and then rotate it. Here are the steps.
SEE: Apple iOS 13: A cheat sheet (free PDF) (TechRepublic)
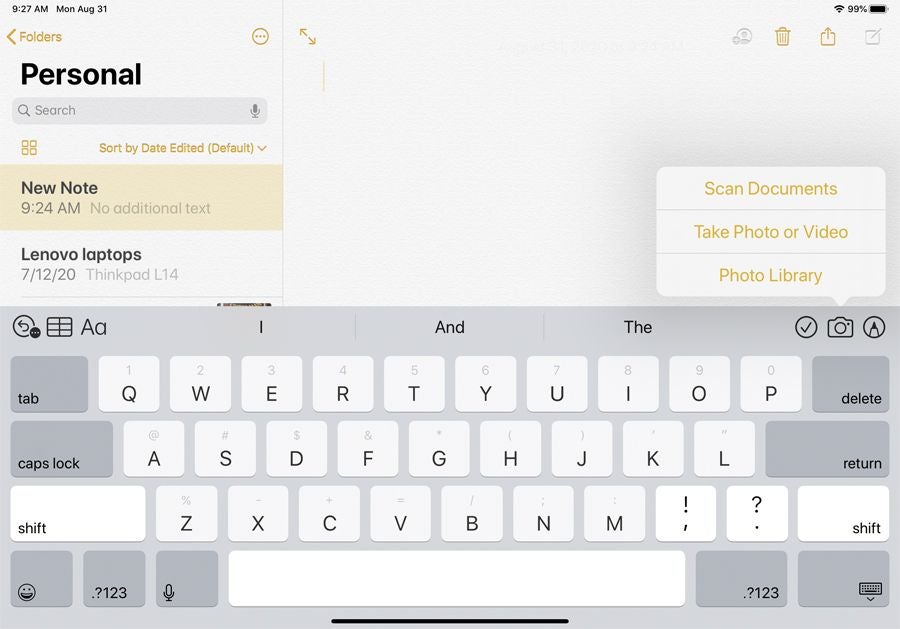
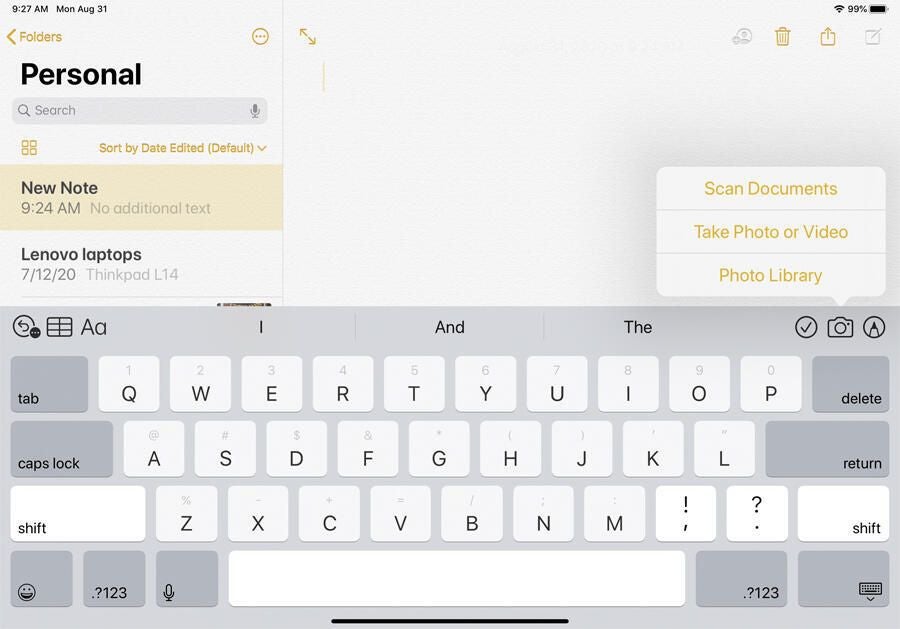
On your iPhone or iPad, open the Notes app. Create a new note or open an existing note that you want to associate with the scanned document. Tap the camera icon on the toolbar and select the option to Scan Documents (Figure A).
Figure A

At the top of the screen, tap the flash icon and set it to On, Off, or Auto. Then tap the color icon and set the scheme to Color, Grayscale, Black & White, or Photo. Tap the Auto command and set how you want the scan to run. You can set it to Auto so that the scan goes off when the app detects the document, or Manual so that you have to press the Shutter button to take the scan (Figure B).
Figure B

After the scan is taken, you’re brought to the next screen to crop the scanned image. If necessary, move any of the four corners to crop and resize the image. At this point, you can tap the Retake command if you want to redo the scan, or tap the Keep Scan command if you’re happy with the image. You can now scan another document if there are more you wish to associate with this note. Otherwise, tap the thumbnail of the scanned image in the lower-left corner to tweak it further (Figure C).
Figure C

Tap the crop icon to further crop and resize the image and then tap Done. Tap the color icon if you want to switch the appearance to a different scheme, such as Color, Grayscale, Black & White, or Photo. Tap the rotate icon to rotate the image horizontally or vertically. Tap the trash can icon if you wish to get rid of the image. When finished, tap Done and then tap Save to save the scanned document in your note. At the Notes screen, tap Done if you’re finished with this particular note (Figure D).
Figure D

