


Image: vbacarin, Getty Images/iStockphoto
Must-read Windows coverage
- CrowdStrike Outage Disrupts Microsoft Systems Worldwide
- 10 Best Project Management Software for Windows in 2024
- Windows 10 Extended Security Updates Promised for Small Businesses and Home Users
- Securing Windows Policy
In general, when you delete a file or directory in Microsoft Windows 10 it is moved to a special location known as the Recycle Bin. If you want, you can retrieve a file from the Recycle Bin and restore it to its previous status. To permanently delete a file in Windows 10, you have to empty the Recycle Bin—this is common knowledge for most users.
However, because of how file storage works in Windows 10, with some simple tools, a person with malicious intent could still retrieve a deleted file, which could be a serious problem if that file contains sensitive data. To securely and completely delete a file, you have to overwrite the specific memory sectors on your storage device with new data. Third-party tools are available for this process, or you could opt for a free Microsoft-provided tool.
This how-to tutorial explains how to download, install, and use Microsoft’s SDelete utility, which allows users to securely and completely delete files in Windows 10.
SEE: Windows 10 May 2019 Update: 10 notable new features (free PDF) (TechRepublic)
How to securely and completely delete files in Windows 10
SDelete is a Sysinternals command-line utility you can download for free from Microsoft. Extract the two executable files (Figure A) found in the ZIP file to this folder on your OS hard drive, usually, Drive C.
C:WindowsSystem32
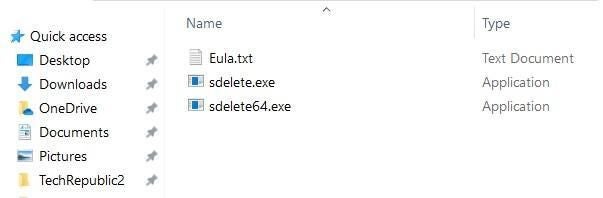
Figure A
Locating the .exe files in the System32 folder will give you access to the application no matter where your deleted files are located.
The basic command-line structure for the SDelete utility is:
sdelete -p -s -q
In Table A, Microsoft explains each parameter’s function.
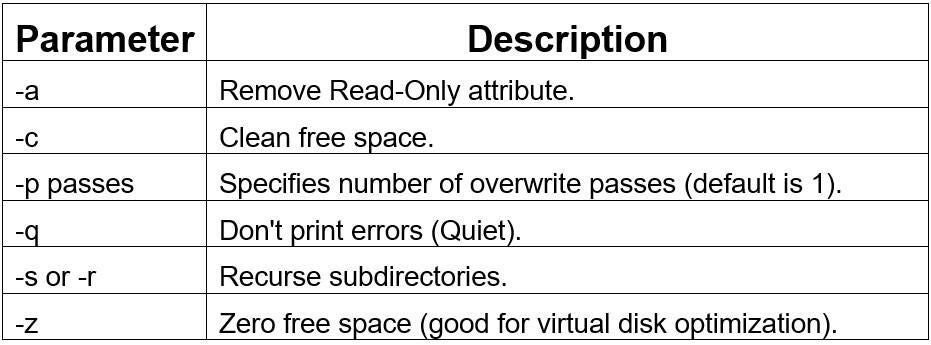
Table A
By default, SDelete will overwrite a deleted file only one time; however, best practice and organizational policies may dictate a more stringent protocol. The US Department of Defense, for instance, has two different standards that require three passes and seven passes, respectively. For most situations, three passes should be more than enough, but you should always follow established organizational policy.
How to use SDelete
To use the SDelete utility, open an administrative-level command prompt (Figure B) by right-clicking the Start button.
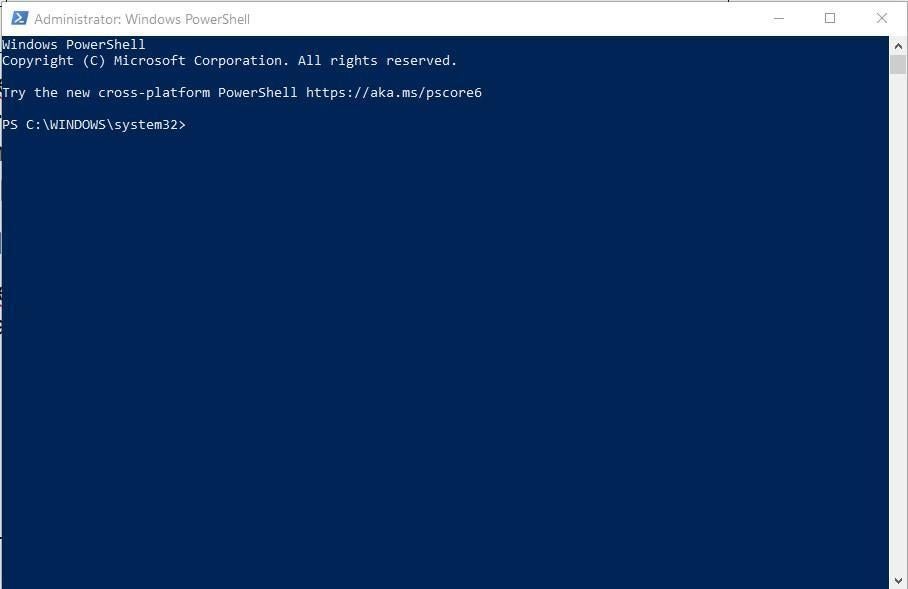
Figure B
At the prompt, type in your command for SDelete (Figure C). The command-line entry for three passes in quiet mode with recursed subdirectories would look like:
sdelete -p 3 -r -q C:SensitiveData
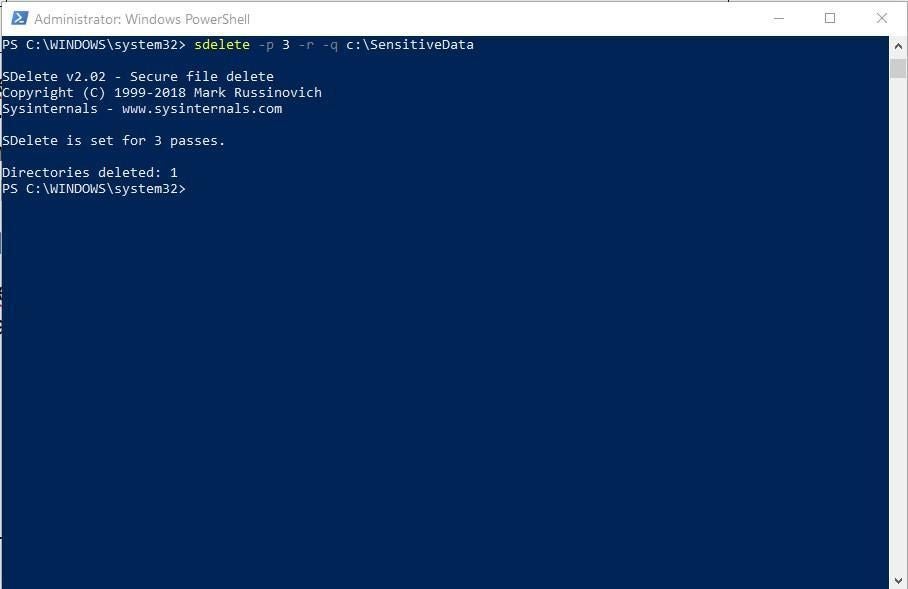
Figure C
Note: The SDelete utility does not delete files itself–it only overwrites the memory sectors of files located on the storage device that have previously been deleted. For example, if you were to enter this SDelete command using the clean free space parameter into your prompt, the utility would overwrite all of the previously deleted files on the D: drive without impacting any existing active files stored on that drive.
sdelete -c D:
Proactive security
While the SDelete utility is a command-line tool, it is not too difficult for most users to apply at the local level. Couple that with the fact that the tool cannot harm existing files, and there is really no excuse to not use it unless you have deployed a security solution already.
The alternative of allowing sensitive data to be potentially accessed because deleted files were not securely and completely overwritten could be costly. Your organization should have policies and protocols in place that require something more than just a simple file deletion.