Syncing your Google and Gmail contacts to your Mac address book can help you stay up to date with the right information. Here’s the process at a glance.
- Create a backup of your existing contacts
- Click Contacts, Add Account, and then select Google
- Sign in with your username and password
- Choose the data you wish to sync, and click Done
Keeping contacts up to date is a critical process for most professionals. Having the right phone number for a potential client, for example, can mean the difference between closing a deal and wasting your time.
However, contact updating is made much more difficult when a user works in two different tech ecosystems. Each vendor has their own tools and methods for contact management, and it can be frustrating to have to copy information from one application to another.
Mac users who rely on Google services can sync their Google and Gmail contacts to the Mac address book to improve continuity across their contacts. Once completed, if the user updates a contact in their Gmail contacts, for example, it will update in their Mac contacts as well.
SEE: Internet and Email usage policy (Tech Pro Research)
The process is pretty simple. For starters, you’ll want to backup your existing contacts, just in case.
1. Backup your contacts
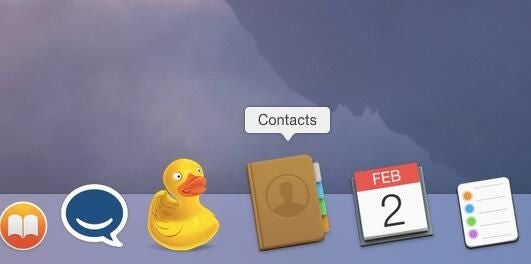
To start the backup process, open the Contacts app on your Mac. It’s a brown icon that looks like an address book. If you can’t find it in the dock, look for it in the Launchpad.
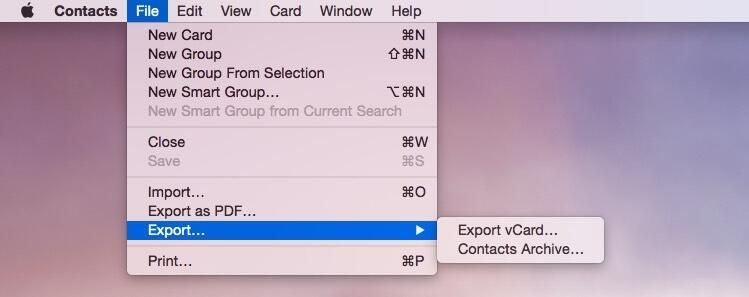
You’ll then want to click File, then Export, then Contacts Archive. The drop-down should look something like this:
A pop-up window will ask you to name the file, and select a location where you’d like to save it. Once you’ve done that, click Save, and you’re all set.
2. Add the Google account
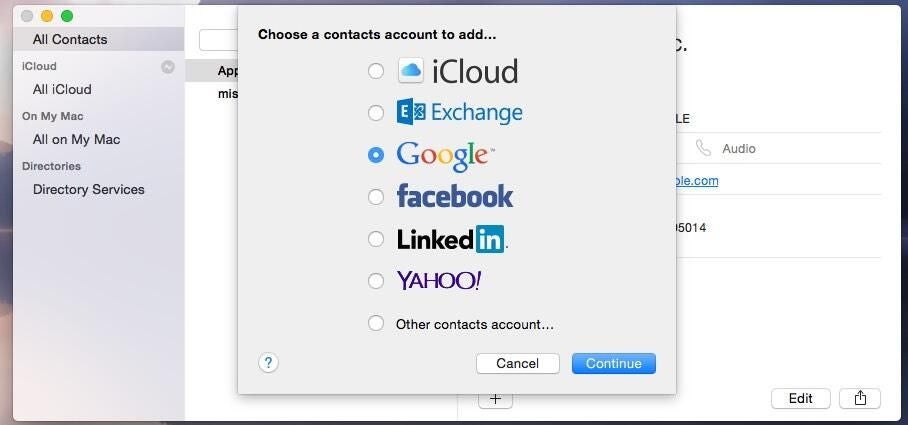
With the Contacts app still open, click the Contacts tab in the menu bar and click Add Account. Once you do so, a pop-up window will ask what type of account you wish to add. Click the radio button next to Google, and click Continue.
You’ll then be prompted to authenticate with your Google username (email address in most cases) and password. If you are using a corporate SSO product, you may need to perform additional authentication steps.
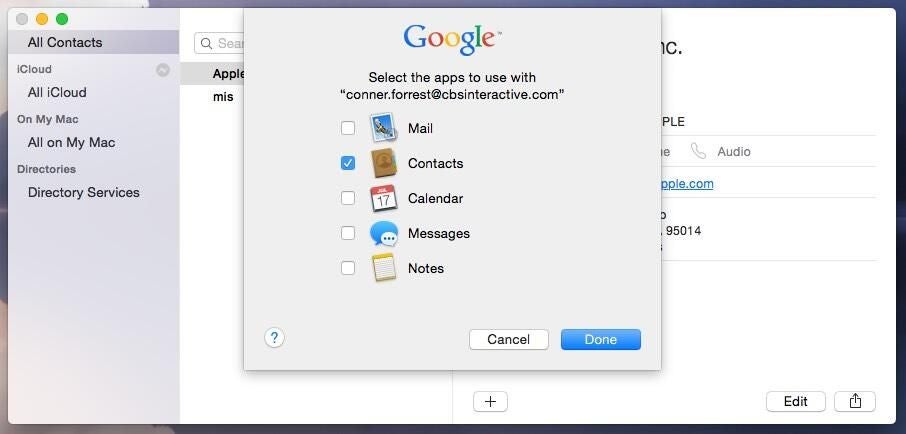
Once signed in, you will need to click the check boxes next to the data you wish to sync. Obviously, we’ll select Contacts, but you can also sync Mail, Calendar, Messages, and Notes data. Once you’ve made your selections, click Done.
At this point, the process is complete. On the left hand side of your Contacts page you should see a subheading that says Google, with All Google under it. If you add a second Google account, more options will show up there.
