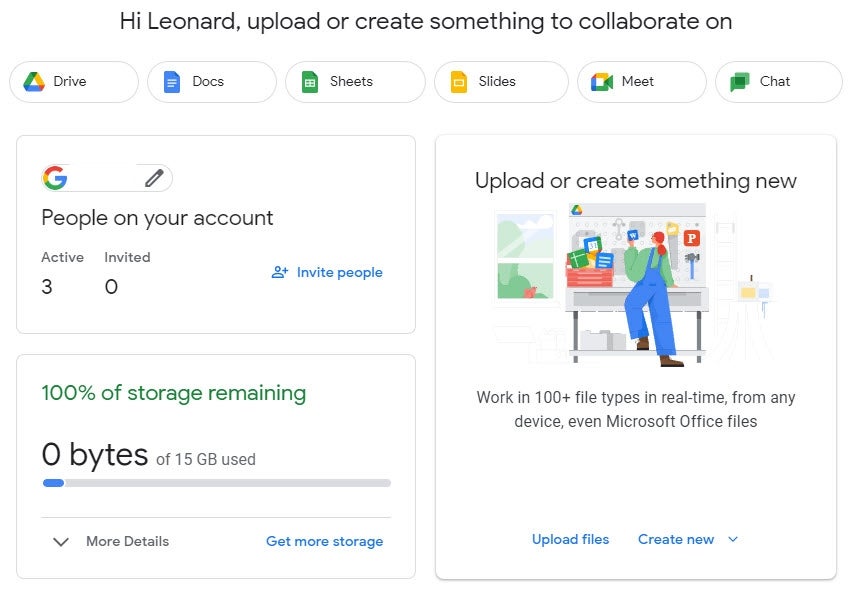
Google offers a variety of Workspace plans for businesses and schools – virtually all the plans require a paid subscription. But maybe you don’t need a full Google Workspace plan; instead, you may want Google Drive, Google Docs and other features for a specific team or project within your company. In that case, you can sign up for a free plan called Workspace Essentials Starter.
Available for up to 25 employees, this plan offers Google Drive, Google Docs, Google Sheets and Google Slides as well as Google Chat and Google Meet. The plan does not offer Gmail, as it works with your existing business email address. Each user gets 15 GB of storage across the different services with access to team chats, meetings and shared files.
SEE: Google Workspace cheat sheet: Complete guide for 2022 (TechRepublic)
You don’t need to own or manage a domain, but you do need a business email account. After you sign up with your own email address, you can add as many as 24 other users with addresses in the same domain.
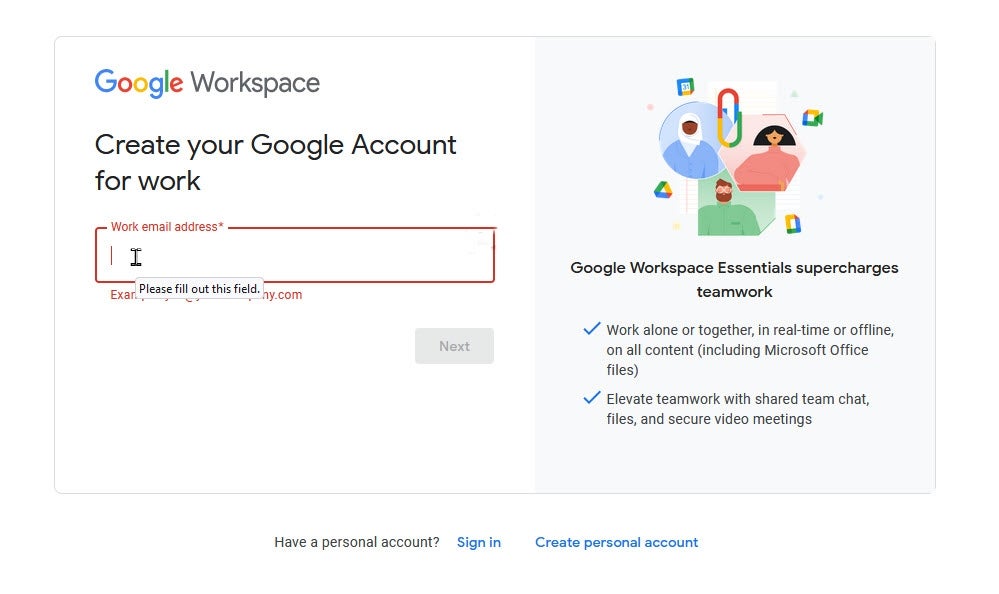
Browse to the signup page for Google Workspace. Enter your business email address in the appropriate field. Click Next (Figure A).
Figure A
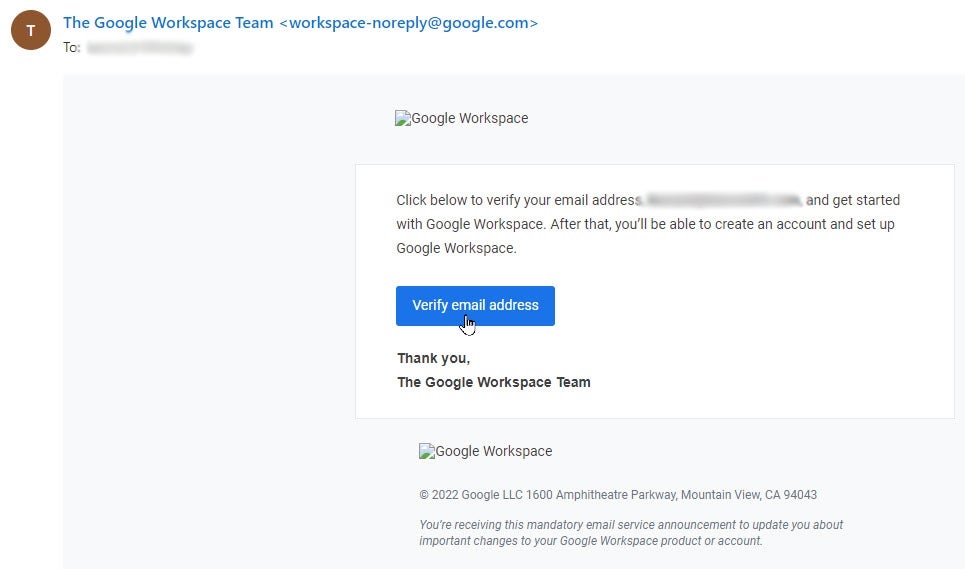
You’re told that you’ll receive a verification email. Sign into your email account, open the email and click the button for Verify Email Address (Figure B).
Figure B
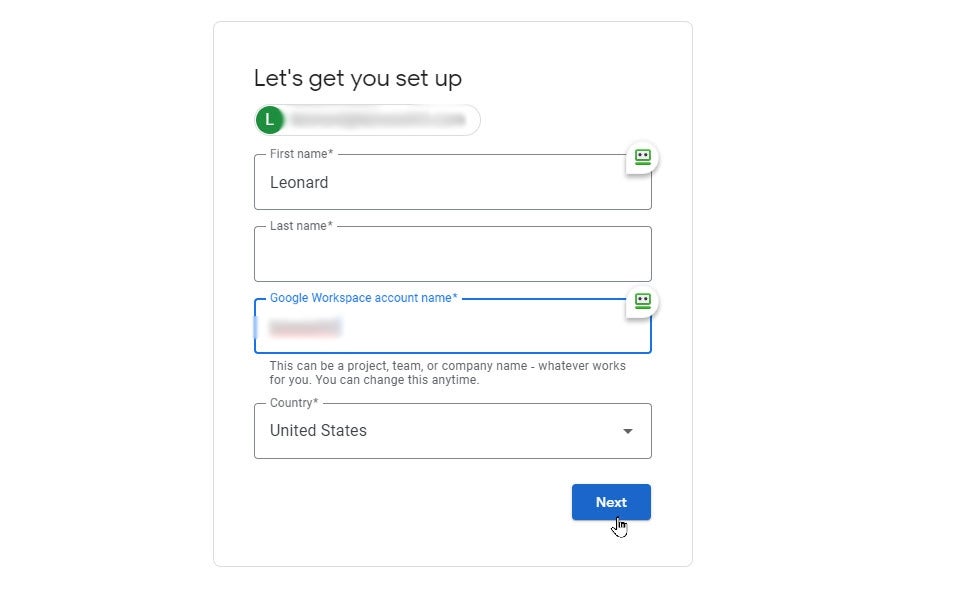
At the Google Workspace page, type your first and last name. Create a Google Workspace account name, which can refer to a team, department, project or other resource within your organization. Click Next (Figure C).
Figure C
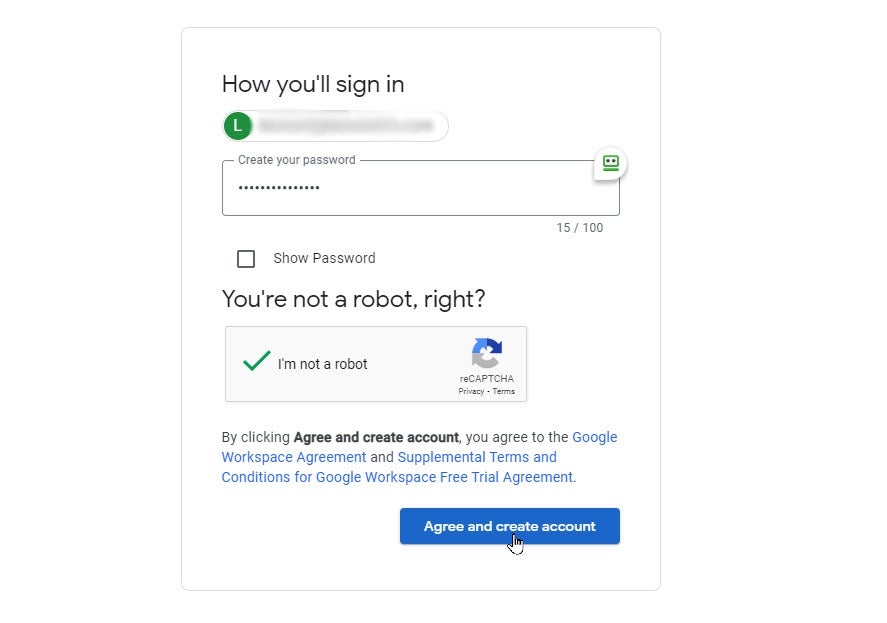
At the next screen, create the password to sign into your workspace. Check the box to indicate that you’re not a robot and then click the button for Agree And Create Account (Figure D).
Figure D
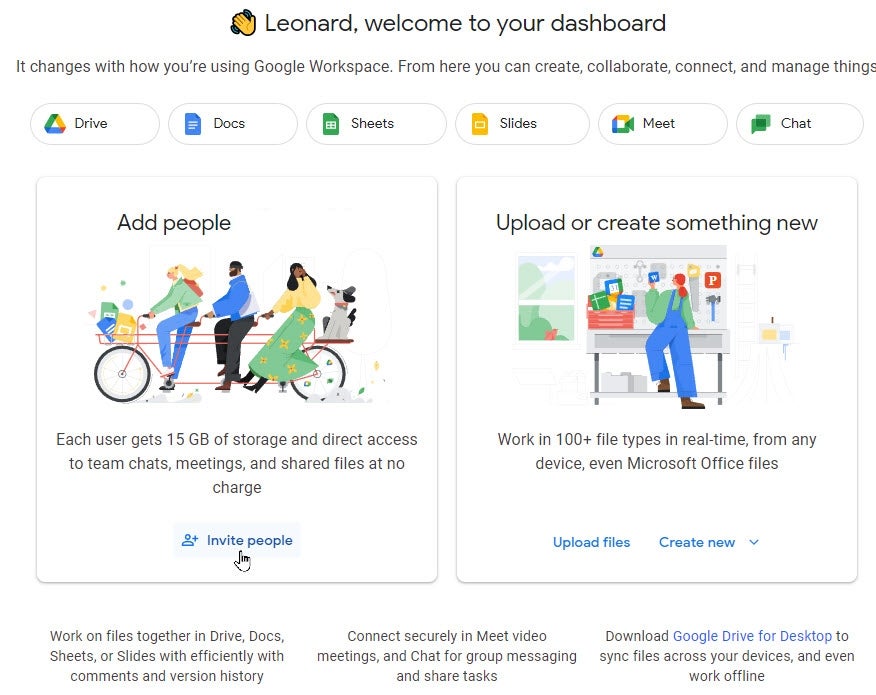
You’re taken to your Google Workspace dashboard page where you can access the different features. To invite other colleagues, click the button for Invite People (Figure E).
Figure E
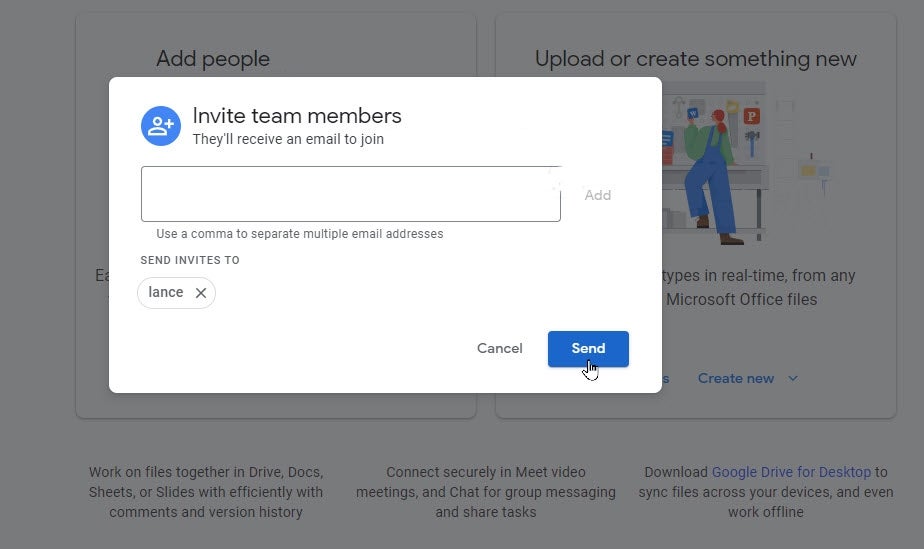
At the next window, enter the person’s email address. You can enter multiple email addresses, each one separated by a semicolon. Click Add and then click Send (Figure F).
Figure F
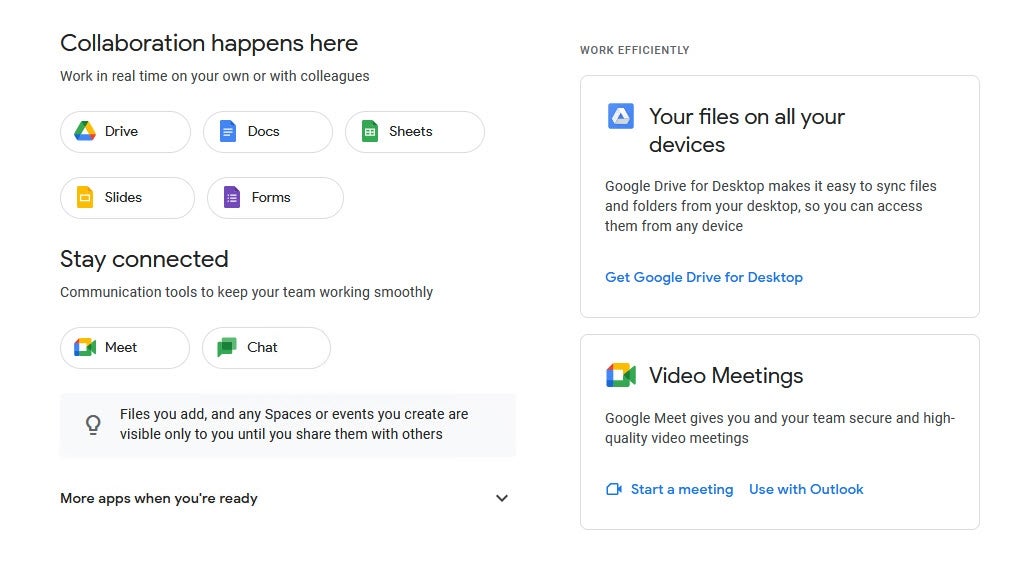
The person accepts the invitation through email and is prompted to create an account with their name and password. After signing in, they’re placed at the Dashboard (Figure G).
Figure G
As the person who initially set up the Google Workspace account, you’re the sole administrator, so you can manage other users. Click the entry for People on the left to see all the users of the plan. Click the three-dot icon for a specific user to trigger a menu from which you can change their role or remove them entirely (Figure H).
Figure H

Click the menu entry for Manage In Admin Console. This takes you to a dedicated console where you can see how they’ve used the plan, email them, restore deleted data from their Google Drive, remove them or move them to a different workspace (Figure I).
Figure I

Now, it’s just a matter of all of you using the different features of the Google Workspace account. From the Dashboard, you can directly access Google Drive, Google Docs, Google Sheets, Google Slides, Google Meet and Google Chat. You can also upload files and create new files (Figure J).
Figure J
