


Every so often, taking a step back and going through the basics is good. It not only helps to ground me as a tech writer, but it helps a lot of people who are just learning the ropes of whatever piece of technology I’m talking about.
This time it’s all about the Apache web server, a piece of software that’s been around for decades, happily serving up small and large websites without fail. Apache works seamlessly with MySQL, PHP, and a host of other packages, so you can serve up simple static or incredibly dynamic websites.
How do you install and configure the server? Where do you place files?
Let’s walk through this, one step at a time. I’ll be demonstrating on Ubuntu Server.
But first, a bit more information.
SEE: How to Host Multiple Websites on Linux with Apache (TechRepublic Premium)
The difference between Apache on Ubuntu and Red Hat-based distributions
The reason why I have to specify what Linux distribution I’m using is because Ubuntu- and Red Hat-based variants Apache differently — from installation to configuration. For example, on Red Hat-based distributions, Apache is installed via the httpd package, whereas on Ubuntu-based distributions, the apache2 package will do the trick. Another difference is where and how Apache is configured.
In Red Hat-based distributions, much of your Apache configuration will happen in /etc/httpd/conf/httpd.conf. In Ubuntu-based distributions, the configurations are in /etc/apache2/apache2.conf and /etc/apache2/sites-available/. There are still more differences to be had, but you get the idea.
SEE: Apache Maven — Build Automation Tool Review (TechRepublic)
How to install Apache on Ubuntu Server
There are several ways you can install Apache on Ubuntu. If you simply want the basic server software, you can open a terminal and issue the command:
sudo apt-get install apache2 -y
However, if you want a full-blown Linux Apache MySQL PHP (LAMP) stack, you’d issue the command:
sudo apt-get install lamp-server^
Once you run either of those commands, you’ll have Apache up and running. You’ll also want to make sure to enable Apache to start upon a server reboot (or boot). To do that, issue the command:
sudo systemctl enable apache2
You can verify your installation by opening a web browser and pointing it to http://SERVER_IP (where SERVER_IP is the IP address of the server hosting Apache). You should be greeted by the Apache Welcome Page as shown below.
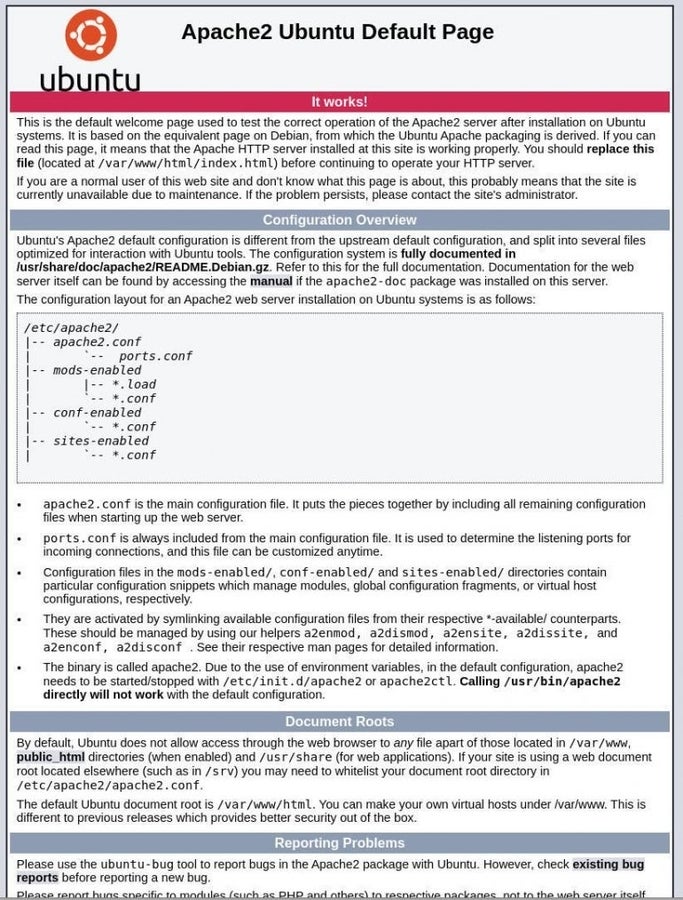
What is that page Apache is serving up? If you look in /var/www/html, you’ll find the index.html file. Let’s change it.
Back at the terminal window, rename that index.html file with the command:
sudo mv /var/www/html/index.html /var/www/html/index.html.bak
Now, let’s create a new welcome file. Issue the command:
sudo nano /var/www/html/index.html
In that file, paste the following two lines:
Hello, TechRepublic!
How are you doing?
Save and close the file. Reload the web page in your browser and you should see the change as shown below.

How to create a site for Apache
What we’re going to do now is create a virtual host for Apache to serve up. A virtual host is a fancy name for a website that’s served by Apache. You can have numerous virtual hosts served up on a single Apache server. In fact, you are only limited to the power of your hosting server and the bandwidth of your network.
So let’s create a virtual host called test.
The first thing we’re going to do is create a directory to house test with the command:
sudo mkdir -p /var/www/html/test
Next, we’ll give the new directory the proper ownership with the command:
sudo chown -R $USER:$USER /var/www/html/test
Finally, we’ll grant the proper permissions with the command:
sudo chmod -R 755 /var/www/html/test
Copy our new index.html file into the test directory with the command:
sudo cp /var/www/html/index.html /var/www/html/test/
Now we have to create the virtual host configuration so Apache knows where test is. This will be housed in /etc/apache/sites-available. To do that we’ll create the test.conf file with the command:
sudo nano /etc/apache2/sites-available/test.conf
In that file paste the following:
ServerAdmin admin@example.com
ServerName example.com
ServerAlias www.example.com
DocumentRoot /var/www/html/test
ErrorLog ${APACHE_LOG_DIR}/error.log
CustomLog ${APACHE_LOG_DIR}/access.log combined
The most important line above begins with DocumentRoot, as that instructs Apache where the files for the virtual host will be found. Save and close that file.
At this point, we’ve created the directory to house the files, given it the proper ownership and permissions, and created a configuration for the virtual host. However, Apache is still not aware of the new site. Why? Because the configuration file lives in sites-available. What we have to do is create a link from that configuration into the /etc/apache2/sites-enabled directory. Only those configurations found in sites-enabled are active on the Apache server.
On non-Ubuntu servers, you have to use the ln (for link) command to do this. However, on Ubuntu there’s a handy utility that will create that site for you. Said utility is a2ensite. If we run the command:
sudo a2ensite test.conf
Our test virtual host will then be enabled.
After that command succeeds, you then must reload Apache (which will only reload the configuration files, not restart the web server) with the command:
sudo systemctl reload apache2
Now, if you point your browser to http://SERVER_IP/test (where SERVER_IP is the IP address of the server) you should see the same “Hello, TechRepublic!” welcome as you did with the basic index.html file, only it’s being served from our newly-created virtual host.
You’ve just installed the Apache web server, edited the index.html file, and then created your very own virtual host. You can take this simple how-to and use it as a basis for spinning up all the Apache-served websites you need.
This article was originally published in October 2020. It was updated by Antony Peyton in January 2025.