
In the article How to take advantage of the new Windows Defender Security Center, I showed you around one of the Creators Update’s new features: the Windows Defender Security Center. A dramatic update to the old Windows Defender, this tool’s new interface offers several enhanced and repackaged tools, as well as a new component, called Device Performance & Health. As I covered the features in this new component, I only briefly touched on the Fresh Start feature that appears at the bottom of the Device Performance & Health page, shown in Figure A.
Figure A
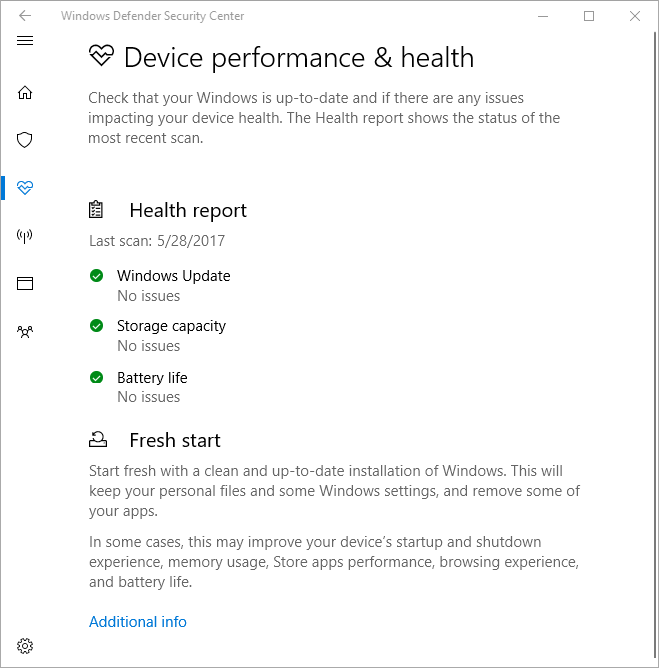
The Fresh Start feature is found on the Device performance & health page.
Let’s take an in-depth look at running the Fresh Start procedure.
Overview
The Fresh Start feature basically performs a clean install of Windows 10 while leaving your data intact. More specifically, when you choose Fresh Start, it will find and back up all your data, settings, and native apps. After that, it will remove most of the applications from your system and install a fresh copy of the most recent version of Windows 10–which the operation downloads from the Microsoft site, rather than pulling an old copy from a restore partition.
The operation will then restore the data, settings, and the Windows Store apps that were installed with Windows 10 by Microsoft or the computer manufacturer. Chances are, most of the applications installed on your system will be removed. When your PC restarts, log in with your same username and password and you’ll be able to find all your data just as you left it.
You will now have to reinstall any applications you regularly use. That may seem like a bit of a pain point–and it is– but all those applications you never used, such as third-party bloatware that came preinstalled on your system by the manufacturer that was just clogging up your system, will be gone.
Back up, maybe?
While Fresh Start is designed to keep all your data intact throughout the operation, you may want the peace of mind of having your own backup. The best thing you can do is create a System Image. You can find step-by-step directions in How to revive your Windows 10 installation with System Image Recovery.
See: Microsoft is getting closer to completely modernizing Windows 10’s native applications
Getting started
To begin using the Fresh Start feature, launch Windows Defender Security Center and access the Device Performance & Health page. Then, click Additional Info to open the Fresh Start page, shown in Figure B, and click Get started.
Figure B
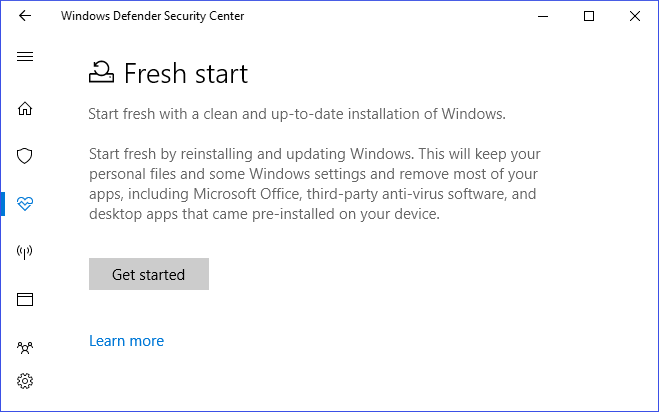
When you see the Fresh Start page, click Get started.
Next, you’ll see a User Account Control dialog like the one shown in Figure C. To continue, just click Yes.
Figure C
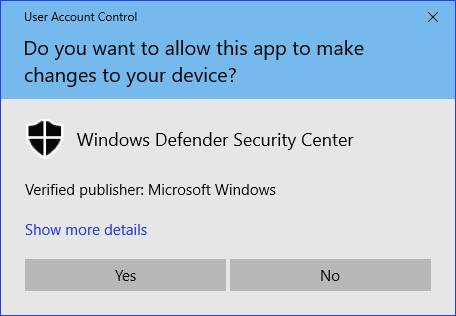
You’ll have to work through a UAC.
The procedure
After you work through the UAC, the Fresh Start opening screen will appear, as shown in Figure D.This screen provides a brief overview of what the Fresh Start procedure will do. You’ll also get a general idea of how long Fresh Start will take to complete the procedure. While the message says 20 minutes or longer, my system took almost an hour to complete. Click Next to continue.
Figure D
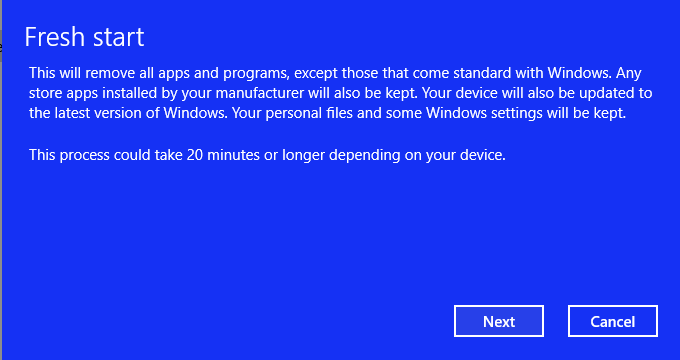
The process could take a bit more than 20 minutes.
SEE: How to revive your Windows 10 installation with System Image Recovery
Fresh Start will begin an analysis of the software on your system that will be removed, displaying the screen shown in Figure E.
Figure E
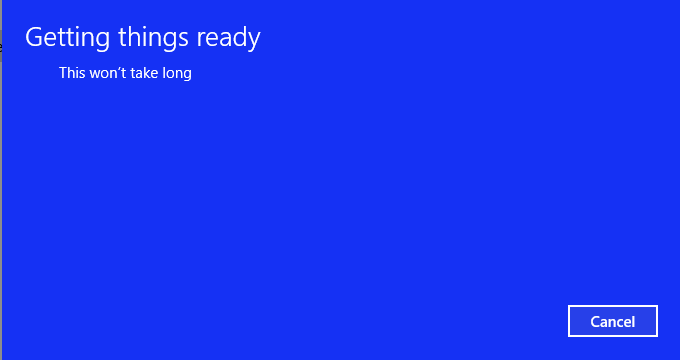
Fresh Start will begin an analysis of the software on your system.
When Fresh Start completes the analysis, it will display the screen shown in Figure F, which lists all the applications that will be removed. On my example system, Fresh Start said it would be removing quite a few applications. While some of these are applications I use all the time, a lot of them are the junk applications I never use, such as those that came preinstalled on this laptop when I purchased it.
Figure F
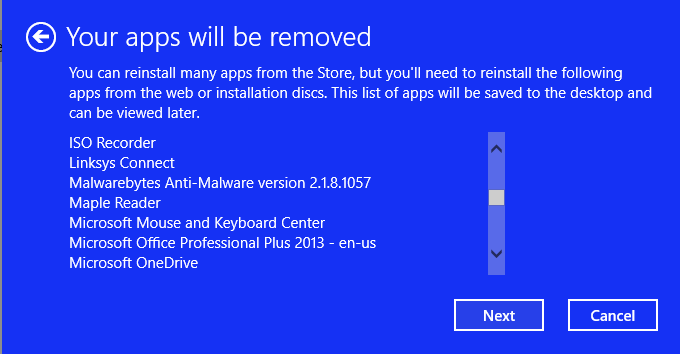
You’ll see a list of the applications that will be removed.
You may be tempted to write down all the applications on this list, but you don’t have to. Fresh Start will save this list of apps and create a file on the desktop of your new, clean Windows 10 installation. However, you should take some time to go through this list and make sure that you have all the installation media and license keys you’ll need to reinstall any removed software once Windows restarts.
When you click Next, you may see the screen shown in Figure G. If you recently upgraded your system from a previous version of the operating system to Windows 10, this screen will appear. It lets you know that performing a Fresh Start procedure will prevent you from going back to the previous version of Windows.
Figure G
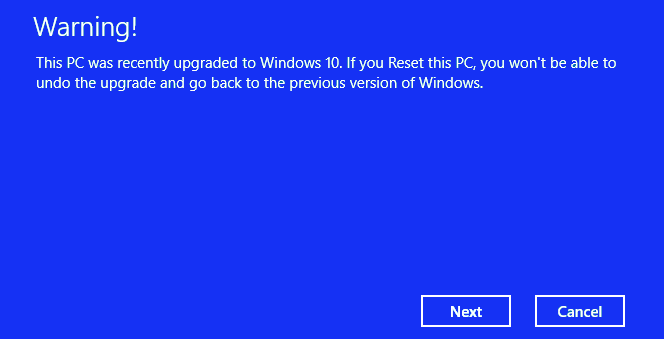
If you recently upgraded your system from a previous version of the operating system to Windows 10, you’ll see this screen.
You’ll then see the Let’s Get Started screen, shown in Figure H. Just click Start and you’ll be underway.
Figure H
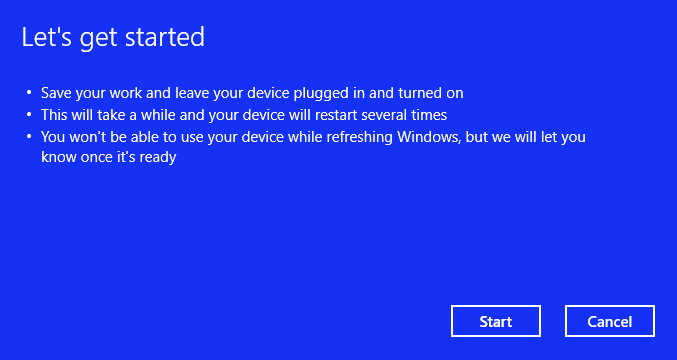
Click Start to begin.
Now your system will begin the initial stage of the refresh operation. As this stage progresses, you’ll see a percentage counter, as shown in Figure I.
Figure I
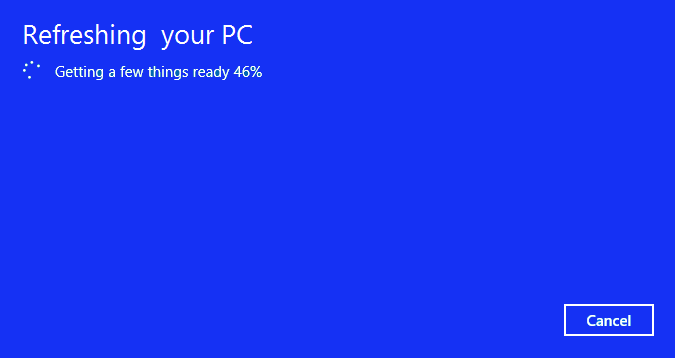
Fresh Start will begin the initial stages of the refresh operation.
Once this initial stage is complete, your system will restart for the first time (Figure J). Throughout the remainder of the Refresh operation, your system will restart several times.
Figure J
Your system will restart several times.
SEE: Windows 10: Get ready for PCs with “beyond all-day” battery life
A refreshed system
After the Refresh operation restarts for the last time, it will present the login screen. When you log in, Windows 10 will complete the installation procedure while displaying the familiar installation screens shown in Figure K.
Figure K
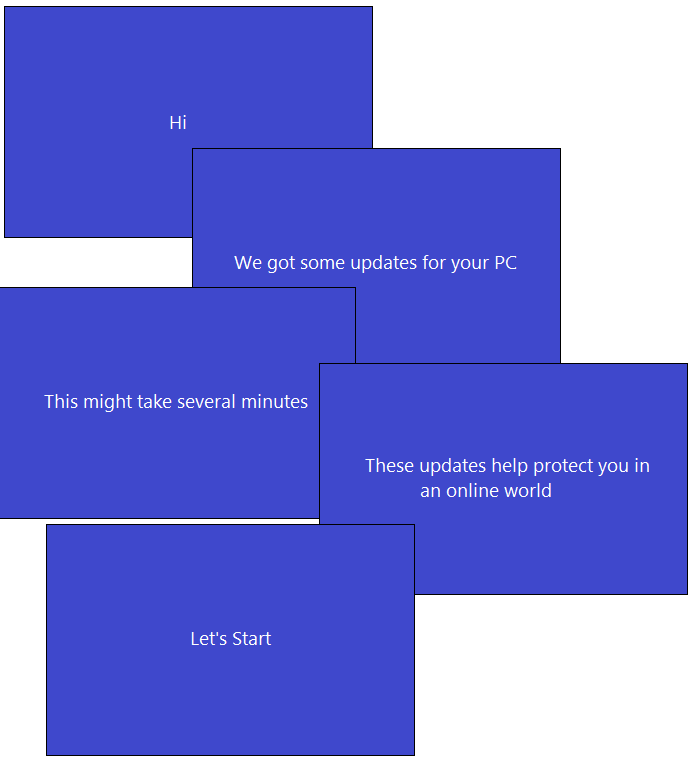
During this part of the operation, you’ll see the standard Windows 10 installation screens.
Once everything is complete, you’ll see the desktop on your refreshed system, which includes a Microsoft Edge icon titled Removed Apps (Figure L).
Figure L
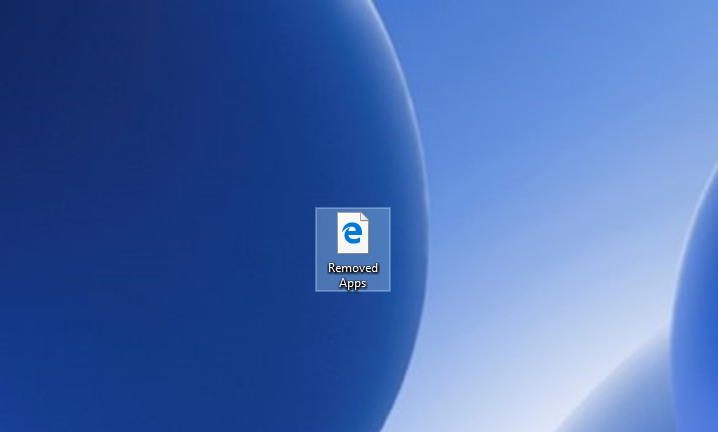
On your desktop, you’ll find a Microsoft Edge icon titled Removed Apps.
Double-click that icon to view a complete list of all the applications that were removed by the refresh operation, as shown in Figure M. You can then reinstall any of those applications you want to put back on your system. All your data will be right where you left it.
Figure M
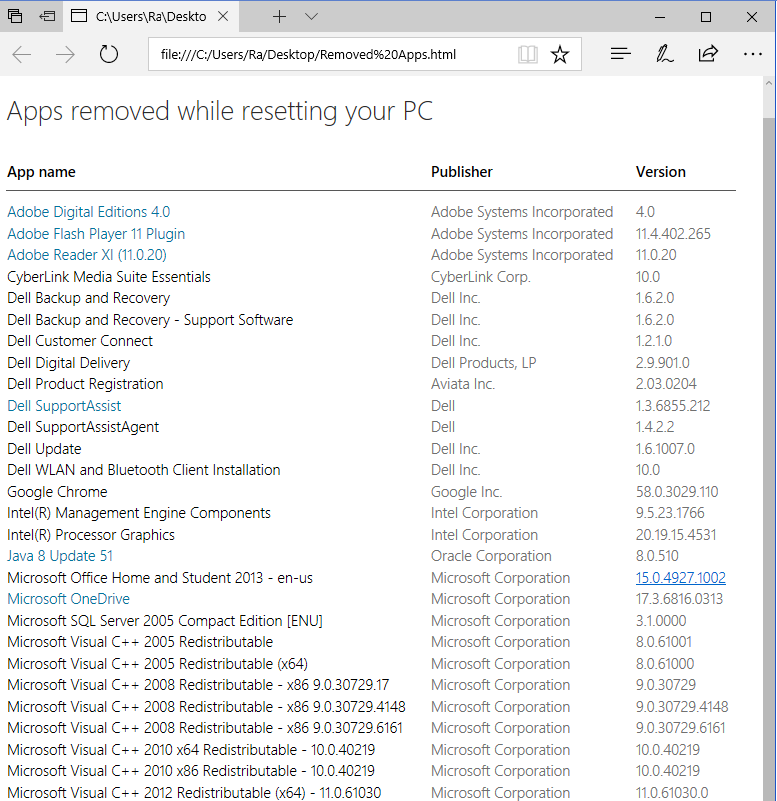
The file will provide you with a detailed list of the removed applications.
If you happen to lose track of the Removed Apps file on your desktop, no worries. You’ll find a backup of the file on the Fresh Start page in Windows Defender Security Center, as shown in Figure N.
Figure N
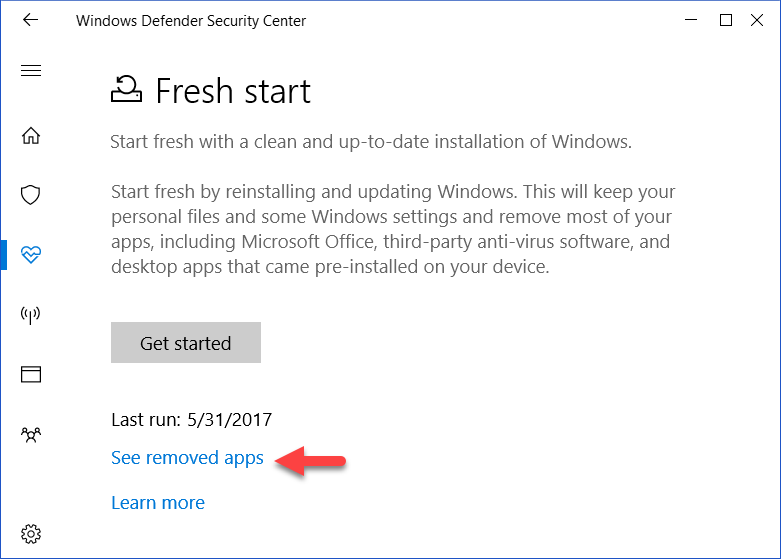
A copy of the list can be found on the Fresh Start page.
More Windows how-to’s
- How to work faster by making the Windows key a habit
- How to take advantage of the new Windows Defender Security Center
- How to colorize Windows 10 in the Creators Update
- How to use the new Show App List In Start Menu feature in Windows 10 Creators Update
What’s your take?
Have you tried out the Fresh Start feature? What was your experience? Share your thoughts and advice with fellow TechRepublic members.