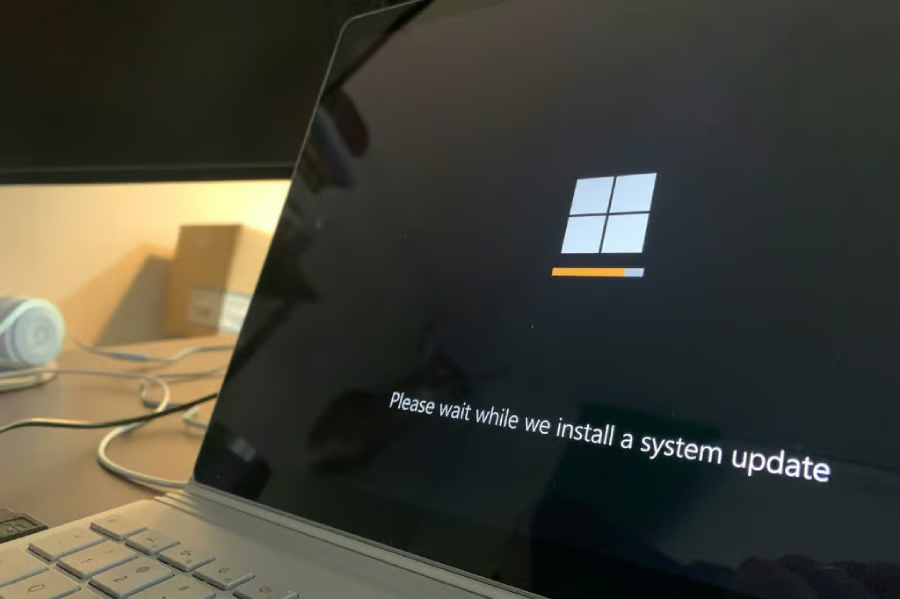
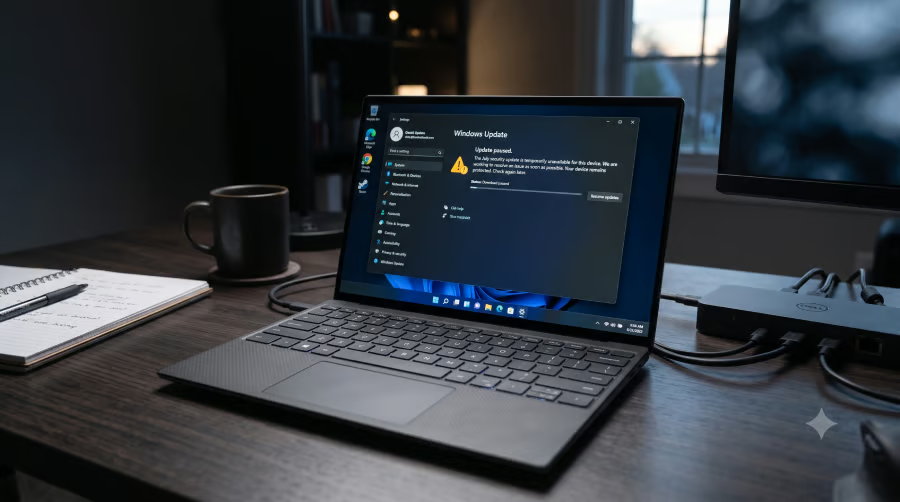
Years ago (I’m not saying how many) I was impressed by a professor’s discussion of the unknown impact of new technologies. He described it as a snowball rolling downhill. Its growth and path are out of our control, and whatever it smacks into gets clobbered. Once the technology is set into motion, you can try to predict the results, but there are always unintended consequences. It was a great analogy that has stuck with me throughout the years.
SEE: Windows 10 Start menu hacks (TechRepublic Premium)
With that visual stuck in my head, I realized that it can be used to suggest circumstances in a good or a bad way in a PowerPoint presentation. For instance, it could be good if a product is performing better than predicted and bad if service calls are overwhelming your staff. In this article, I’ll show you how to create the simple animation; you get to decide if it’s a reason to celebrate or a warning.
I’m using Microsoft 365 on a Windows 10 64-bit system, but this will work in earlier versions and the show will run in the browser edition. You can download the demonstration .pptx file or start from scratch.
A brief review
Before we launch right in, let’s review the steps we’ll take to build this simple animation. We’ll use the curve tool to add a hillside to a blank slide. Then, we’ll add a circle shape to simulate the snowball; a motion path animation will roll the circle downhill. To the circle, we’ll add a spin-and-grow animation, so the circle appears to actually roll downhill, picking up snow as it goes.
How to add the hillside
If you’re not familiar with PowerPoint’s curve tool, you might want to practice a few times to get the feel of it. You click to create an anchor, as you would most any shape. Then, you move the cursor in any direction (in our case, we move down and to the right), then click and release to create new anchor points. As you move the cursor, the line might look a bit sharp, but once you click and move away from that anchor point, the line softens up.
I won’t give you step-by-step instructions to recreate the hillside; simply use Figure A as a guide. Start with a blank slide and set the background color to a blue-gray gradient to resemble a snowy day. Then, click the Insert tab and click Shapes in the Illustrations group. From the Lines section, click Curve. Click on the left border of the slide and release to create the first anchor. Gradually move to the right and down. When you want to make a dip or rise, click and release.
Figure A

Continue in this way until you run off the screen toward the bottom-right corner. At this point, follow the bottom border, make a turn at the bottom-left corner, and go up to complete the shape. Press Esc to finish drawing. Don’t worry about the shape at the bottom or left—you won’t see that during the presentation. We want a closed shape so we can fill it. If you don’t completely close the shape, filling the curve won’t have the effect you expect. (You can try it if you like.) With the curve shape selected, click the contextual Shape Format tab, and set Fill to Pattern fill. I chose the first thumbnail—white with blue dots, to resemble snow. With the hillside in place, you’re ready to add the snowball.
How to add the snowball
In this section, you create and color a snowball. The real work comes later when you add the animation. For now, add a circle shape at the top-left border, jut above the top of the hill (see Figure B). Using the Format Shape pane, do the following:
- Set Fill to Gradient fill.
- Set Type to Redial.
- Use the Gradient stops control to set two stops (See Figure B). Set the first to white and the second to a medium gray. By doing so, you will see the snowball actually turn as it rolls downhill. The stops are up to you, but I’ve found in a simple shape, the fewer the better.
At this point, you have all of the shapes you need. It’s time to add the animation that makes them all work together.
Figure B

How to add the animations
To make the snowball appear to roll downhill, add a motion path that shadows the hillside. Then, we’ll add two more animations: Spin and Grow/Shrink. The Spin animation will make the snowball turn as it rolls downhill. The Grow/Shrink animation will enlarge the snowball. In both cases, you might have to tweak the settings a bit to get everything just right but doing so isn’t difficult.
First, we’ll add the motion path. To do so, select the snowball and do the following:
- Click the Animations tab and then click More in the animation gallery. The More button is the down arrow to the right of the gallery; use it to display more choices.
- In the Motion Paths section, select Custom Path.
- Click along the left border just a bit above the hillside and then draw a path that closely resembles the hillside dips and rises. Don’t worry about being too exact. PowerPoint will leave a dotted trail as you go.
- Stop a bit above the bottom border, as shown in Figure C. The motion path is difficult to see in the figure, but you can see the green triangle that marks where it begins and the red triangle (near the bottom) that marks where it ends.
- With the snowball still selected, use Add Animation in the Advanced Animation group to choose Spin from the Emphasis section.
-
Repeat step 5 and add the Grow/Shrink animation.
Figure C

With the animations in place, you need to tweak them to determine how many times the snowball revolves as it rolls down hill and how quickly it rolls. Fortunately, it’s not as difficult as it sounds.
Using the Animation Pane, right-click the first animation item (the motion path) and choose With Previous from the Start dropdown in the Timing group. Next, right-click the motion path item (in the pane) and choose Effect Options from the submenu. On the Effect tab, increase the Bounce end option a bit. Doing so gives the snowball a bit of a wobble when it hits the ground and stops. On the Timing tab, choose 2 seconds (Medium) from the Duration dropdown (if necessary). Click OK.
SEE: How to expose parts of a PowerPoint slide for emphasis (TechRepublic)
Next, right-click the second animation item and choose Effect Options. In the resulting Spin dialog, click the Effect tab and set Amount to 1080 Clockwise—that’s equal to three full revolutions (360 x 3). To update this setting, click the dropdown and enter 1080 in the Custom setting and check Clockwise. Then, click the Timing tab and set Duration to 2 seconds (Medium). Click OK. With the second item still selected, choose With Previous from the Start dropdown in the Timing group.
Right-click the third animation item and choose Effect Options. On the Effect tab, set the Size to 300% (use the dropdown and the Custom setting as before). The snowball will grow by 300% on its way down the hill. On the Timing tab, set Duration to 1 seconds (fast). Click OK. You want the snowball to grow a bit quicker than the roll down the hill. Otherwise, the snowball continues to grow at the bottom, which you don’t want. With the third item still selected, choose With Previous from the Start dropdown in the Timing group.
Are you surprised to learn that you’re done? It was probably much easier than you anticipated! To see the show, click F5 and then click the slide. A figure can’t show the motion, but the gradient fill for the snowball will revolve—making the rolling motion obvious as it rolls downhill. As you can see in Figure D, the snowball is on its way downhill and it has increased in size.
Figure D

If you don’t like the effect, return to the animation Effect Options settings and tweak things a bit. You might want the snowball to roll faster or to grow even larger! In addition, you could turn the hillside into a rocky cliff and the snowball into a huge boulder. Now that you know the animations necessary, you can use your imagination to figure out new ways to use it.