Circles add motion or flow to your data’s story. When that story comprises multiple points, you can fragment the circle into pieces that resemble chevrons. Each point adds direction to the flow — one point to the next. Microsoft PowerPoint doesn’t offer curved chevrons that you can mold into a circle, but you can still create a visual that looks like curved chevrons.
SEE: Google Workspace vs. Microsoft 365: A side-by-side analysis w/checklist (TechRepublic Premium)
In this tutorial, I’ll show you how to use a hollow circle and chevrons to create a circle of multiple chevrons that aren’t really chevrons at all but rather, fragments of a circle. I’m using Microsoft 365 Desktop on a Windows 10 64-bit system, but you can use older versions of PowerPoint. PowerPoint for the web can display the visual, but you can’t create it in the browser. You can download the demo file for this Microsoft PowerPoint tutorial.
How to insert the hollow circle in PowerPoint
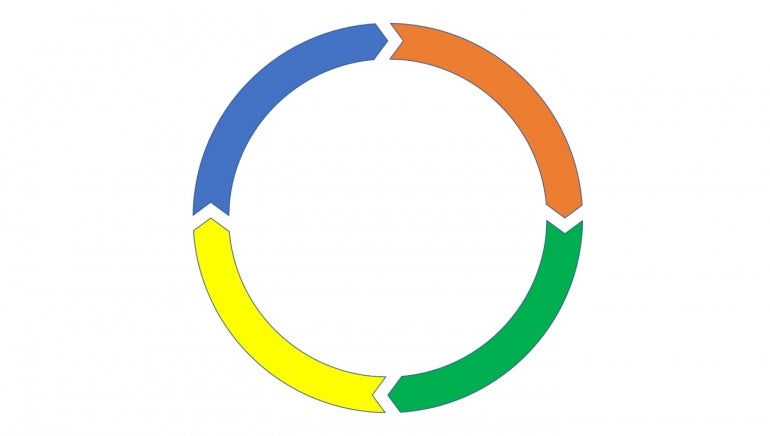
The secret to creating this easy visual is that the finished circle, shown in Figure A, isn’t four curved chevrons, as it appears. You’ll use chevrons to make those separations in a hollow circle. By the end, the real chevrons will be gone, and the circular fragments will look like chevrons.
Figure A
The first step is to insert the hollow circle:
- Click the Insert tab.
- Click Shapes in the Illustrations group.
- Select Circle: Hollow in the Basic Shapes section (Figure B).
- Click inside the slide and drag to size and position the hollow circle. Hold the Shift key as you drag to create a perfect circle.
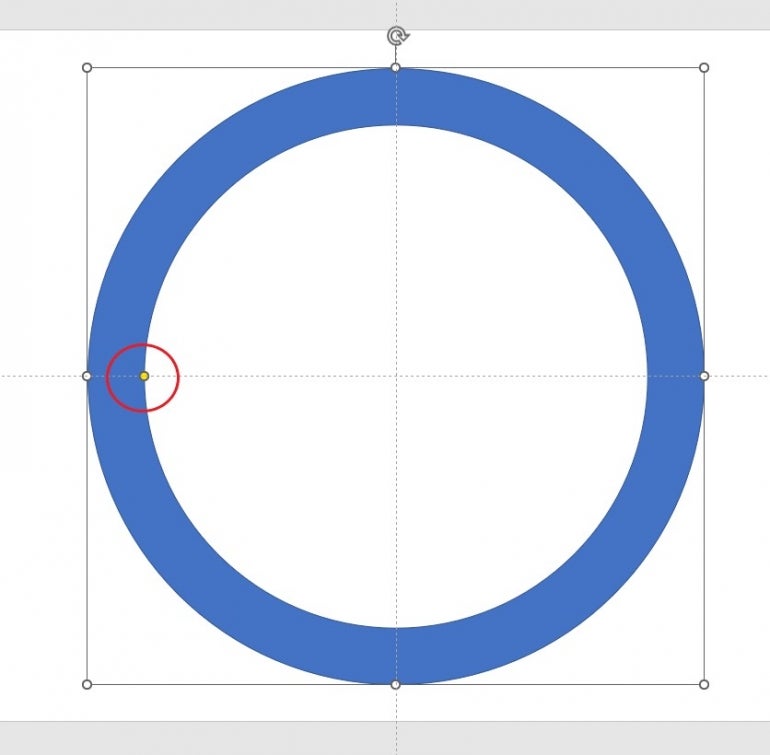
- Center the hollow circle and drag the yellow dot on the inside border toward the outside border to reduce the width of the circle (Figure C).
Figure B
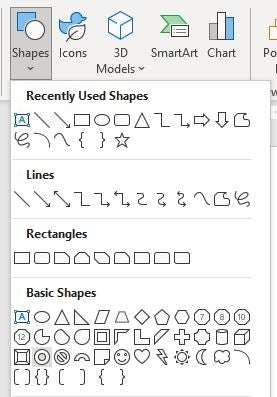
Figure C
The next step is to add the separating chevrons.
How to insert the chevrons in PowerPoint
We’re going to use the chevron shape to divide the circle rather than to try to create curved chevrons. This will make sense once you add one as follows:
- Click the Insert tab and then click Shapes in the Illustrations group.
- Select Arrow: Chevron in the Block Arrows section (Figure D).
- Click inside the hollow circle at the top to insert the chevron. It will probably be thin, as shown in Figure E.
- With the chevron selected, choose white from the Shape Fill dropdown. It doesn’t have to be white, but in this case, we want it to match the slide’s background.
- Resize the chevron so it’s nearly the same width as the circle (Figure F). It should overlap the edges of the circle, just a bit if the shapes have an outline.
Figure D
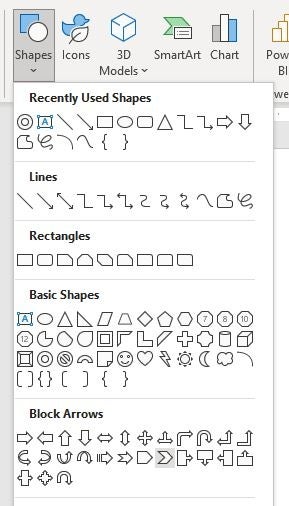
Figure E

Figure F

Select the chevron and copy it by holding down the Ctrl key and dragging three more chevrons. Position one at the bottom of the circle and using the rotation handle, turn it so the point is going in the same direction as the one at the top. Add two more chevrons, one at both sides of the circles. Make sure the points of these two chevrons are also facing the same direction, as shown in Figure G.
Figure G
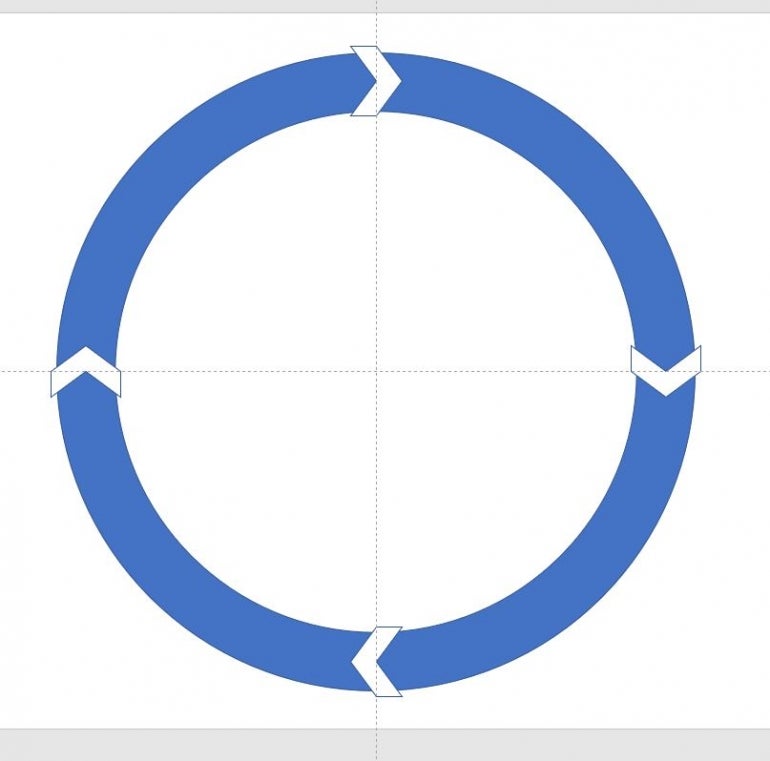
Use the rotation handles to turn the chevrons until they’re equally spaced and all flowing in the same direction around the circle. If you have trouble getting the positions just right, remember that you can nudge the shapes by pressing Ctrl + Arrow Key.
With the shapes all in place, it’s time to work a bit of PowerPoint magic.
How to fragment the circle in PowerPoint
Right now, the chevrons don’t supply the look you might have expected, because we’re not done. We need to break the circle into fragments that look like chevrons. That’s where the real chevrons come in.
If you’re not sure about the number of chevrons you want yet, duplicate this slide so you don’t have to recreate it later. You can always come back to it to add or remove chevrons.
Now, let’s continue by fragmenting the circle:
- Press Ctrl + A to select all five shapes.
- Click the contextual Shape Format tab.
- In the Insert Shapes group, click Merge Shapes.
- From the dropdown, choose Fragment (Figure H).
Figure H
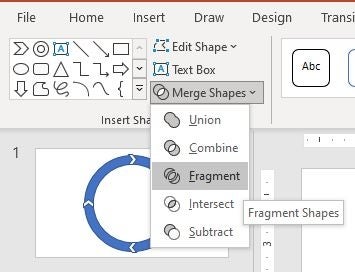
Figure I
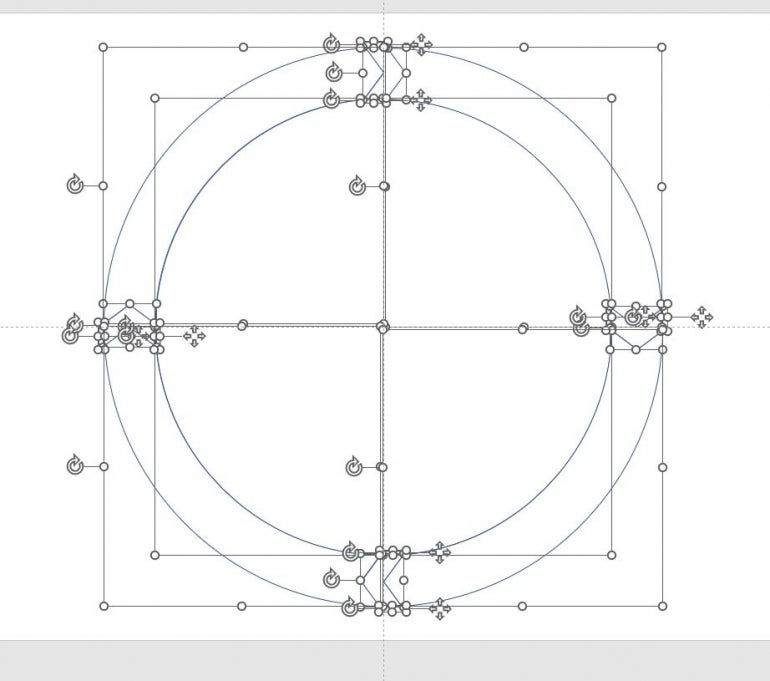
As you can see in Figure I, PowerPoint displays only the shapes’ outline. If you remove the outlines before this step, you won’t see anything at all, except for the selection boxes. With all the shapes still selected, choose a color from the Shape Fill dropdown.
Click outside the shapes to deselect them. Then, click inside the circle so you can remove the center section by pressing Delete. It’s a remnant of the fragmentation process. Next, drag over a chevron to select it and the overlapping edges and press Delete.
As you can see in Figure J, I’ve deleted all four chevrons and the small pieces that overlapped the edge of the circle, to remove the border.
Figure J
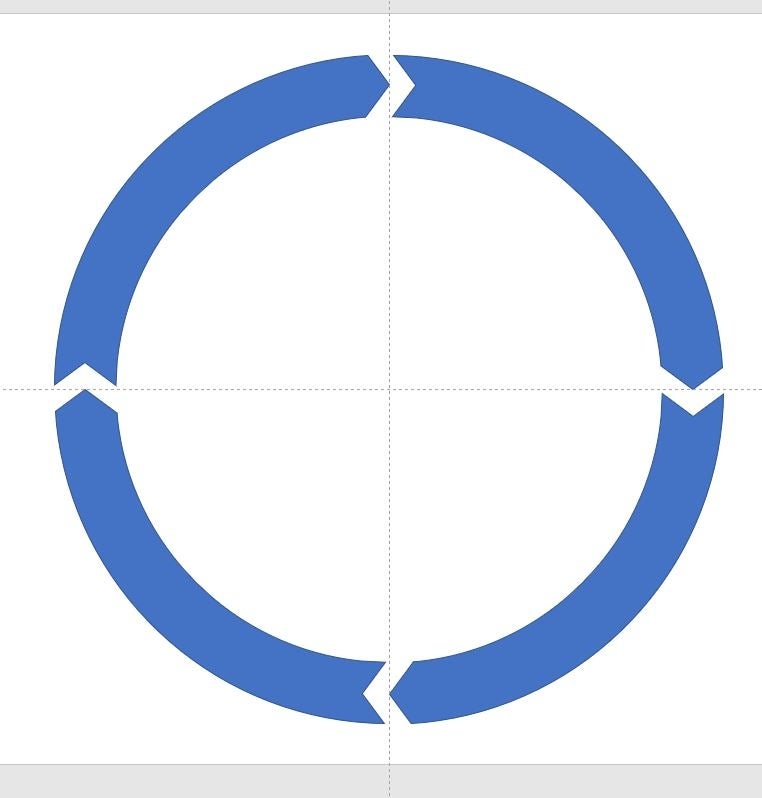
Be sure to select only the chevrons. If you accidentally select and delete one of the fragmented circle pieces, press Ctrl + Z to get it back.
Now, let’s add some color to the chevrons and finish the circle.
How to finish the fragments in PowerPoint
You could stop now, but you’ll probably want each fragment to stand out a bit, so let’s make them all a different color. Select one of the fragmented sections, as shown in Figure K. Then, click the contextual Shape Format tab and choose a color from the Shape Fill dropdown. Repeat this step to change the color of the remaining fragments.
Figure K
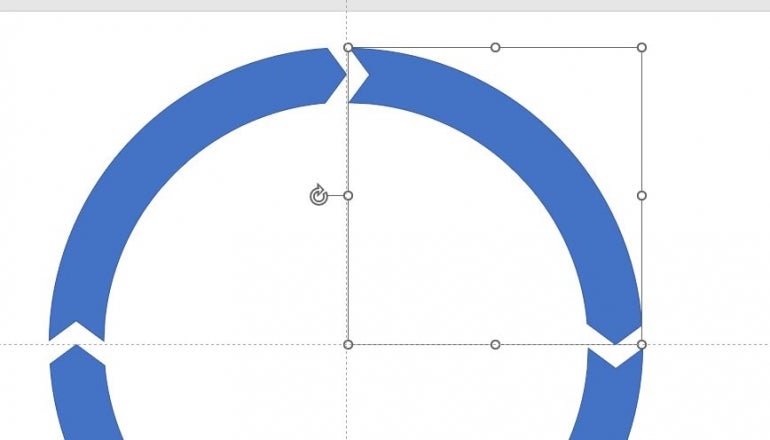
As you can see in Figure K, one of the fragments is still blue. The colored fragments now look like curved chevrons, but as you know, they’re not chevrons at all.
There are several things you can do at this point to customize the “chevron” circle:
- You can remove the borders or change its color.
- You can widen the white sections, but you’ll have to return to the duplicate slide to do so.
- You can also add or remove chevrons by adding or removing real chevrons, but you’ll have to return to the duplicate slide.
Once the circle is the way you want it, I recommend that you group it. That way you can work with it as one piece instead of four. Press Ctrl + A to select all four fragments. Click the contextual Shape Format tab and then choose Group Objects from the Arrange dropdown in the Drawing group.
Now you’re ready to add text, icons, or whatever you like to each “chevron” to tell your story.
