Highlighting text, adding a signature, posting comments, and marking up an image or PDF are often necessary tasks, yet ones many Mac users are uncertain how to perform. Thankfully, Apple has simplified the process by introducing annotation features within macOS’ Preview program.
SEE: Software usage policy (Tech Pro Research)
Must-read Apple coverage
- Nearly 7 in 10 iPhone Owners Plan iPhone 17 Upgrade
- Apple Prepares AI-Powered Siri Upgrade With Google Search Integration
- Apple’s Xcode 26 Beta Now Supports GPT-5 and Claude
- Apple’s Vision Pro Adoption Stalled As Content Released ‘Drip by Drip’
Offering numerous annotation and markup options, macOS Preview is up to the challenge. The native application, while offering a multitude of notation capabilities, is simple to use and easy to learn.
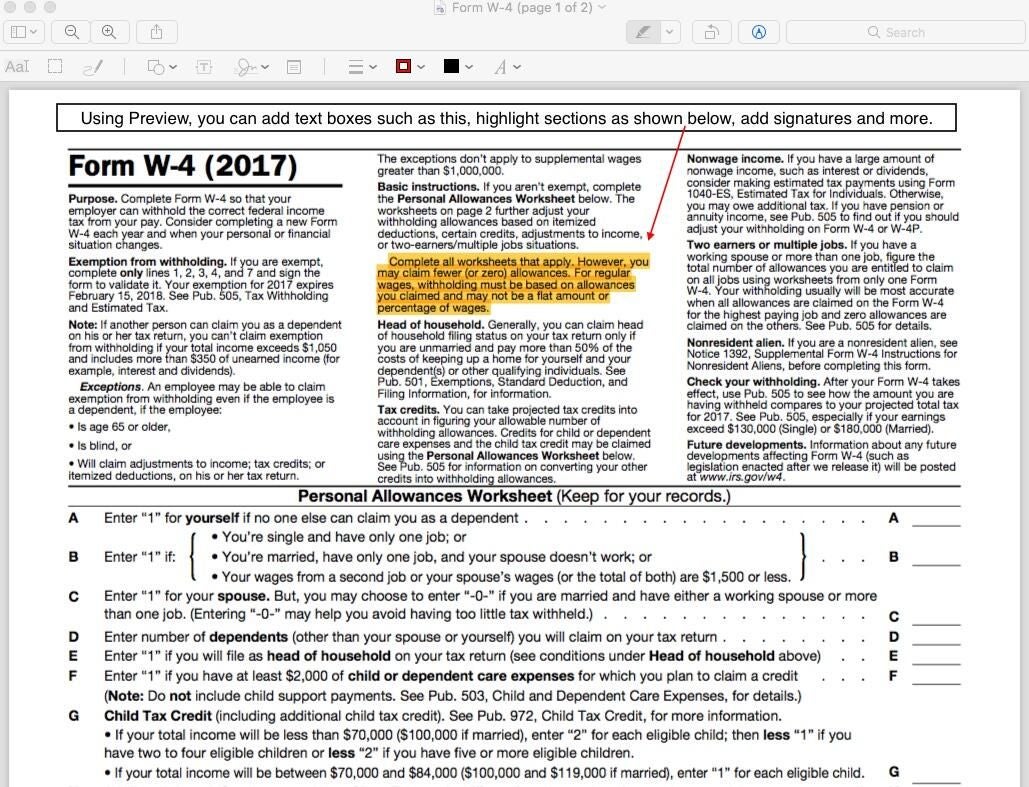
To notate files within macOS, open the corresponding file using Preview. With the file open, click Tools from the menu bar, click Annotate and select Text. A small text box, containing the word Text will appear. The text box’s edges will be marked by blue dots. Move the box to the precise location where you wish to add the text, edit the text as needed, and adjust the text box’s size. When you click outside the text box, the added text will remain.
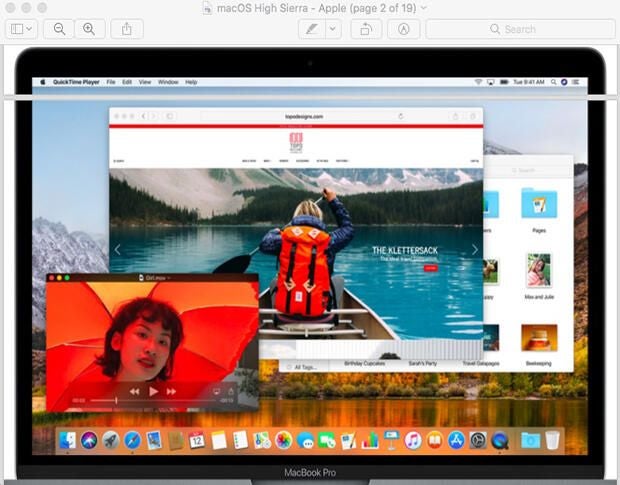
Accelerate the process by using the Markup Toolbar, which contains shortcut icons for common actions, including adding text boxes, highlighting text, and inserting markup items such as circles and squares (Figure A). If the Markup Toolbar is not displayed, click View from the Preview Title Bar and click Show Markup Toolbar or click the Markup Toolbar icon from the Preview Toolbar.
Figure A

Before you can add a signature using Preview, you must capture a signature. To capture a signature using Preview, click the Sign icon from the Markup Toolbar. Follow the guided steps to create and save your signature. (I found it easiest to use my MacBook Air’s trackpad, although you can also sign a piece of paper and hold the paper up to your Mac’s camera.)
To add a signature using Preview, click the Signature icon from the Markup Toolbar and click the signature you wish to add. Preview will add the signature to the file that’s open within Preview. Then, just use the mouse or trackpad to move the signature to the specific required location. You can also use resize the signature to fit the required space using the blue dots that outline the signature box.
Add circles and squares using Preview by clicking the Shapes icon from the Markup Toolbar and selecting the shape you wish to add (Figure B). Preview will add the subsequent shape to the file, at which point you can move and resize the shape.
Figure B
Edit the shape’s line color and fill, meanwhile, using the supplied Border Color and Fill Color drop-down icons found on the Markup toolbar. Note: Clicking the Show Color button that appears when clicking the Color icon permits accessing and adjusting opacity, as may prove necessary when highlighting a specific section rather than inserting a shape over (and subsequently blocking other) elements within the file.
Alternatively, you can use the Highlight button to quickly highlight text in a PDF. Just click the Highlight icon drop-down arrow within the Preview Toolbar, specify the color, and use the cursor to highlight specific text.
SEE: Top 20 Apple keyboard shortcuts for business users (free PDF) (TechRepublic)
Experiment with macOS Preview
Spend a little time experimenting with Preview. If you haven’t previously used its annotation capabilities, you’ll likely find the features so helpful you begin using them every week. And since the program is already built into macOS, there’s no need to purchase or load a third-party app to begin performing these common markup tasks.