


If you’re using Microsoft Teams, you have likely seen and interacted with the icons on the left side of the app. By default, those Microsoft Teams icons are Activity, Chat, Teams, Calls, and Files, but those items don’t need to remain in any particular order, nor do those default items need to stay on that left-hand menu bar.
Microsoft Teams is designed for customization, and the items on that menu are no different. Rearranging items and removing them is one of the easiest things to do in Microsoft Teams, and that includes adding new Teams apps and pinning them to the menu bar as well.
That’s right–there’s a robust app store in Microsoft Teams with integrations for a lot of different popular enterprise apps, and getting them to show up on that left-hand menu bar is a snap.
SEE: Microsoft Teams: How-to guide (TechRepublic download)
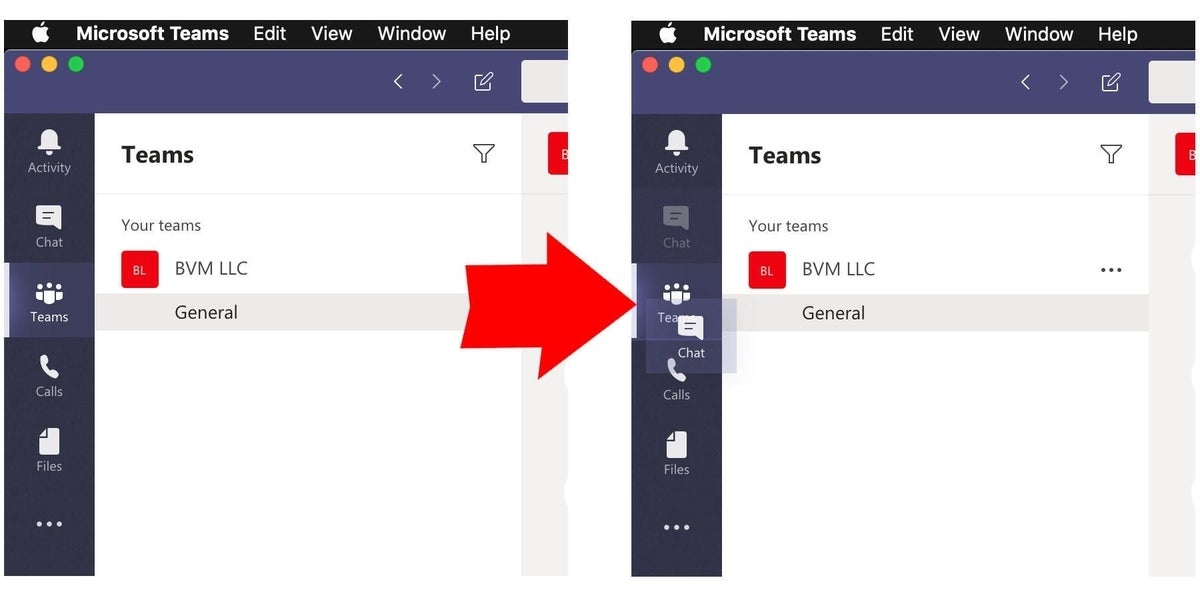
First off, let’s talk rearranging. All you have to do to move an item on the menu bar is to click and hold, and then drag to where you want it to be. You should see a bit of lighter color between menu items that will indicate where the item you’re moving will show up once it’s dropped (Figure A).
Figure A
Removing a pinned item is almost as simple: Just right click it (or two-finger click on a macOS device) and you’ll see a small menu appear (Figure B). The default items included in Microsoft Teams (Calls, Chat, Teams, etc.) can’t be deleted, so all you’ll see is the option to unpin those.
Figure B

Once an item is removed from the menu bar, it will be hidden but still visible from the More Items menu signified by the three dots at the bottom of the list of pinned items on the menu bar (Figure C).
Figure C

Items that you drag from More Items to the menu bar are removed from More Items (Figure D), and are automatically pinned in place.
Figure D

You can still use apps that aren’t pinned to the menu bar, and you can tell which ones aren’t pinned by how it appears: When an item that isn’t pinned is used, it gets added to the menu bar as long as it’s in use, but will it disappear once you select a different tab. The way you can tell which items aren’t pinned is by looking at how its title is displayed: Pinned items appear in standard font, while temporarily displayed items are italicized (Figure E).
Figure E

You can add more apps by downloading them from the Microsoft Teams app store, which can be accessed by choosing More Apps from the more items menu, or by clicking on the Apps button at the bottom of the left-hand menu bar (Figure F).
Figure F

Once in the app store you can find items you want by searching, browsing categories, or looking at the top pics (Figure G).
Figure G

Once an app is installed, it will be added to the More Items menu, but it won’t be pinned by default. In order to do that, you simply have to drag the app from More Items to the menu bar, or right-click it and select Pin (Figure H).
Figure H

Remember: If an app shows up on the left-hand bar with its title in italics, it will disappear as soon as you select a different app, so either pin it in place or remember that it will be hidden in the More Items menu.