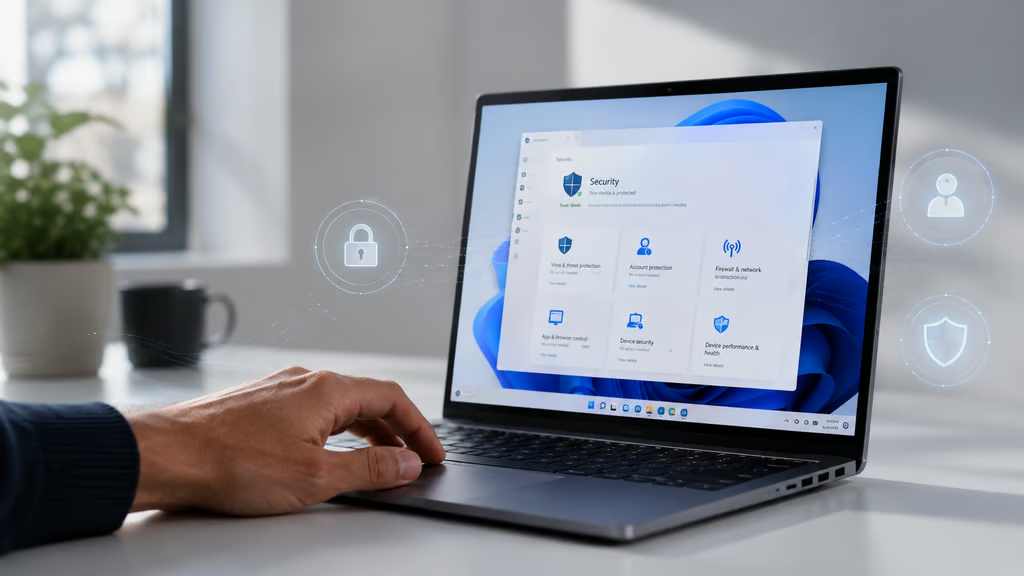
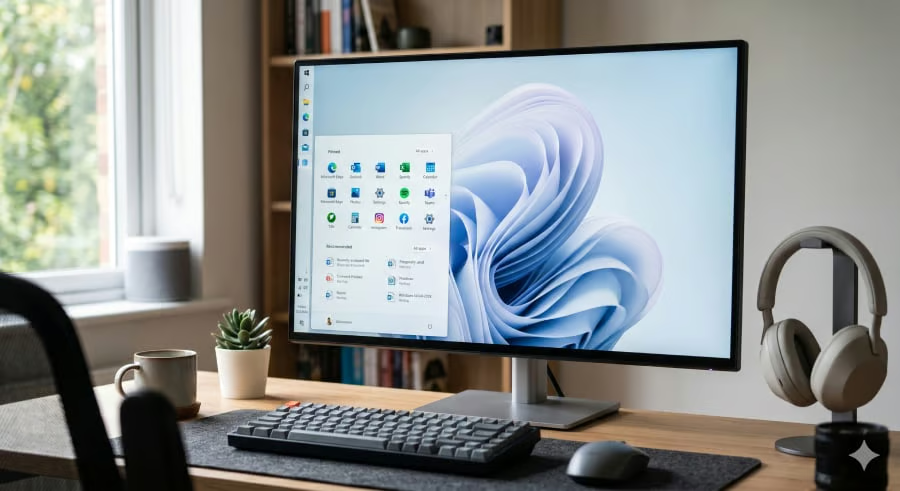
We hide data for lots of reasons, but probably the most common is to uncomplicate a busy worksheet. For instance, you might have sheets that display end results and hide the evaluated data. However, sometimes viewers might want to see that data, especially if you’re presenting the end results in a dashboard app.

In this article, I’ll show you two easy ways to hide data and then how to alert readers that there’s hidden data they might want to review.

SEE: Cost comparison tool: Google Apps vs. Office 365 (Tech Pro Research)

I’m using Office 365 Excel (desktop) on a Windows 10 64-bit system. Both methods for hiding rows are available in older versions. However, the Outline feature isn’t supported by the browser edition. You can use your own data or download the .xlsx and .xls demonstration files.

Hide command

Probably the most well-known way to hide rows (and columns) is to use the Hide command. Simply select the rows you want to hide, right-click the selection, and choose Hide from the resulting submenu. To unhide rows, select the row above and below the hidden rows, right-click and choose Unhide. Pressing Ctrl+z immediately will also unhide the rows. Alternately, you can click the Format dropdown (in the Cells group on the Home tab) and choose Hide & Unhide. Or, you can use the Ctrl+9 keyboard shortcut; Ctrl+Shift+( will unhide rows.

To illustrate how to hide rows, let’s use the right-click method to hide rows 4 through 7 in the simple budget sheet shown in Figure A:

  1. Select rows 4 through 7. To select the entire rows, click row 4’s header cell and while holding down the left mouse button, drag through the header cells until you reach the one for row 7.
  2. Right-click the selection.
  3. Choose Hide from the resulting submenu (Figure B).

Figure A

Hide rows 4 through 7.

Figure B

Choose Hide from the submenu.

The green line and the hidden row headers are indicators that the rows are hidden. Users might not realize that there is hidden data despite the visual clues.

Group

Excel’s Group option provides a second way to hide rows. To group rows, select them and then click Group in the Outline group on the Data menu. To ungroup, select the rows and click Ungroup. Now, let’s run through a quick example:

  1. Select rows 4 through 7.
  2. Click the Data tab.
  3. In the Outline group, click Group. Figure C shows the resulting group panel to the left of the row headers.

Figure C

Group rows you want to hide.

The icon to the left (with the minus sign) indicates that the group is currently ungrouped. Click it to group the rows, which is the same as hiding them (Figure D). Doing so displays a plus sign, which you can click to ungroup the rows. Similar to hiding the rows using the Hide command, you can see by viewing the row headers that rows 4 through 7 are hidden.

Figure D

Group rows to hide them.

The icons to the left provide a quick click for hiding and unhiding rows. However, some users might not know how to use them.

User-friendly notice

Both methods for hiding rows have visual indicators, but users may not know what they mean. Furthermore, if Headings are disabled (row headers), none of the row numbers are visible at all. If you’re hiding data to simplify a busy sheet or dashboard, you might want to give users a more user-friendly hint that lets them know how to view hidden data.

We’ll use a simple SUBTOTAL() function to count the number of detail cells in the sheet. By detail, I mean the evaluated values, not the Total or heading rows. The SUBTOTAL() function is a powerful function that lets you evaluate, or not, results of a filtered set and both hiding methods support this function.

Excel’s SUBTOTAL() function evaluates specified values using the following syntax:

SUBTOTAL(function_num,ref1,[ref2],...)

where function_num, a required argument, species the type of evaluation, and ref1 identifies the values to be evaluated. This function’s flexible function­_num argument not only specifies the type of evaluating but whether the result is visible when ref1 is filtered, which makes it a good choice for this solution. Table A lists the function_num codes.

Table A

function_num

includes hidden values

function_num

excludes hidden values

Function
1 101 AVERAGE()
2 102 COUNT()
3 103 COUNTA()
4 104 MAX()
5 105 MIN()
6 106 PRODUCT()
7 107 STDEV()
8 108 STDEVP()
9 109 SUM()
10 110 VAR()
11 111 VARP

We’ll use function_num 103 to count the number of referenced cells that aren’t empty. The code 103 excludes hidden values; when rows 4 though 7 are hidden, the function will return 0. Specifically, we’ll combine SUBTOTAL() with an IF() function to display a helpful message when rows are hidden and to display nothing when they’re not.

You’ll want to add the function to the row immediately following the Table (or data set). For instance, using our example data set, enter the following function in D9:

=IF(SUBTOTAL(103,Table7[Expended])=0,"Unhide or ungroup rows 4 and 7 for a detailed view.","")

If you’re not using a Table object, reference the actual cells, D4:D7:

=IF(SUBTOTAL(103,D4:D7)=0,"Unhide or ungroup rows 4 and 7 for a detailed view.","")

You could put the function in any of the columns; there’s nothing special about column D. Initially, the function displays nothing because the SUBTOTAL() function doesn’t return 0. Those rows aren’t hidden, so the function returns 4. Therefore, the IF() function returns the false condition and returns an empty string (“”).

Use either method to hide rows 4 through 7 and the SUBTOTAL() function returns 0. The IF() function returns true and returns the helpful string “Unhide or ungroup rows 4 and 7 for a detailed view” as shown in Figure E.

Figure E

The expression returns a helpful string that lets your users know that there’s hidden data they can view.

To learn more about SUBTOTAL(), read How to use Excel’s Subtotal feature.

Worth noting

Excel’s SUBTOTAL() function doesn’t work when evaluating columns–it’s strictly a row-evaluating feature. The function will return the right value, but it won’t support the hidden property. We’ve only alerted users to the hidden data. We haven’t provided a feature that automates the unhiding and re-hiding task; it’s worth considering, especially in a dashboard environment.

Send me your question about Office

I answer readers’ questions when I can, but there’s no guarantee. Don’t send files unless requested; initial requests for help that arrive with attached files will be deleted unread. You can send screenshots of your data to help clarify your question. When contacting me, be as specific as possible. For example, “Please troubleshoot my workbook and fix what’s wrong” probably won’t get a response, but “Can you tell me why this formula isn’t returning the expected results?” might. Please mention the app and version that you’re using. I’m not reimbursed by TechRepublic for my time or expertise when helping readers, nor do I ask for a fee from readers I help. You can contact me at susansalesharkins@gmail.com.

See also