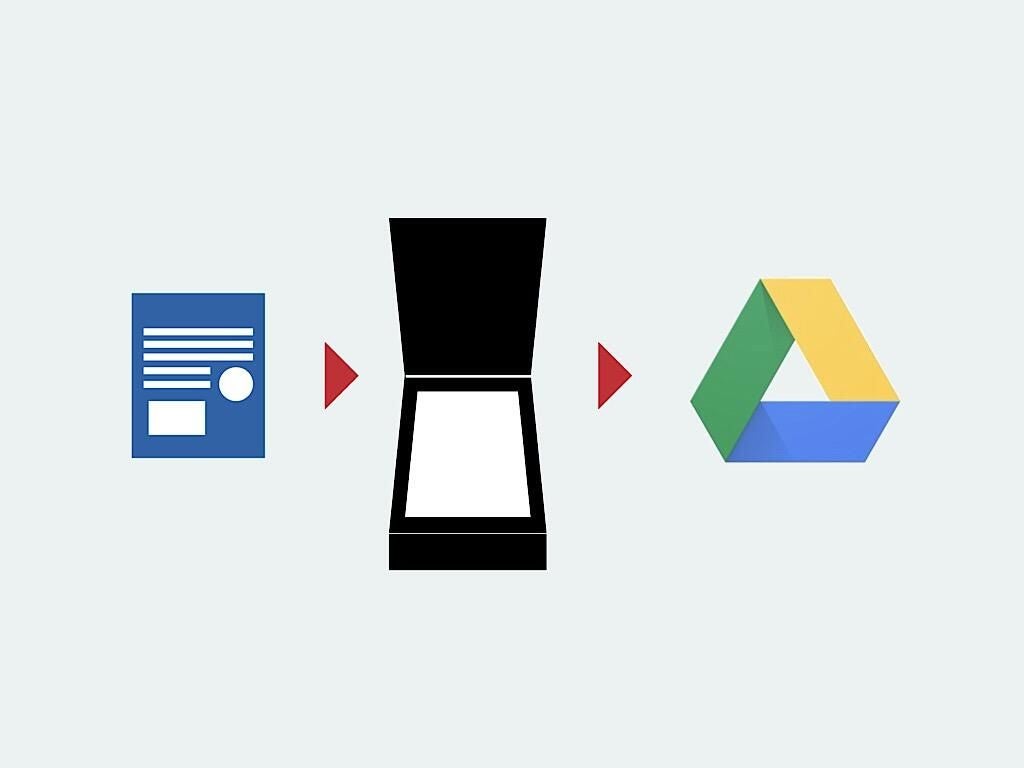
The world isn’t yet entirely digital. The organizations I work with still deal with plenty of paper documents in the form of letters, documentation, articles, photos, or reference material. While many of these organizations used Google Drive and G Suite, most scanned documents to a local computer or server.
Cloud: Must-read coverage
- CrowdStrike Outage Disrupts Microsoft Systems Worldwide
- Quick Glossary: Cloud Platform Services
- Achieving Cost Efficiency in Cloud Storage: The Role of Western Digital’s Hard Drive Portfolio
- Still Not Backing Up Microsoft 365 Data? Here’s Why That’s a Risky Move
- Verito vs. Rightworks: Which IT Provider Is Best for Your Firm?
Recently, though, these organizations moved to scan-to-cloud storage setups. Scanned documents now go directly to Google Drive. Unlike locally-stored files, documents on Google Drive are simple to share, accessible from anywhere, and easy to find with Cloud Search, which delivers keyword search (like Google search, but for your organization’s G Suite data).
To enable the ability to scan directly to Google Drive you’ll need a network-connected scanner–or a multi-function printer/scanner–that supports a Google Drive connection. For example, I’ve configured both Brother and HP printers to scan directly to Google Drive. You’ll also need access to both a web browser and the Google account where you want to store scanned items. Follow the steps below to connect your scanner to Google Drive.
1. Select the Google Drive app on your scanner
When you select scan, you’ll typically see destinations such as a computer, an SD card, or email.
Instead, look for Google Drive somewhere in the apps option on your scanner. You’ll likely need to navigate through a few menus on your device to find it. Once you locate it, open it to start the connection process. (Note: You may need to register your device with the manufacturer’s web services before you continue.)
2. Connect to a Google account
Switch to your browser and go to the address specified on your scanner/printer. For example, when configuring scan-to-cloud for an HP printer, I opened my browser to http://www.google.com/device. Specify the Google account to receive your scans using your Gmail or G Suite address. In an organizational setting, you might create an account specifically for the device. (If you do this, you might also share the destination folder with people who will be scanning documents.)
Then, enter the code displayed on your scanner/printer into the browser, while logged into the same Google account chosen above. This establishes that you have control of both the Google account and scanner/printer.
3. Protect with a PIN
Protect your account with a PIN–especially in an office setting. Once configured, you’ll need to enter the PIN every time you use the Google Drive app to scan. This protects your account in two ways: You’ll prevent unwanted items from being scanned to your account, and you’ll also prevent unauthorized access to your Google Drive documents.Without a PIN, anyone with access to your printer could browse and print files from Google Drive.
4. Configure scanning options
On most devices, you can also choose from at least a few scanning options. These include things such as:
- Color or gray-scale,
- Resolution (e.g., 75, 200, 300 dots per inch, etc.)
- File format (e.g., PDF, JPG, PNG, etc.)
- Input (flat-bed or document-feeder)
Your choice of file format will vary with the type of items you scan. If you scan documents, choose PDF (or searchable PDF, if it is available) as the default scanned file format. Otherwise, select PNG or TIFF (or JPG, if neither of these options is available) if the items you scan most often are photos or images.
I suggest you scan in color and at the highest resolution available, especially if you intend to keep your scans for long-term reference. Better scans require more storage and take longer to complete, but Google Drive storage costs are relatively low (and, in some cases, already unlimited) and the time savings for lower-resolution options, in most cases, is negligible. Documents scanned at low resolution today may compare poorly to documents scanned in the future, since imaging, display, and printing technologies will likely only improve. Unless you need the time or storage savings, capture the best scan your device allows.
Repeat for additional accounts
Repeat the above process to allow your device to send scans to different Google accounts, or with different settings. For example, in one office I connected a Brother printer to two different Google accounts, and saved two scanning shortcuts–one for flat-bed images, the other for document feeder scans–for each. The four shortcuts allowed each staff member to press one button, enter their PIN, and quickly scan different types of source documents.
Scan with your phone
You can also use your phone to scan items to Google Drive. The Google Drive Android app supports multi-page document scanning. Third-party apps, such as Scanbot or CamScanner, also support auto-uploading of multi-page scans to Google Drive. (Scanbot and CamScanner offer both Android and iOS apps.) And Google’s own PhotoScan app does an excellent job of capturing and converting photos to digital files. However, a desktop scanner will likely be faster if you want to scan multi-page, two-sided documents.
Have you configured your scanner to send scans directly to Google Drive? If so, what default scan settings do you use? Let me know in the comments or on Twitter (@awolber).