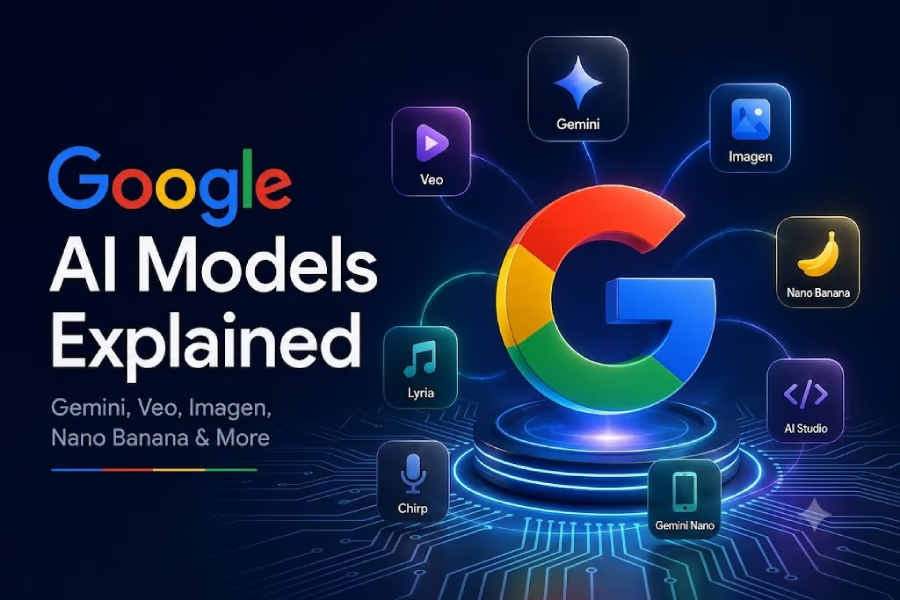
Image: Andy Wolber/TechRepublic

Screenshot support has long been built into Chrome OS. Press Ctrl + Show Windows to capture a PNG of everything on your screen. Or, press Ctrl + Shift + Show Windows and then click-and-drag to capture a specific rectangular area.

Recently, Google added a Screen Capture app to Chrome OS that not only lets you record your screen–optionally, with audio, as well–but also includes a new way to take screenshots. This is useful, since screen recording on a Chromebook previously required third-party extensions or apps.

SEE: Google Sheets: Tips and tricks (TechRepublic download)

How to use the Screen Capture tool

First, make sure your Chrome device is updated to Chrome 89 or newer, then follow the steps below.

1. Click in the lower-right corner where the Wi-Fi, battery and clock indicators display.
2. Select Screen Capture (Figure A).

Figure A

The Screen Capture tool joins several other settings on Chrome OS.
Screenshot and annotation: Andy Wolber

3. Next, select either Capture (image) or Record (video).
4. Modify the area to be captured: the full screen, a portion of the screen or a window (as shown in Figure B).
5. Optionally, if you select Record, you also may select the sprocket and then switch audio recording from the microphone on or off.

Figure B

Adjust Screen Capture options: image or recording; full screen, partial screen or window; audio recording (on or off).
Screenshot and annotation: Andy Wolber/TechRepublic

6. If you choose to capture or record a portion of the screen, click-and-drag to specify the section to capture. Otherwise, click anywhere on the screen to either capture your image or start recording. When finished recording, click on the red record button that displays in the right-side of the shelf to stop recording.
7. Access recent screen captures either from the shelf (in the lower-right corner area) or wherever your system stores Downloads. To learn how to change the download location, see: How to change your Chromebook Downloads folder to ensure you always have your files available.

The Screen Capture tool saves screenshots as PNG format images, while recordings are stored in WebM format files. Files in both formats can be used with Google Workspace apps. For example, you might insert PNG or WebM format files in a Google Slides presentation or on a Google Sites page.

Note: WebM screen recordings may not play on every device.

Historically, Apple’s Safari browser has not supported WebM files, although, early 2021 beta releases indicate that WebM support may arrive soon for Safari on macOS. To check if your browser supports WebM, visit the WebM detect page. For maximum viewability, you may want to convert WebM files to another format, such as MP4, to ensure that it will display properly on most devices. Check out Convert more than 200 file types in your browser with CloudConvert, to learn about one file conversion tool that works well for internet-connected Chromebooks.

Other options? Your experience?

While Screen Capture handles basic screenshot and recording tasks on Chromebooks, third-party apps may still make sense for many people. Utilities, such as Loom for Chrome, Nimbus Screenshot & Screen Video Recorder and Screencastify – Screen Video Recorder, do much more than simply capture and save images and recordings. These apps let you capture your webcam along with your screen recording (so your webcam shows as an inset video), make basic edits to capture images and recordings as well as store or export files in different formats (e.g., MP4, GIF, etc.). All three of these utilities provide some functionality for free, with paid upgrade options available.

What screenshot or screen recording tool do you use most often on your Chromebook? Do you find Google’s Screen Capture tool sufficient for your needs, or do you prefer additional features offered by third-party screenshot and recording apps? In the comments below or on Twitter (@awolber), let me know what methods you use to capture your Chromebook screen.