You might keep Microsoft Word primarily in Print Layout view, which displays your document as it would look when printed, complete with margins, page breaks, and other visual elements. But that’s not the only view that Word offers. The Web Layout view displays your documents without margins and page breaks. Read Mode displays your document formatted as columns for easier reading. Draft Mode and Outline view also offer certain benefits.
And there are other options, such as Side to Side view, Single Page view, Multiple Page view, and Split View, each of which provides specific advantages depending on how you want to see and work with your document. Let’s take a closer look at your options. (I’m using the latest flavor of Word via Microsoft Office 365, but the process for viewing documents works the same with previous versions of Word as well.)
SEE: 10 all-purpose keyboard shortcuts to boost your Word efficiency (free PDF) (TechRepublic)
Open a document in Word. If you use Word the way I do, your default view is likely set to Print Layout. To confirm, click the View icon. At the View ribbon, the Print Layout button should be highlighted; if it’s not, click that icon.
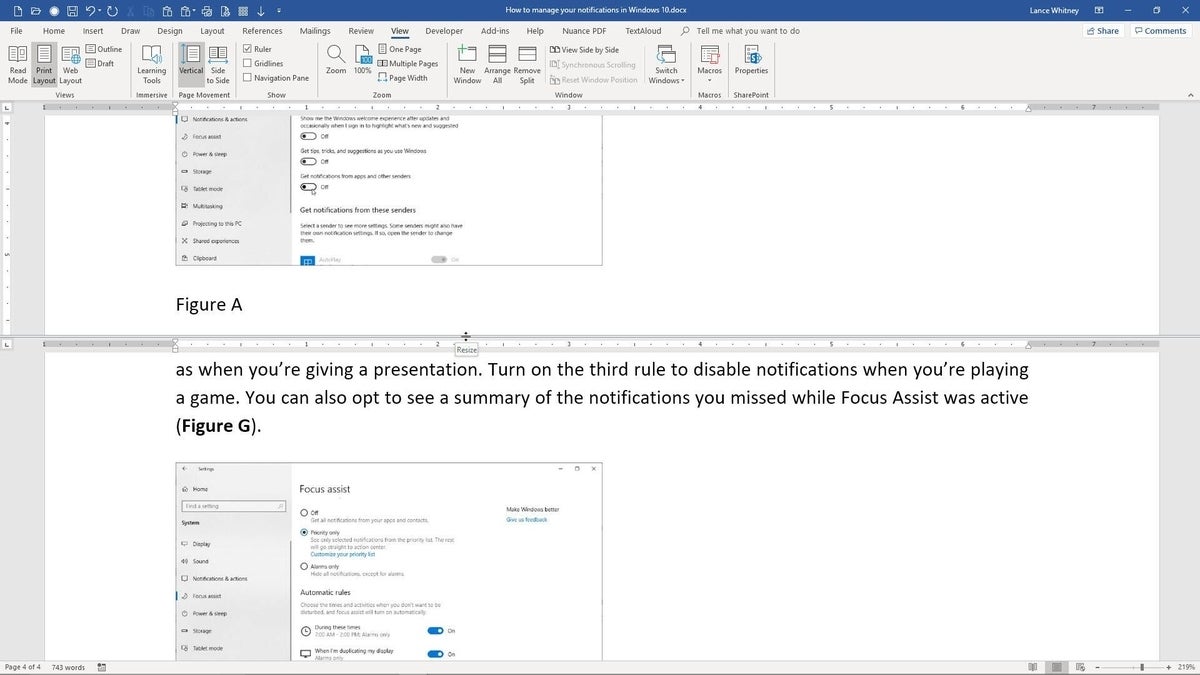
The major benefit with Print Layout is that you can see how your document will appear if printed, so you can better judge the margins, spacing, page breaks, and other visual elements and adjust any of them if necessary. But even if you don’t intend to print your document, Print Layout can show you where and how to tweak it to make it easier to read on the screen (Figure A).
Figure A
If you find the margins, spacing, page breaks, and other elements too distracting or disruptive, click the button for Web Layout (Figure B). Web Layout view is designed to show you what your document would like if you intend to publish it as a webpage. It also serves to display a compact version of your document without margins and page breaks so you can view more content on the screen at one time. With Web Layout view, you can continue to edit and modify your document so you don’t need to keep switching between this mode and Print Layout.
Figure B
If you prefer to read your document as if it were a printed book, click the icon for Read Mode. Your document appears in a compact form in two columns but with the text large enough to easily see and read on the screen (Figure C).
Figure C
You can’t edit your document in Read Mode, as it’s designed more for finished documents. If you need to edit it, click View and select Edit Document to return to Print Layout mode. To adjust the look and layout of Read Mode, click View and move to Column Width. This is where you can change the layout from the default of two columns to a narrow view of four columns or a wide view of one column. Move to Page Color, and you can switch the color to Sepia or Inverse (white on black). Move to Layout and select Paper Layout to switch to a large single-column view.
Other options are available from the View menu. Syllables separates each word into its syllables. Text Spacing adds spacing between each letter, word, and line. And Read Aloud reads your document aloud. To exit Read Mode, click the View menu and select Edit Document or just press the Esc key.
Outline view is useful if you want to view just the primary headings, subheadings, and text of your document without images or other visuals. To exit this view, click the icon to Close Outline View (Figure D).
Figure D
Back at the View ribbon, click the icon for Draft. This view displays just the text in your document without margins and page breaks and without images and other visual elements (Figure E).
Figure E
With certain views, such as Print Layout, you can zoom out to view multiple pages on the screen. Click the Side to Side icon to display your document two pages at a time (Figure F).
Figure F
In Side to Side view, click the Thumbnails icon to view small thumbnails of each page in your document. This view is helpful if you need a bird’s-eye view of your document or want to jump to a specific page in a lengthy document. Click the Thumbnails icon again to return to your previous view (Figure G).
Figure G
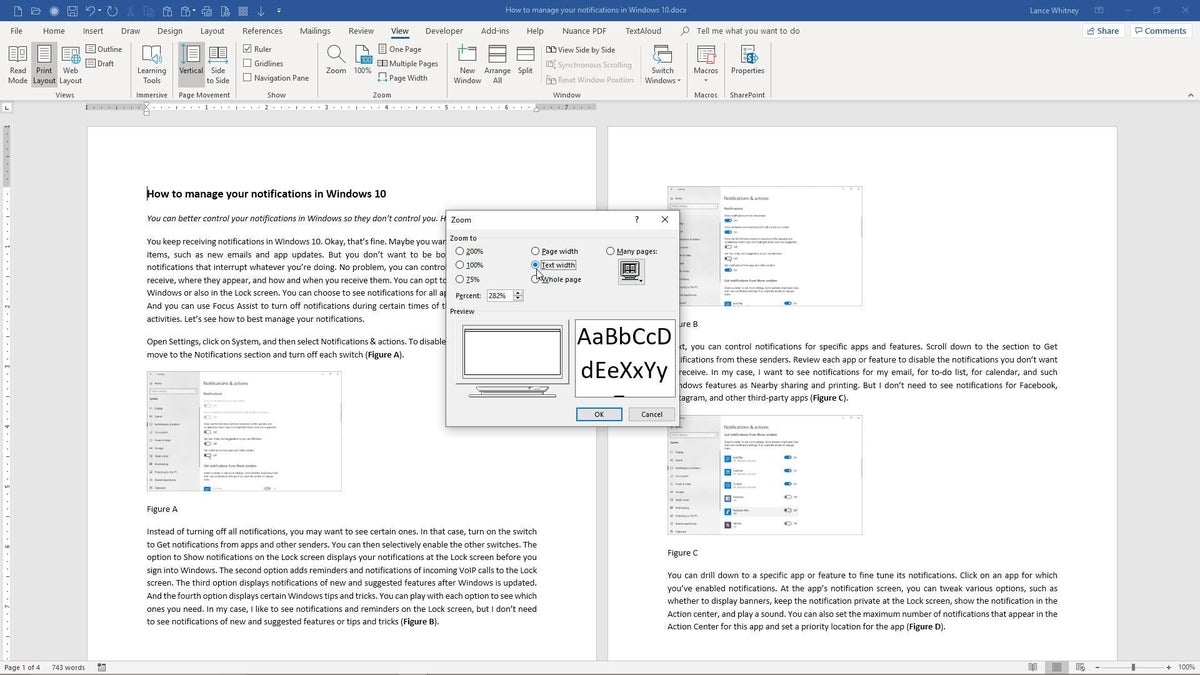
You can switch among different zoom levels using the various Zoom icons. One Page displays your entire current page. Multiple Pages displays two or more pages at a time. And Page Width displays the edges and margins of your document. From here, you can select 100% to zoom in on your document. How much of the document you see at 100% depends on the size of your monitor and the size of your window for Word. You can fine-tune the zoom level by clicking the Zoom button and choosing or typing a specific percentage (Figure H).
Figure H
You can view two separate areas of your document at the same time; this is handy if you need to refer to two different areas and don’t want to keep scrolling up and down, or if you need to copy and paste content from one area to another. Click the icon for Split to split your document into separate views. You can work with and navigate each of the two panes independently. Drag and drop the split bar to change the length of one pane versus the other. Click the icon to Remove Split or double-click the split bar to return to normal view (Figure I).
Figure I