
Helm was created to simplify Kubernetes; MicroK8s was created to ease the complexity of Kubernetes deployment; Portainer was created to simplify container deployment. If you put those three things together, you have the means to deploy full-stack Kubernetes applications and services with ease. Believe it or not, it’s not nearly as hard as you might expect.
SEE: Hiring kit: Back-end Developer (TechRepublic Premium)
If a much simpler Kubernetes experience is what you desire, read on to learn how Portainer can help. If you haven’t already deployed Portainer to a MicroK8s cluster, find out how before continuing. Once you have Portainer deployed to your MicroK8s cluster, you can then take advantage of Helm, without any further installation.
What you’ll need to use Helm charts with Portainer
To take advantage of this setup, you’ll need to have Portainer deployed to a MicroK8s cluster as explained in the link above. Believe it or not, that’s it. Let’s get to work.
How to deploy an application via Helm with Portainer
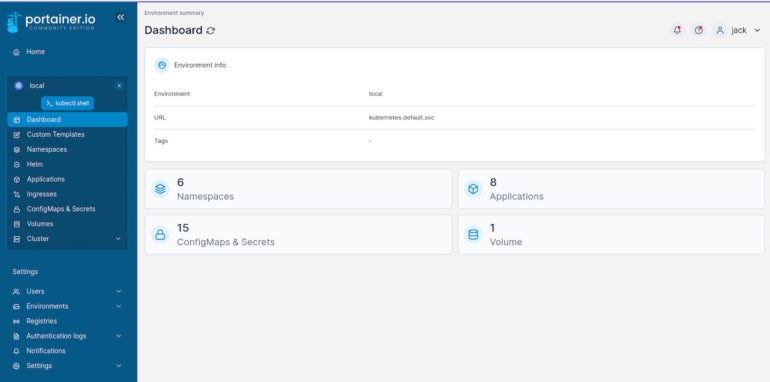
To start, log in to your Portainer instance and make sure to select the Local environment. You should then see your current Dashboard (Figure A).
Figure A
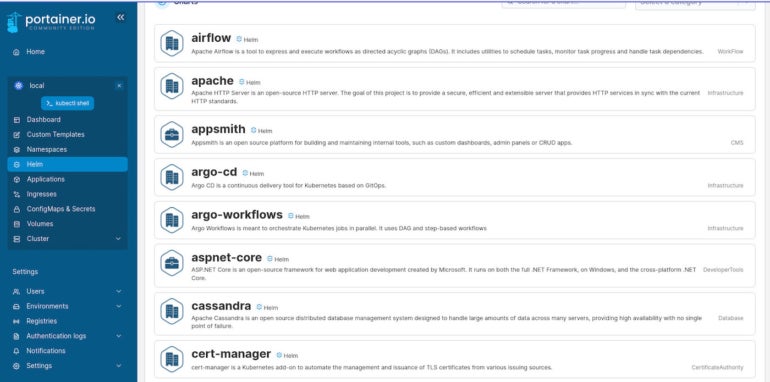
Next, click Helm in the left sidebar to reveal several pre-configured Helm charts to select from (Figure B).
Figure B
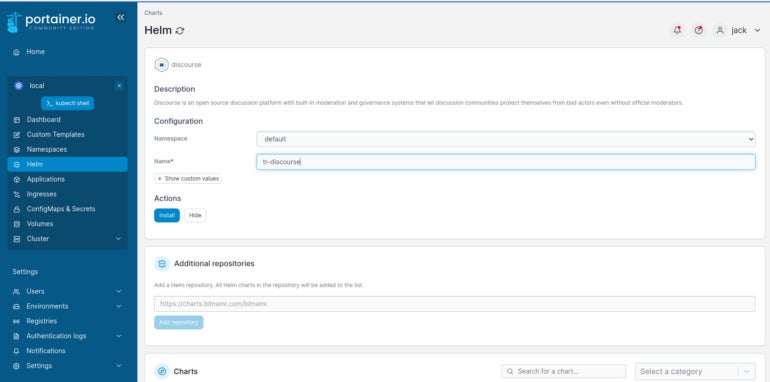
Let’s install Discourse via Helm. First, locate and click the Discourse entry. In the resulting window (Figure C), leave the default namespace and give the deployment a name.
Figure C
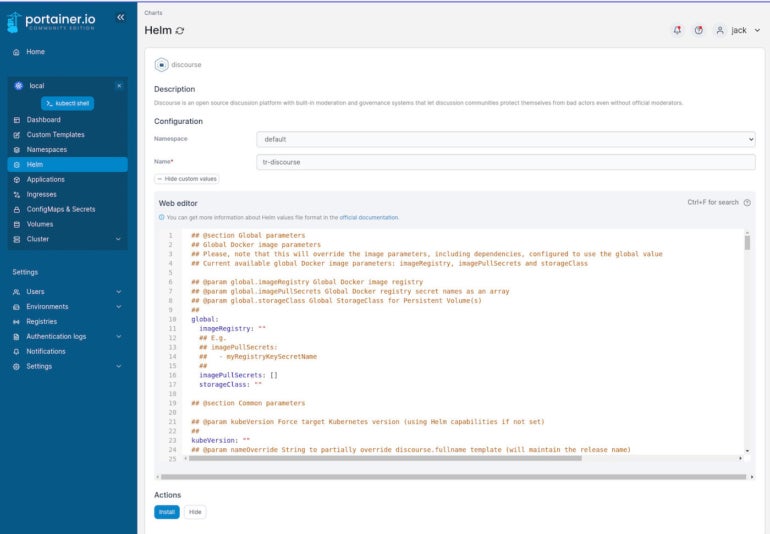
You can also click Show Custom Values to view the actual Helm chart (Figure D) and make any changes you need.
Figure D
After making any necessary changes, click Install to deploy the stack. Depending on the stack you’ve chosen, the deployment can take some time.
Once the deployment is complete, you’ll automatically be taken back to your applications list, where the service will probably show up as Not Ready (Figure E). This is because MicroK8s is replicating the service to the cluster.
Figure E
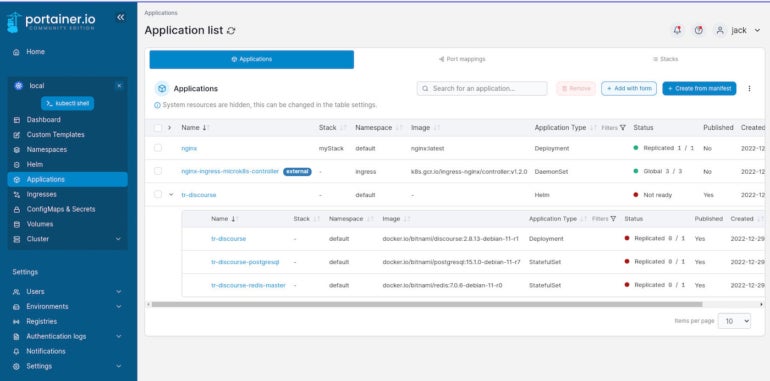
Eventually, that new service will show as Replicated or Global. At that point, you should be good to go.
SEE: Hiring kit: Platform engineer (TechRepublic Premium)
Deploy with ease using Portainer and Helm
That’s how easy it is to deploy a full-stack Kubernetes application with Portainer and Helm. It doesn’t get much simpler than that.
If you’ve found Kubernetes to be too much of a challenge to use, you owe it to yourself to give the MicroK8s and Portainer combination a try, as it will get you up and running faster than you might expect.
Read next: The 12 best IDEs for programming (TechRepublic)
Check these resources from TechRepublic Academy to learn more about Developing on Kubernetes :
The Docker and Kubernetes Certification Training Bundle
The Ultimate Kubernetes & Cloud Certification Training Bundle
The 2022 DevOps Cloud Engineering Prep Bundle
