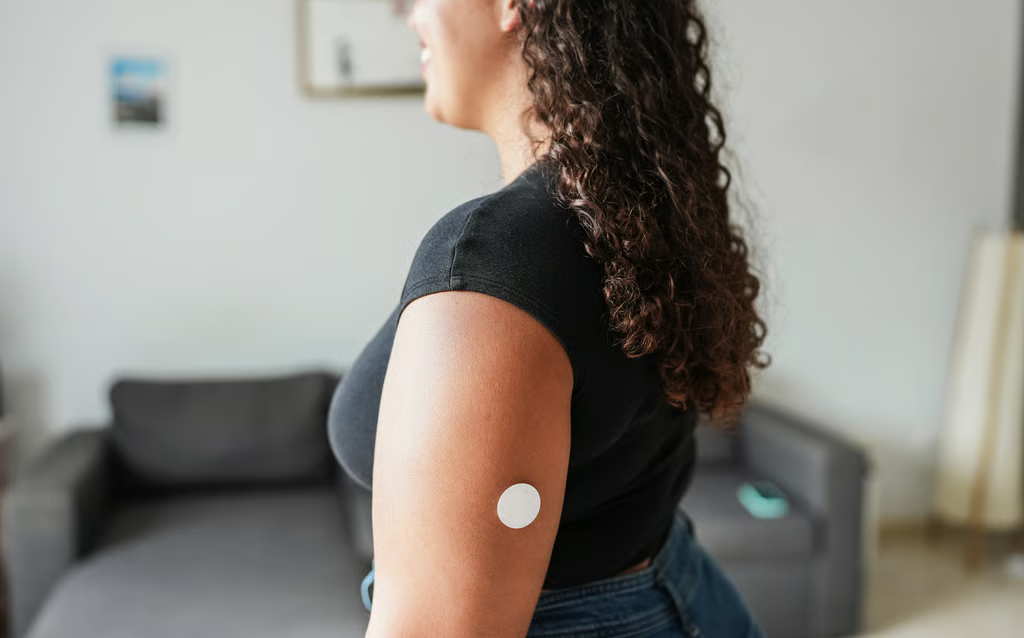
The complete TechRepublic Ultimate Wireless
Security Guide is available as a download in PDF form.

Windows Server 2003 comes bundled with a very capable RADIUS
(also known as AAA) server
that’s extremely stable, secure, and robust. When you search on Internet
security databases for Microsoft IAS vulnerabilities, you won’t find any. The
IAS service just runs for years without the need to patch IAS. If your Windows
Server 2003 box is hardened to only accept IAS requests with host-based
firewall restrictions on all other ports and you install no other services on a
Windows 2003 box, you can literally keep an IAS RADIUS server up for years of
zero downtime or reboots.

IAS competitors

One of IAS’ biggest competitors in the Enterprise
market is Cisco ACS which people often assume they must use if
they’re using Cisco networking equipment which simply isn’t true. Your Cisco
network equipment works perfectly fine so long as you avoid proprietary,
less-secure harder-to-deploy protocols, like LEAP or EAP-FAST.

Furthermore, the stability of ACS is questionable and
there is an endless patch cycle for it since it has been plagued with security
vulnerabilities and bugs. I’ve spent my share of time troubleshooting ACS and
many hours on tech support. I have had a lot of hands-on experience with Cisco
ACS. The latest version of Cisco ACS 4.x currently has two unpatched
security vulnerabilities
one of which is critical. Version 3.x
and 2.x
also have their share of critical vulnerabilities some of which are unpatched
as of December 10, 2006.

Cisco ACS also lacks the ability to act as a relay
RADIUS server which limits its ability to serve in a more robust multi-tier
RADIUS environment. You need that ability to link to multiple Active
Directories or other user directories that are not tied to each other. ACS also
costs around $8000 per copy whereas Microsoft IAS comes with Windows Server
2003. Two redundant RADIUS servers would add up pretty quickly. Cisco ACS also
comes on a dedicated appliance but that’s even harder to use in my experience
since you don’t even get a Windows console graphical interface to work with.

Funk software (acquired by Juniper) has a pretty good
solution with Steel-belted
RADIUS
at around $4000 per copy but that is still a significant cost
especially when you need two RADIUS servers for redundancy. Funk is a great
solution for companies which don’t run a Windows Active Directory environment
because IAS is tightly wound in to Microsoft Active Directory and doesn’t
support non-Microsoft databases.

Linux users have FreeRADIUS available to them. FreeRADIUS has had critical
flaws (0.x and 1.x)
in the past but they’re all patched now unlike Cisco. FreeRADIUS still isn’t as
clean as the Funk or Microsoft RADIUS solutions but it’s completely free if
you’re rolling your own Linux distribution or you don’t need enterprise Linux
support. If you’re talking about SuSE or Red Hat and you want enterprise
support, then the annual support contracts is double the cost of a perpetual
Windows Server 2003 license. It all depends on usage model and some people will
prefer Linux and some will prefer Microsoft.

Install IAS

Windows Server
2003 doesn’t come with any extra services installed by default for security
reasons so you’ll need to manually install IAS. It’s fairly simple if you have
the Windows Server 2003 install CD. To install IAS, simply open “Add
remove programs” from your control panel and select “Add remove
windows components”. You will see the following window (Figure OO) so you’ll need to scroll
down to “Network Services”. You don’t want to just check it because you
don’t want all Network Services installed, just highlight it and hit the
“Details” button.

Figure OO

Networking services

Once you get
to the screen shown in Figure PP,
scroll down and just check off “Internet Authentication Service” IAS
for short.

Figure PP

Internet Authentication

Once you’ve
installed IAS, you’ll be able to launch IAS from your Administrative Tools
either from the control panel or from the start menu. You’ll see the following
interface. (Figure QQ)

Figure QQ

Service

Set logging policies

The first
thing we’ll do is look at and set the logging policies (Figure RR). Right click on “Internet Authentication Service
(Local)” and click Properties.

Figure RR

IAS Properties

You will now
see the screen in Figure SS. If you
check off the two checkmarks here, you will force IAS to log successful and
reject authentication requests to the Windows Event Viewer. If you’re intending
to use text or SQL based logging, you don’t need to check these unless you want
the logs showing up in both places.

Figure SS

Local Properties

If you click
on the “Ports” tab, you’ll see the screen shown in Listing TT. These are the default
RADIUS ports and you should generally leave them alone for standardized RADIUS
conventions. Microsoft IAS will actually listen on two sets of ports. The lower
number ports are the more traditional port numbers, Microsoft applications
prefer the higher number ports. You should generally leave this setting alone
as is.

Listing TT

Ports

This next part
lets you set the standalone text and SQL logging capability of Microsoft IAS.
You right click on “Local File” under “Remote Access
Logging” page and hit “Properties”. (Figure UU)

Figure UU

Remote Access Logging

The first
“settings” tab lets you set what events you want to log. (Figure VV)

Figure VV

Local file properties

The “Log
File” tab lets you set the file format and the log size limits. (Figure WW)

Figure WW

Log file

We won’t go in
to SQL logging in this article because it gets rather complex to set up a SQL
database. You have to manually create the accounts and tables in SQL in order
for this to work. Furthermore, IAS under Windows Server 2003 insists on
stopping the RADIUS service if logging doesn’t work so if the SQL server
doesn’t respond, all of your RADIUS servers stop working. Unfortunately,
Microsoft doesn’t give you any way to override this “fail-shut”
behavior because they claim customers want it this way because it’s more secure
but every customer I’ve talked to wants a choice on this behavior.

There is no
security risk because the Authentication and Authorization component of
Microsoft IAS is working perfectly fine, it’s merely unable to make a record of
the transaction. I’ve spoken with Microsoft and they’re telling me they will
correct this with Windows Server 2007 (or whatever it’s going to be called when
it’s released next year). Hopefully they’ll automate the SQL database creation
process with a script too.

Add RADIUS clients

A RADIUS
“client” is not what you would typically think of as a
“client” as in a user. A RADIUS client is something like a wireless
access point, a router, a switch, a firewall, or a VPN concentrator. Any device
that provides network access that needs to delegate AAA (Access, Authorization,
and Accounting) to a RADIUS server is considered a RADIUS client. For the
purpose of this tutorial, we’ll set up a single access point as a client.

To start,
we’ll right click on “RADIUS Clients” and select “New RADIUS
Client” as shown in Figure XX.

Figure XX

Radius Client

You then get
the screen shown in Figure YY where we give the device its name and set the IP
address of the access device which in this case is an access point. Be aware
that if you’re talking about a router or firewall that has multiple IP
addresses because it has multiple interfaces, you must configure the IP address
that is closes to the RADIUS server. This is because the RADIUS request is seen
as coming from the closest interface on a multi-homed access device and if you
configure the wrong IP, it will not be able to communicate with the RADIUS
server.

Figure YY

New RADIUS client name and IP

Then we set
the RADIUS type and RADIUS secret. The RADIUS type is almost always set to
“RADIUS Standard”. Cisco devices are the exception and you must
select “Cisco” for the “Client-Vendor” field if you want
your Cisco devices to work. There are exceptions like Cisco wireless switches
because the switches were acquired from Airespace in 2005.

Airespace
wireless switches use “RADIUS Standard” like everyone else in the industry.
The “shared secret” is the secret shared between the RADIUS server
and the access device (Figure ZZ).
Try to make the secret 10 characters or more comprised of random numbers and
letters. Avoid spaces and special characters since that might have incompatibilities
in some devices and software and you’ll have a rough time troubleshooting.

Figure ZZ

Setting the shared secret

Click
“Finish” to complete. You’ll need to repeat this for all of your
access devices.

Add remote access policies

Now we need to
create a remote access policy to authenticate and authorize the user trying to
access our access devices. To do this, right click on “Remote Access
Policies” and click “New Remote Access Policy”. (Figure AAA)

Figure AAA

New Remote Access Policy

Click
“Next” to move to the next screen (Figure BBB).

Figure BBB

Policy Wizard

Give your
policy a name and use the wizard. Hit “Next”. (Figure CCC)

Figure CCC

Policy Name

Choose
“Wireless” and hit “Next”. (Figure DDD)

Figure DDD

Wireless

Here you’ll
need to grant access to your users and computers. Hit “Add”. (Figure EEE)

Figure EEE

Group Access

Here you’ll need to adjust the location to your domain.
Hit “Locations”. (Figure FFF)

Figure FFF

Select Groups

Choose the
domain you’re trying to authenticate to and hit “Ok”. Note that the
IAS server must be joined to the domain you’re authenticating to or a trusted
domain. (Figure GGG)

Figure GGG

Select Location

Type
“Domain Users” and “Domain Computers and separate them with a
semicolon. (Figure HHH) Then click
on “Check Names” to force it to underline and validate your entries.
You may of course restrict access to a smaller group of users and computers
since the following option allows all domain users and all domain computers to
connect to your wireless LAN. Hit “Ok”.

Figure HHH

Enter domain

Note that “Domain Computers” is used to
authenticate your computer for “machine authentication” which
connects your wireless PC before the user even logs in. This is a very useful
and unique benefit of the Windows Wireless Client since it emulates the full
wired experience for wireless users.

If “machine authentication” isn’t
implemented, group policies and login scripts won’t fire off. Furthermore, only
cached users can login to the wireless computer, because users who have never
signed on to that PC can’t authenticate with the domain. For this reason alone
is enough for me to always recommend using the Windows Wireless client for
Windows users not to mention the auto-deployment
capability
.

Now you see
the screen shown in Figure III with
a summary of the user and computer groups you’re allowing access. Note that
this is an OR operator between these two group names. Either one true registers
a success. Hit “Next”.

Figure III

Group access defined

Choose
“Protected EAP (PEAP)” authentication. Then hit
“Configure”. (Figure JJJ)

Figure JJJ

Authentication

Before you get to this page, you must either have a
valid Machine Certificate from a Certificate Authority or you have already self-signed
one yourself. Leave the rest of the settings like you see in Figure KKK and click OK.

Figure KKK

PEAP Properties

Finalize the
remaining dialog box and you’re finished making a new wireless authentication
profile. Now we’ll move on to fine tuning the configuration.

Tweak remote access policies

Once you
complete the previous steps, you’ll see a new Remote Access Policy called
whatever name you gave it. The two default policies you see in Figure LLL the one we created are just
there as samples and are disabled by default. We’ll right click on it and hit
“Properties”.

Figure LLL

Remote Access Properties

You’ll notice
there are two “Policy conditions” shown in Figure MMM. Note that there is an AND operator operating between
the two conditions. That means both conditions must be true or else the policy
spits out a rejection and it moves on to the next “Remote Access
Policy”. The first policy forces “Wi-Fi Policy” to only permit
users coming in from 802.11 connections. The second policy is the permissible
user or computer groups we set earlier. Click on “Edit Profile” to
continue.

Figure MMM

WiFi Policy Properties

The
“Dial-in Constraints” tab lets you set the dial-in and session limit
restrictions (Figure NNN). It also
lets you restrict the times people are allowed to log in.

Figure NNN

Dial-in Profile

The
“Encryption” tab is important for security (Figure OOO). You must uncheck the three insecure checkmarks to
enforce maximum strength encryption.

Figure OOO

Encryption

The
“Advanced” tab (Figure PPP)
is something we won’t go in to now, but note that this is a very powerful tab
for advanced features. With special RADIUS attributes configured on this page,
you can do things like tell your Cisco VPN concentrator what user group a user
belongs to so that the concentrator will set VLAN and firewall policies on that
user matching their group rights. You can also do things like set VLANs or
group association for an Aruba wireless switch which has a built-in firewall.
We’ll leave the details for a future advanced RADIUS configuration article.

Figure PPP

Advanced tab

Under the
“Authentication” tab, you can tweak the EAP methods (Figure QQQ). For wireless LAN PEAP
authentication, you actually leave all the checkmarks alone. These settings are
for more traditional RADIUS applications like a modem dialup service provider
that proxies to your RADIUS server. Let’s click on the “EAP Methods”
button to see what it has.

Figure QQQ

Authentication

Here you can
edit the PEAP configuration. (Figure RRR)
We already set these settings during the initial policy wizard. Click
“OK”.

Figure RRR

EAP Providers

You’ll need to
click OK one more time to get out of the Dial-in profile window.

This final
section in the IAS interface is something we won’t do in this article. (Figure SSS) I just wanted to give you a
preview of what it does. The “Connection Request Processing” section
lets you set advanced RADIUS relaying features. You have granular control of
what kind of RADIUS requests you want to relay off to a different RADIUS server
and which RADIUS requests you want to handle in the local “Remote Access
Policy” engine.

You can even
configure groups of RADIUS servers that you want to forward to. This allows IAS
to participate in a multi-tier RADIUS environment. For example, if you have a
user that isn’t in your domain belonging to a business partner’s network that
needs guest access to your environment, you can forward to the RADIUS request
to your business partner for them to process. There are even Universities that
honor each other’s students and staff by allowing a student to securely log in
to any campus participating in the network.

Figure SSS

Connection Request

Backup and restore IAS policy

Finally, after
all this work we want to be able to backup our RADIUS configuration and maybe
even restore it on to a redundant RADIUS server. Microsoft gives you a simple
command line tool for exporting and importing the RADIUS configuration.

To perform the
backup operation, simply run the following command.

netsh aaaa show config c:\IAS.txt

Note that you
can use any name for the file. You can use that file locally if you ever screw
up the IAS configuration and you want to rapidly recover or if you want to copy
the IAS setting to another IAS RADIUS server. To restore the IAS settings from
the text file you created, simply run the following command assuming the
correct path and file name.

netsh exec c:\IAS.txt

This makes it
easy to rapidly deploy multiple redundant IAS RADIUS servers and it also gives
you the peace of mind to rapidly repair an IAS server.