


Must-read Windows coverage
- CrowdStrike Outage Disrupts Microsoft Systems Worldwide
- 10 Best Project Management Software for Windows in 2024
- Windows 10 Extended Security Updates Promised for Small Businesses and Home Users
- Securing Windows Policy
The previous article in this series discussed the process of configuring MDT with the operating system (OS) and drivers required for a computer to be successfully deployed. By leveraging the network, a Windows Server running WDS as a PXE server provides the boot component that allows a device to access the deployment share managed by MDT to obtain its OS.
With all the initial setup and configuration now done, it’s time to move on to the next phase in this tutorial: The deployment process itself–step-by-step.
SEE: How to create a Windows-based USB installer
Before proceeding, there are a few requirements:
- Server running Windows Server 2008 (or later)
- Windows Deployment Services installed and configured on the server
- Microsoft Deployment Toolkit installed and configured on the server
- Switched network (LAN)
- Broadband internet access (optional for LAN-based deployments; though required if deploying over the WAN)
- PC-based computer(s) with wired-network connectivity
Now let’s move on to successfully deploying our first Windows-based computer.
Start by powering on the client device(s), making sure to select the network boot setting (Figure A). When the client establishes a connection to the WDS server (PXE Server), you may need to press the F12 key (on legacy BIOS devices) or press the Enter key (on newer UEFI-based devices) to confirm the connection (Figure B).
Figure A
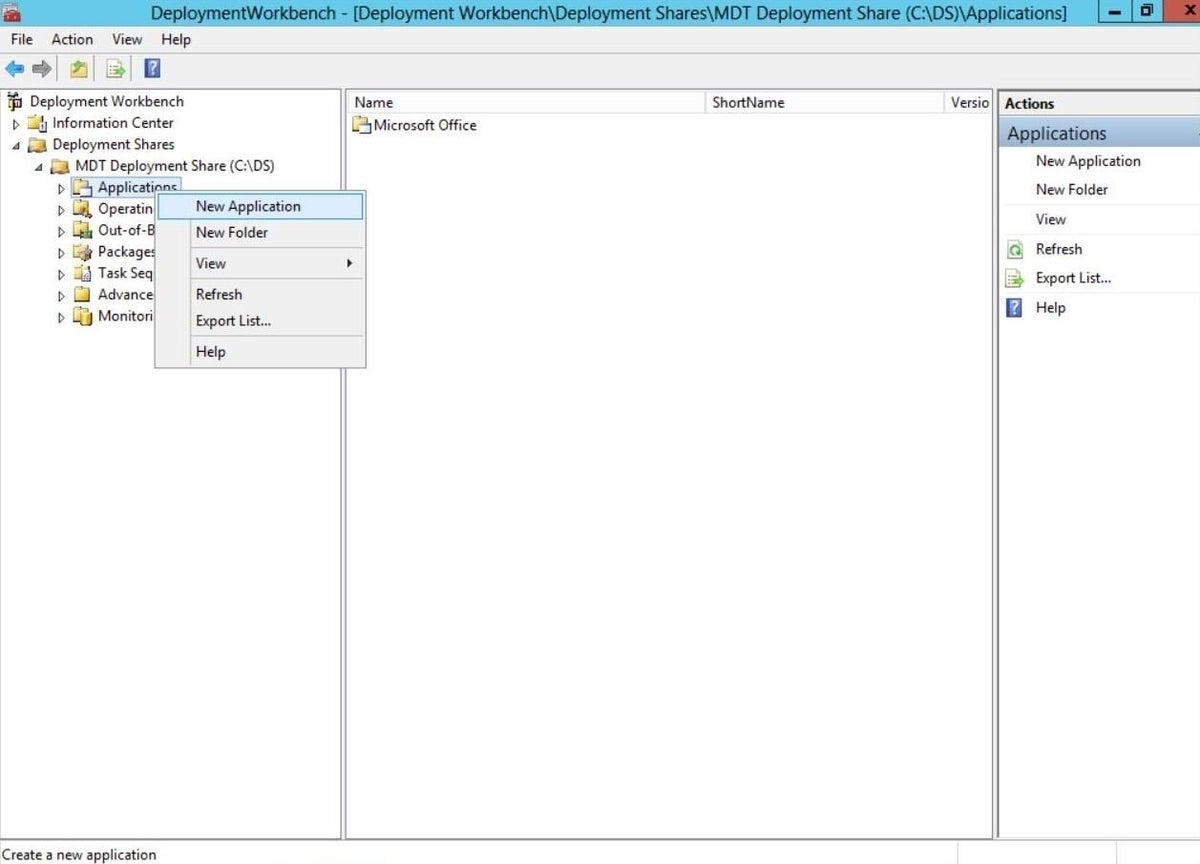
Figure B
After the DHCP server has assigned the client an IP address, the WDS server may wait for approval if administrative authorization is enabled. This setting in WDS requires for all unknown clients to be approved by the administrator prior to handing off connectivity from WDS to MDT. While optional, it is a great solution to implement in preventing devices from invoking unauthorized changes (Figure C).
Figure C
To approve a device, log on to the server and launch the WDS snap-in. Click on the Pending Devices node and you’ll find a listing of all the devices requesting access to WDS. Right-clicking the node will approve or deny all devices contained therein (Figure D). You can take a more granular approach by right-clicking the individual devices and approving them on a one-by-one basis (Figure E).
Figure D
Figure E
When a device is approved, a confirmation message is displayed (Figure F).
Figure F
Note: To disable administrative approval mode in WDS, simply right-click the server and select Properties. Click the PXE Response tab and deselect the Require Administrator Approval For Unknown Computers checkbox (Figure G). Click Apply to save the changes (Figure H).
Figure G
Figure H
Once approval has occurred, the client computer will be provided a boot menu. While the menu can have multiple choices for a variety of environments, by default, MDT creates a 32-bit and 64-bit boot image file, which is imported to WDS (Figure I). Select the one that best matches your target computer’s architecture to proceed with deployment (Figure J).
Figure I
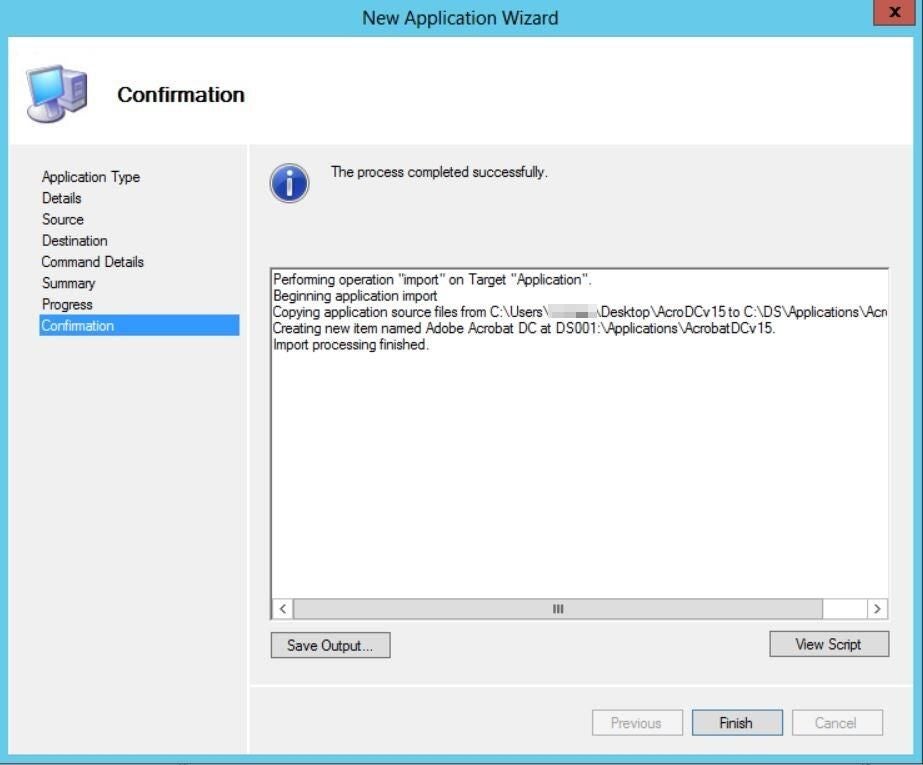
Figure J
When the WinPE environment loads, click on the Run The Deployment Wizard button to connect to the MDT network share (Figure K).
Figure K
Unless automated (more on automation in a future article), it is a good practice to require logon credentials to be manually entered, as this prevents unauthorized access to the server share. Enter your credentials to authenticate and connect to the MDT share (Figure L).
Figure L
After authentication, the Windows Deployment Wizard loads and you are free to choose an OS (Figure M), configure domain membership (Figure N), or even install applications.
Figure M
Figure N
Note: The wizard may show more panes or fewer panes–or none at all–depending on the level of advanced configuration that has been achieved. MDT lends itself to heavy customization through its configuration files, which leads the way to automating much of the deployment processes. Even without the benefit of SCCM, the Lite Touch approach can be configured to being virtually Zero Touch, as we’ll cover in more depth in the coming articles.
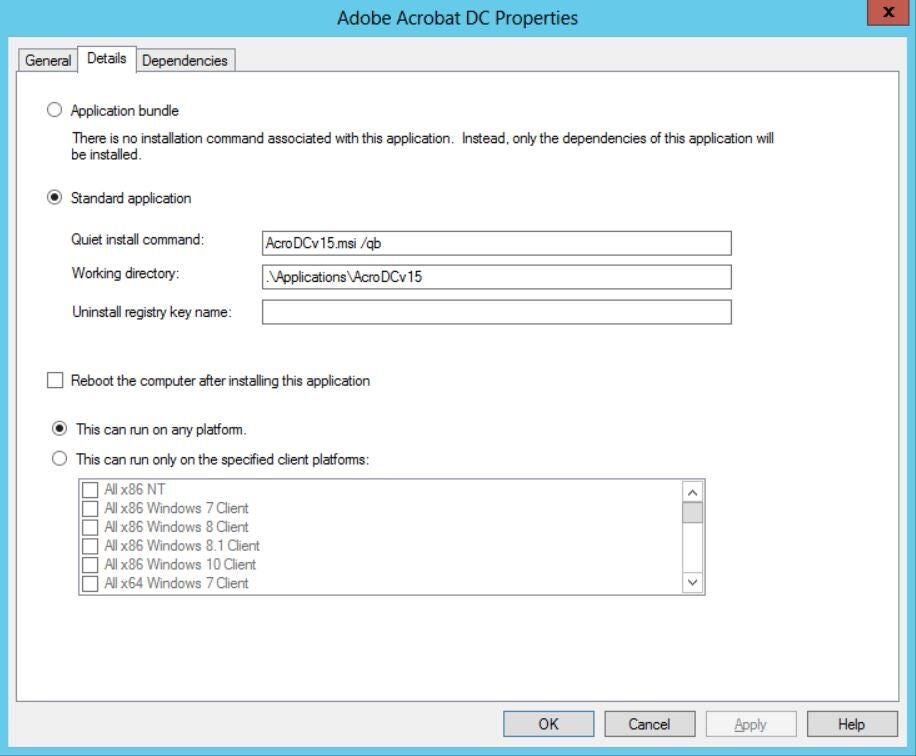
When all the information has been recorded from the user input or automated configuration, MDT’s built-in scripts handle much of the heavy lifting through the rest of the deployment process. There are approximately 70 tasks in the average task sequence–everything from formatting a drive to installing the operating system to configuring settings and renaming the device and joining it to a domain. Just about any task or process conceivable can be scripted through MDT (Figure O).
Figure O

Process time for deployments can vary widely but is mainly affected by these factors:
- Backbone speed of the network
- Server capacity
- Size of the deployment image (WIM)
- Number of clients connecting concurrently
- Unicasting vs. multicasting
The most important thing to stress here is to test, retest, and test again each deployment task to verify that it is working according to how it is configured before deploying en masse or putting the deployment task into production.
Also read…
- Power checklist: Troubleshooting hard drive failures (Tech Pro Research)
- Be prepared: Create a Windows 10 Recovery Drive (TechRepublic)
- How to set up Microsoft Deployment Toolkit: Step by step (TechRepublic)
- How to integrate DaRT into the Microsoft Deployment Toolkit and Windows Deployment Services (TechRepublic)
- When will your PC get the Windows 10 Anniversary Update? (ZDNet)
Other tips?
Have you run into any snags using the techniques described in this series? Share your experiences and advice with fellow TechRepublic members.