The protection of your network is one of the most important jobs in the business. Without vigilant monitoring and work, your network could be compromised and your data stolen. Because of this, you are often willing to give just about anything a try–if it helps harden your defenses. One possible option is the FreeBSD/HardenedBSD-based OPNsense.
OPNsense is an open source, free platform that serves as a powerful and easy-to-use firewall for your network. It features:
- Easy user interface
- Stateful firewall
- Traffic shaper
- 2FA
- Captive portal
- Virtual private network
- High availability CARP
- Filtering caching proxy
- Inline intrusion protection
- Multi-WAN load balancing
- Plugin support
- Back up to Google Drive
- And much more
SEE: Information security policy template download (Tech Pro Research)
I want to walk you through the process of installing this outstanding security tool. I’ll demonstrate the installation as a virtual machine on an Antsle device, but you can install this distribution on bare metal, VirtualBox, Vmware, or any other virtual solution.
What you need
Here’s what you need for a successful installation:
- A machine (be it virtual or not) with two NICs (one for LAN and one for WAN).
- The OPNsense ISO image (download here).
With that said, let’s make this happen.
The ISO
When you download the OPNsense ISO image, it will be compressed. Save it in your ~/Downloads folder and extract it with the command:
bunzip2 -d ~/Downloads/OPNsense-XXX-OpenSSL-dvd-amd64.iso.bz2
Where XXX is the release number.
You will then have an ISO image to boot from.
Installation
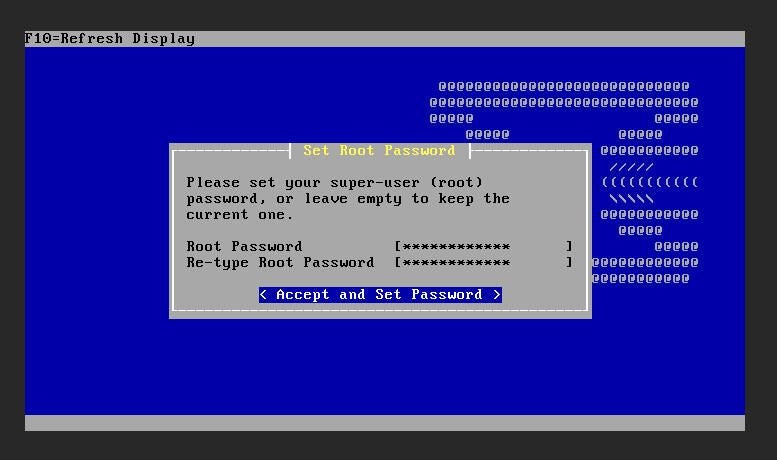
There are only a couple of caveats for the installation. The first is the login credentials. When the boot process lands on the login, you’ll want to log in with username installer and password opnsense. After logging in, unless your instance calls for something different, select the default options. During the installation, you’ll be required to set a root password (Figure A). Make sure this password is strong.

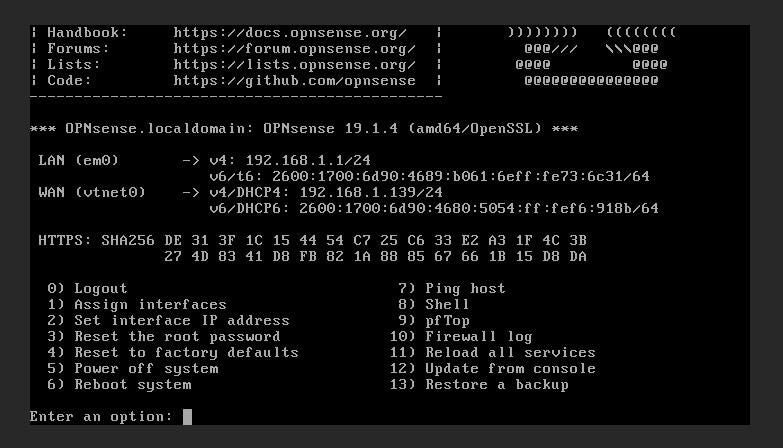
Once you set the root password, you’ll be prompted to reboot the appliance. Make sure to remove the boot media before rebooting. When OPNsense reboots login with username root and the password you created during installation, you’ll see a screen that allows you to take care of a few configurations (Figure B).

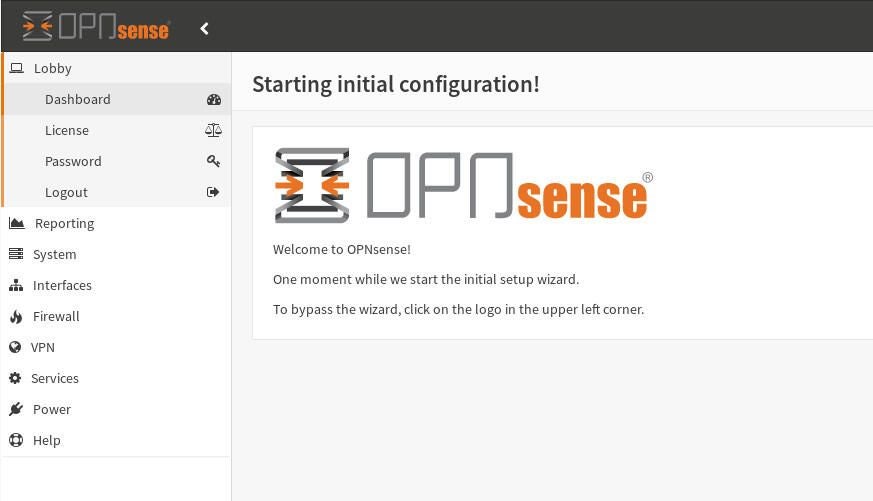
The second caveat is that you must assign both a WAN and LAN interface, and then assign an IP address to (at minimum) the LAN-facing device. Once you’ve assigned the IP addresses, you can then point a browser to the OPNsense web gui (Figure C) at http://SERVER_IP (where SERVER_IP is the IP address you’ve assigned to either the LAN or WAN interface.

You are now ready to complete the set up of your OPNsense Firewall. Give it the time and attention it deserves in the configuration, and you’ll have a powerful firewall, ready to protect your network from intrusion.