


Must-read Windows coverage
- CrowdStrike Outage Disrupts Microsoft Systems Worldwide
- 10 Best Project Management Software for Windows in 2024
- Windows 10 Extended Security Updates Promised for Small Businesses and Home Users
- Securing Windows Policy
Occasionally, a requirement simply can’t be easily met with the built-in features. Microsoft Word fields are similar to little bits of code that have a specific job. They return values that you can’t easily do in Word any other way. Fortunately, they’re easy to use once you get the hang of entering them properly. In this article, I’ll show you three ways to enter a Word field:
- Use the interface
- Ctrl + F9
- Type and convert
I’m using Microsoft 365 on a Windows 10 64-bit system, but you can use earlier versions. Word fields aren’t supported by Word Online; the original values will display, but they won’t update, nor can you enter them.
SEE: 83 Excel tips every user should master (TechRepublic)
About Word fields
You can insert fields to display content that will change when you update those fields. You might not realize it, but you’re already using fields. Page numbers, merge fields and so on are inserted automatically when you use those features.
You’ll notice as you work your way through the quick examples, that the function key, F9, plays a big part when working with fields. Specifically, here’s what this key does:
- Ctrl + F9 enters a blank field.
- Alt + F9 toggles all the fields in the document.
- Shift + F9 toggles the selected field.
In addition to entering and toggling fields, you can modify them using switches. A switch is an additional bit of information; it always starts with a backslash (). Switches add formats and change the field’s behavior a bit. We won’t include switches in this article, but you’ll want to explore them later.
When you enter a field, the underlying field code will use the following syntax:
{ FIELD NAME Properties Optional switches }
See Table A for an explanation of these elements.
Table A
| FIELD TYPE | This is the name of the code and determines what the field does. You’ll often see this part in all uppercase letters, but it isn’t case sensitive. |
| Properties | Optional instructions, but not all fields have them. In the interface dialog that you’ll see in the next section, these are referred to as Field Properties. |
| Switches | These are specific instructions, often to do with formatting that you can enable or disable. The character always denotes a switch. |
When including fields in a document, remember that anyone viewing the document in Word can view the underlying codes, so be careful about including personal or confidential information. I’ve never run into this situation but it’s worth noting.
Now that you have a good feel for what fields are, let’s start inserting them. We’ll begin with the interface method.
How to insert a Word field using the interface
Word’s interface provides the most comprehensive method for inserting fields. Even if you find another method easier, I encourage you to review the interface so you can learn what fields are available and about their switches.
SEE: Windows 10: Lists of vocal commands for speech recognition and dictation (free PDF) (TechRepublic)
To enter a field using the interface, do the following:
- Position the cursor where you want to insert the field, which can be in the document body, or the header or footer.
- Click the Insert tab and then click the Quick Parts dropdown in the Text group.
- From the dropdown, choose Fields (Figure A).
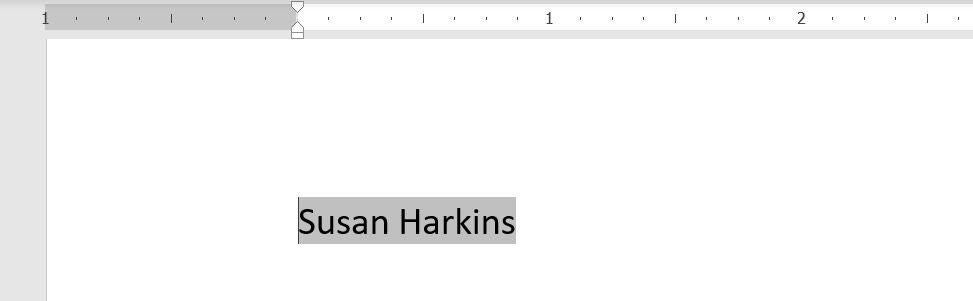
- The resulting dialog lists the Word fields in the Field Names list, which you can filter using the Categories list. For this simple example, select Author and then select First Capital in the Format list as shown in Figure B.
- Click OK, and you’ll see the author’s name in the document (Figure C).
Figure A

Figure B

Figure C
You may have noticed a few other options in the dialog:
- Field Codes will display the underlying field code.
- Options will display formatting options and other specialized options that are specific to the field.
- Preserve Formatting During Updates does just what it says: it preserves formatting.
You’ll want to explore the list of fields and their many options when you have more time.
You can use the interface to nest fields. After choosing one field, move the cursor inside that field and then return to the list and choose the second field. This capability takes a bit of practice. In fact, many users find it easier to enter a nested field manually.
How to insert a Word field by typing and converting
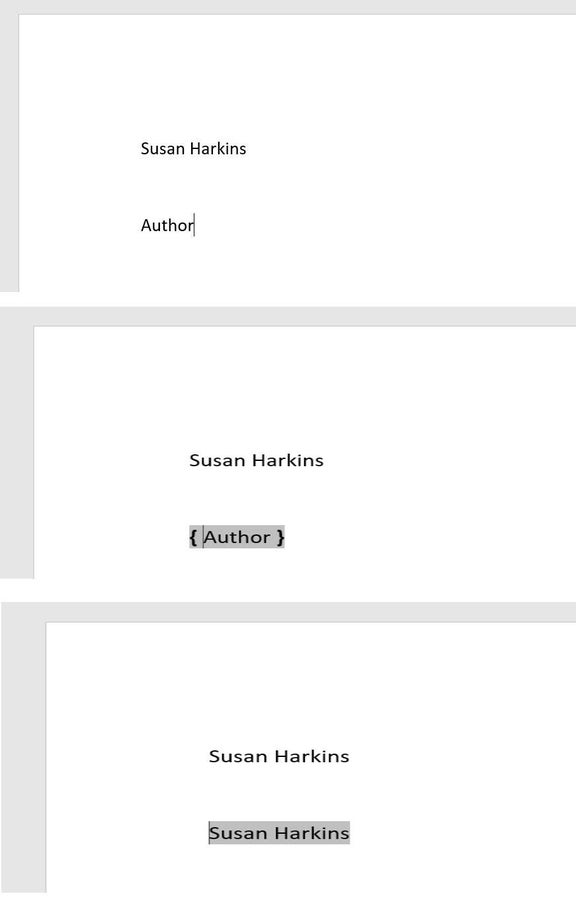
Perhaps the easiest method to enter any field is to simply type it, select it and then press Ctrl + F9. Doing so converts the text to the field(s). Let’s try this with again, the Author field:
- Position the cursor where you want to insert the field.
- Type Author
- Select the text you just typed (Figure D).
- Press Ctrl + F9 to convert the string into a true field. As you can see, Word adds the brackets.
- To display the field value instead of the field, press F9.
Figure D
This is a quick and easy way to enter a single field when you know the field code and any switches you might want to include. You can also use this method to insert a nested field, but you must insert each individually. You can’t type out an entire string and convert all the fields at once.
How to insert a Word field by using Ctrl + F9
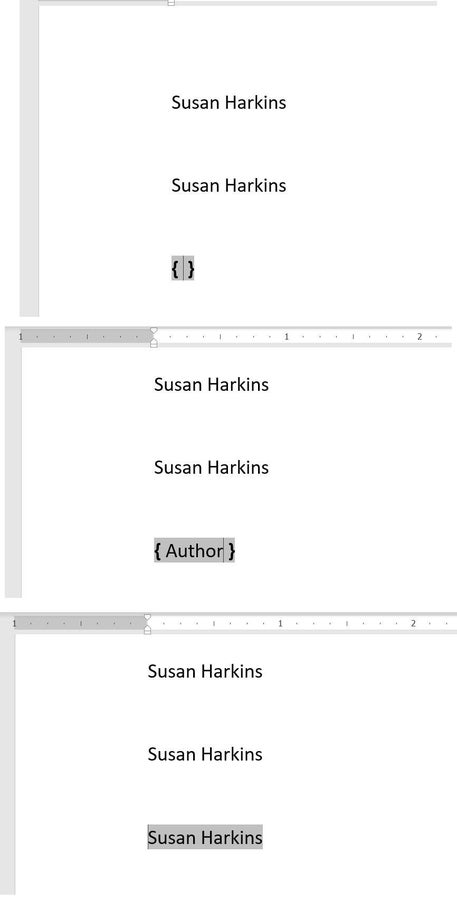
The third method is similar to the previous method. Press Ctrl + F9 to insert a pair of empty brackets and then type the field code and any switches. Let’s try this method with the same { Author } field:
- Position the cursor where you want to insert the field.
- Press Ctrl + F9 to enter a blank field, as shown in Figure E.
- Enter the field code Author inside the brackets and press F9 to calculate the result.
Figure E
Word displays a field’s results rather than the field code, by default. Right-clicking serves as a toggle to display the underlying field code instead of its result. Doing so converts only the one field, so this is an easy way to quickly edit only one field.
For a full list of field codes, visit List of field codes in Word.