


Image: PixelMe/Shutterstock
Must-read Windows coverage
- CrowdStrike Outage Disrupts Microsoft Systems Worldwide
- 10 Best Project Management Software for Windows in 2024
- Windows 10 Extended Security Updates Promised for Small Businesses and Home Users
- Securing Windows Policy
Microsoft Word isn’t a desktop publishing app, but it has a lot of design features that anyone can use to create professional looking documents, flyers, brochures and more. For instance, when you have a fun message, you might try filling text with an image. Doing so lets you create unique content with an eye toward design, instead of ordinary text. In this article, I’ll show you how to use a SmartArt text shape to achieve this look—text filled with an image.
SEE: 69 Excel tips every user should master (TechRepublic)
I’m using Microsoft 365, but you can use older versions. You can create your own document or work with the demonstration downloadable .docx file. The browser version will display filled text, but you can’t create it in the browser.
1. Add SmartArt shape
When working with shapes, you can use the Fill property with just about any photo or drawing. Ordinary text doesn’t have a Fill property as shapes do.
Instead of using ordinary text, we’ll use a SmartArt text shape. You don’t need to put a lot of thought into which shape, though. We need only one shape that displays text. We will end up deleting some pieces and resizing the one that’s left. The demonstration document uses Landscape orientation, but that’s not necessary.
SEE: Windows 10: Lists of vocal commands for speech recognition and dictation (free PDF) (TechRepublic)
Now, let’s insert a SmartArt text shape as follows:
- Click the Insert tab and in the Illustrations group, click SmartArt.
- Choose the first or second List shape, as shown in Figure A. Stay away from shapes with lots of bells and whistles because that’s all stuff you’ll have to delete anyway. The resulting shape is also shown. As you can see there are five shapes that you can use to display text. We only need one.
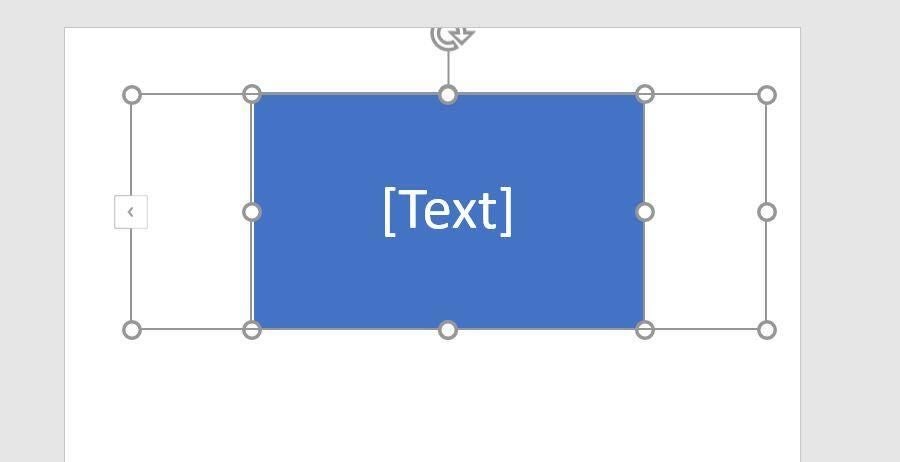
- Select four of the shapes and delete them. The remaining shape will fill the shape (Figure B).
- At this point, you have a larger shape box and a text box. Resize so they both stretch from the left to the right border.
Figure A
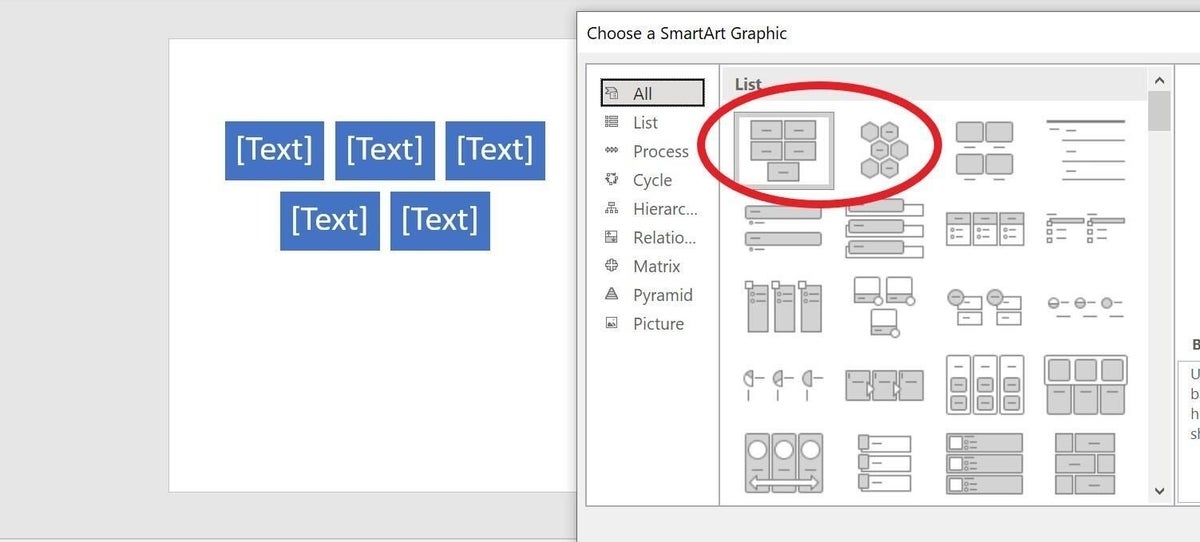
Figure B
Now that we have the SmartArt text shape, let’s add and format the text. Remember, we’re working with a text shape or box, not ordinary text.
2. Add and format the text
This step gives you lots of opportunities to be as creative or subtle as you like. The document’s mood will help dictate your choices. To follow along, enter TechRepublic into the text shape. Select the text and set the font size to 110 and click Bold. You can change the font if you like, but I didn’t. As shown in Figure C, you now have formatted text, ready to fill with a picture or drawing.
Figure C

3. Fill the text
Filling text is simple. The bigger issue is choosing the right picture. The sky really is the limit, but let the picture enhance your document’s content. Now, let’s fill the text with a picture as follows:
- Select the text.
- On the contextual Format tab, click the Text Fill dropdown in the WordArt Styles group.
- In the resulting dropdown, choose Picture.
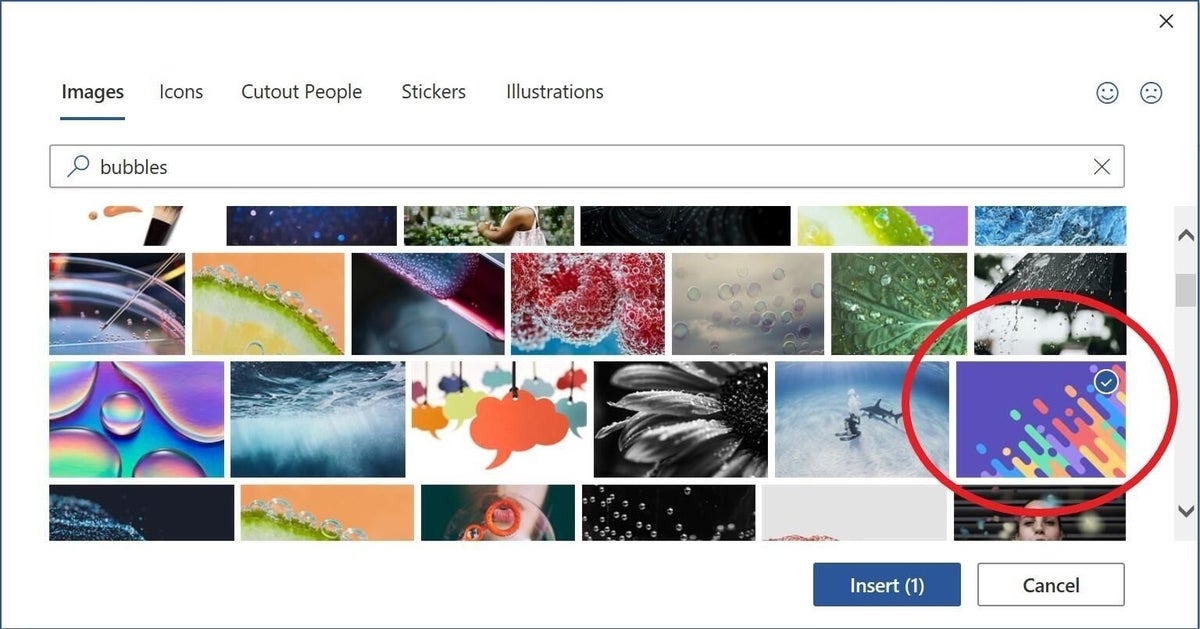
- In the resulting dialog, enter “Bubbles” as a search term.
- From the picture files, choose anything—I choose the circled graphic in Figure D.
- Click Insert.
Figure D
The picture fills the text, as you can see in Figure E, but it’s not effective because of the background. Let’s get rid of it. With the shape (not the text) selected, click the Shape Fill dropdown in the Shape Styles group (on the contextual Format tab). Choose No Fill. Figure F shows the filled text with no background.
Figure E

Figure F

I chose a colorful pattern, just for the fun of it. You’ll want to experiment a bit until you get the hang of it. The technique is easy to implement, but make sure the filled text enhances your document instead of distracting viewers.