Apple’s iconic iOS mobile device operating system used on iPhone and iPad devices is constantly evolving, being developed with greater management frameworks to ease both deployment and on-going support by IT staff.
Must-read Apple coverage
- Nearly 7 in 10 iPhone Owners Plan iPhone 17 Upgrade
- Apple Prepares AI-Powered Siri Upgrade With Google Search Integration
- Apple’s Xcode 26 Beta Now Supports GPT-5 and Claude
- Apple’s Vision Pro Adoption Stalled As Content Released ‘Drip by Drip’
While Apple’s Device Enrollment Program offers organizations direct, out-of-box support for new devices purchased from Apple, what about devices that already exist within the organization or that were not purchased through Apple? This is where Apple Configurator 2 shines as it was developed to manage the device from initial deployment through decommission.
Previous versions relied on settings to be implemented per session and only applied to the number of devices currently tied to a specific session. Blueprints (which act as a collection of settings, applications, and profiles) may be applied not only to devices part of the current session, but also saved for future use without having to be recreated each time deployment is required.
SEE: Hiring kit: IoS developer (Tech Pro Research)
Before moving forward with the blueprint creation process, there are a few requirements necessary to ensure your blueprints are configured properly:
- Apple computer running OS X (10.11 or newer)
- Apple Configurator 2 application
- Latest version of iOS for your supported devices (Optional; Highly recommended)
- Apps for supported iOS devices
- Pre-configured profiles for supported iOS devices
- Broadband internet access (Optional; Highly recommended)
With the requirements out of the way, let’s proceed with creating our first template (or blueprint).
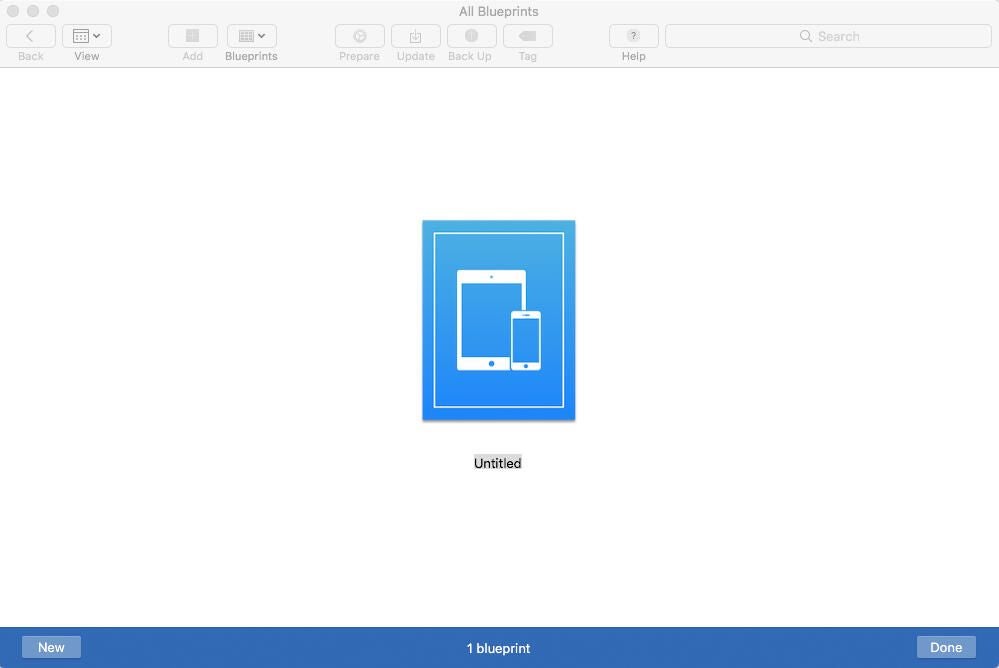
1. Launch Apple Configurator 2 app. Click on File | New Blueprint to launch the blueprint template. Enter a descriptive name, then double-click the template to open it (Figure A).
Figure A
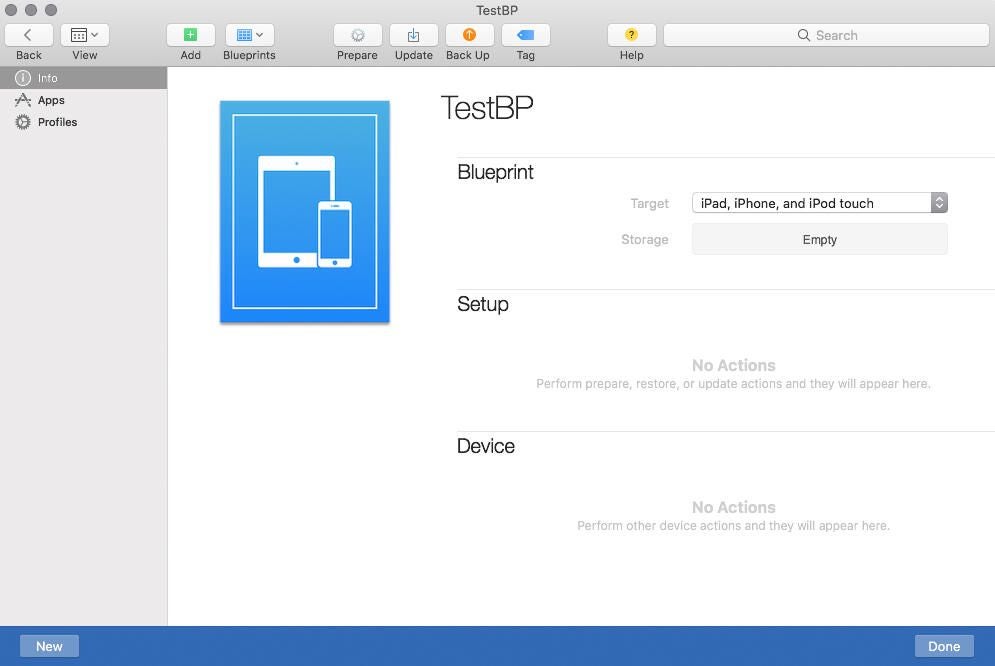
2. The first section – Info – provides information on any connected devices (if any) present. Though devices do not need to be connected during the blueprint creation process, if requiring certain function such as restoring iOS, you will need to have at least one device connected. Otherwise, by selecting the drop-down menu next to Target, you can stipulate which devices to target with the blueprint (Figure B).
Figure B
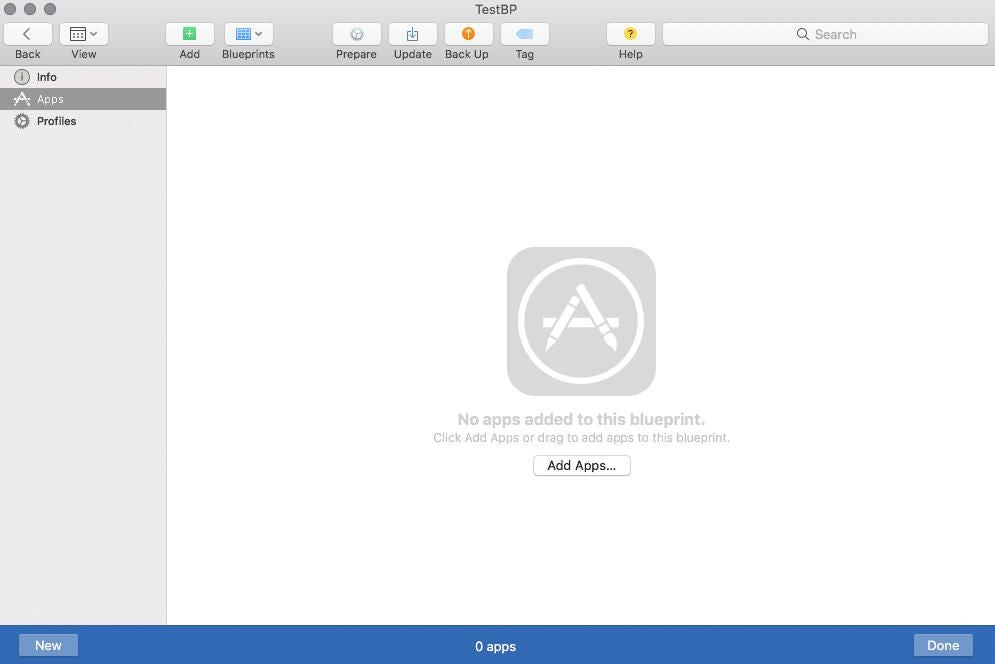
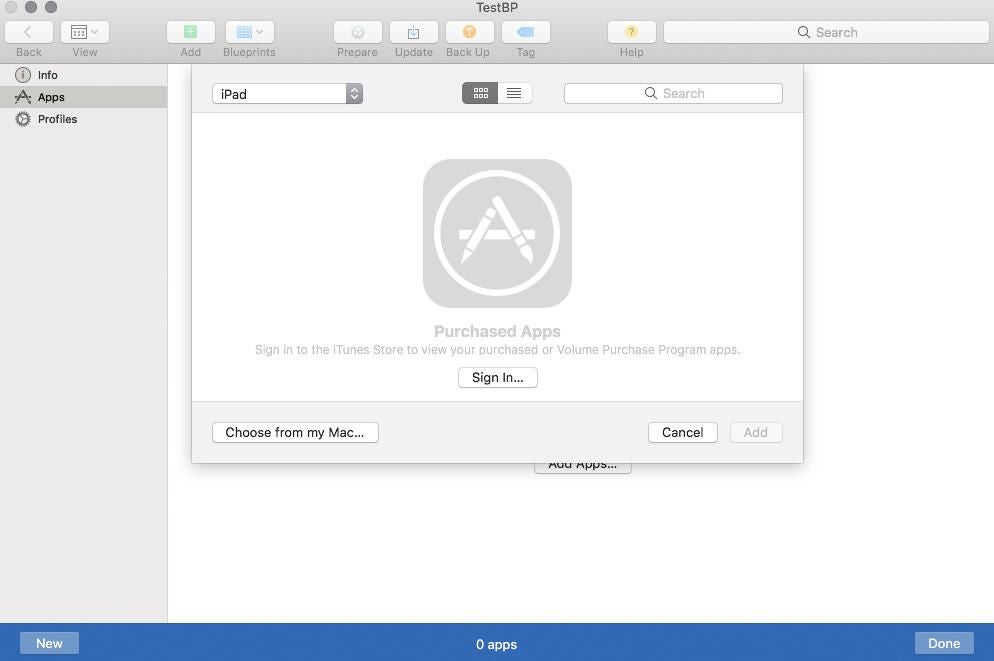
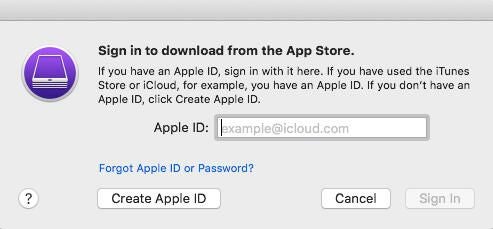
3. Section two – Apps – allows IT to pre-populate the apps to be included with the blueprint to ensure that each device to be deployed will have the necessary applications pre-installed. Click the Add Apps… button to launch a window to either search your computer for previously downloaded apps stored locally or click the Sign In… button log in with your Apple ID to obtain a list of apps that are linked to that account (Figure C)(Figure D)(Figure E).
SEE: How to become an iOS developer: A cheat sheet (TechRepublic)
Figure C, Figure D, Figure E
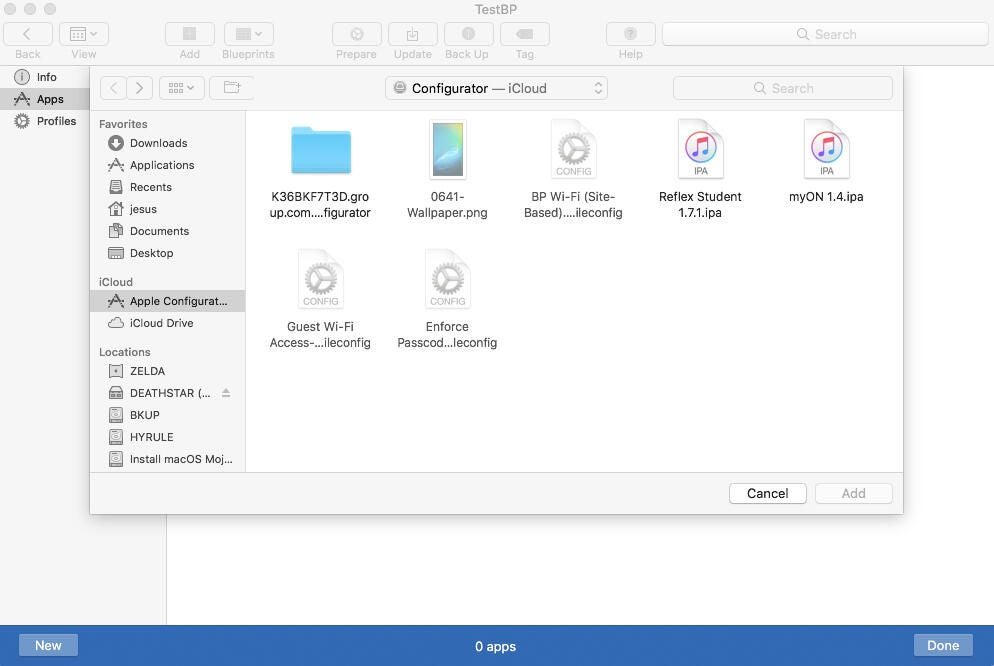
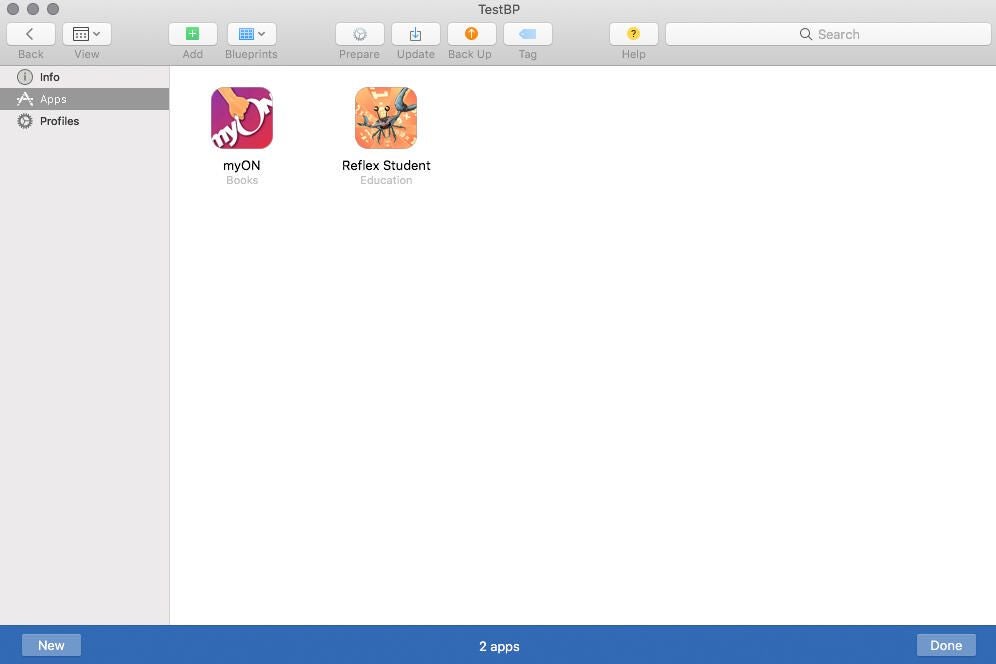
4. Additionally, if you are utilizing iCloud to manage settings for Configurator apps and settings along with assets to be included in blueprints you can store them all there. After locating the apps to be included, select them and click the Add button, and they will be included in the apps section. Repeat the app adding process until all desired applications are copied to the blueprint (Figure F)(Figure G).
Figure F, Figure G
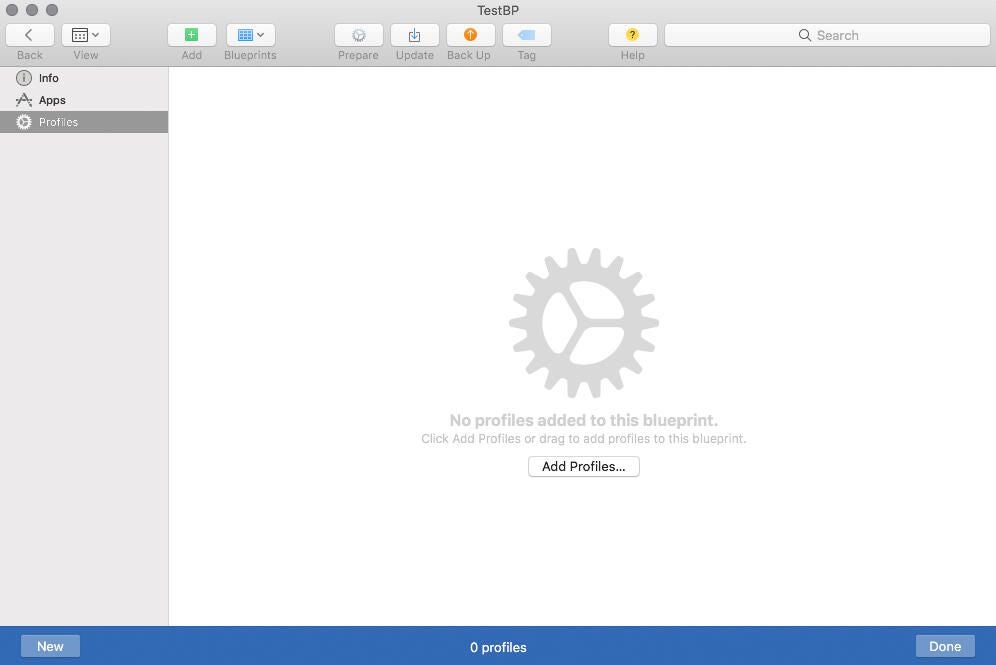
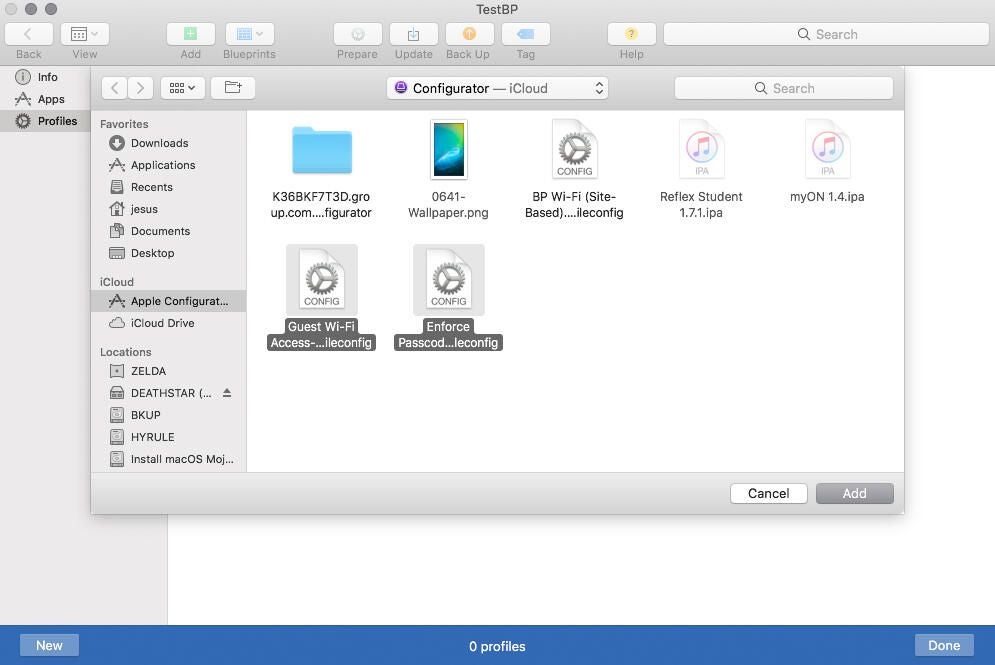
5. The final section is Profiles, where any configuration profiles that were previously configured, such as wireless network configurations, security settings, or email server account settings are located. Click the Add Profiles… button to navigate to the location where the profiles to be added are stored. Select your profiles, then click the Add button (Figure H)(Figure I).
Figure H, Figure I
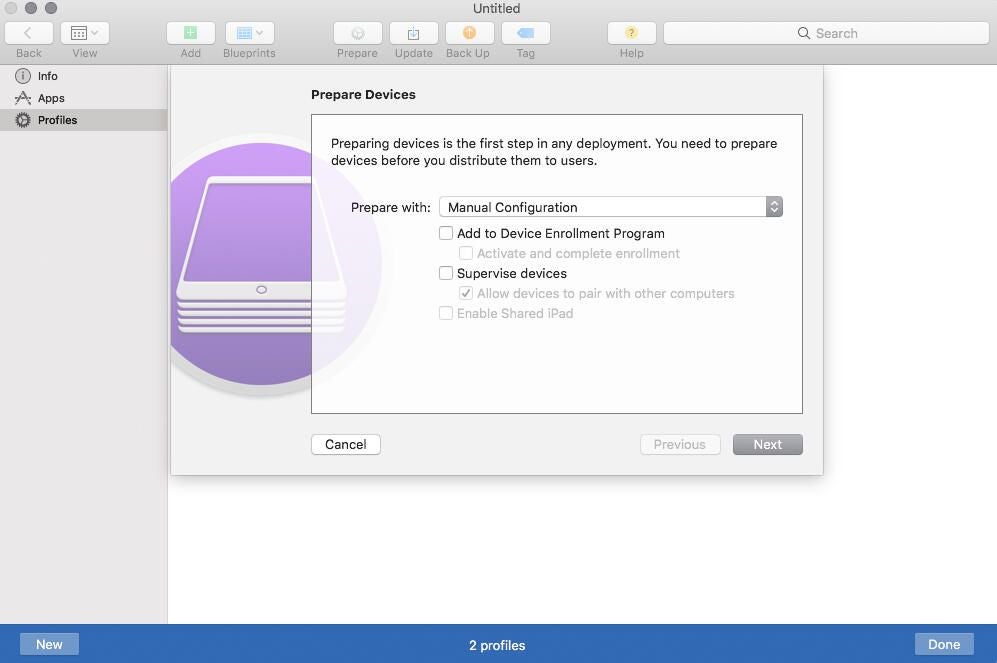
6. Once all apps and profiles have been imported, click the Prepare button on the toolbar to enter the final phase of the blueprint creation process (Figure J).
Figure J

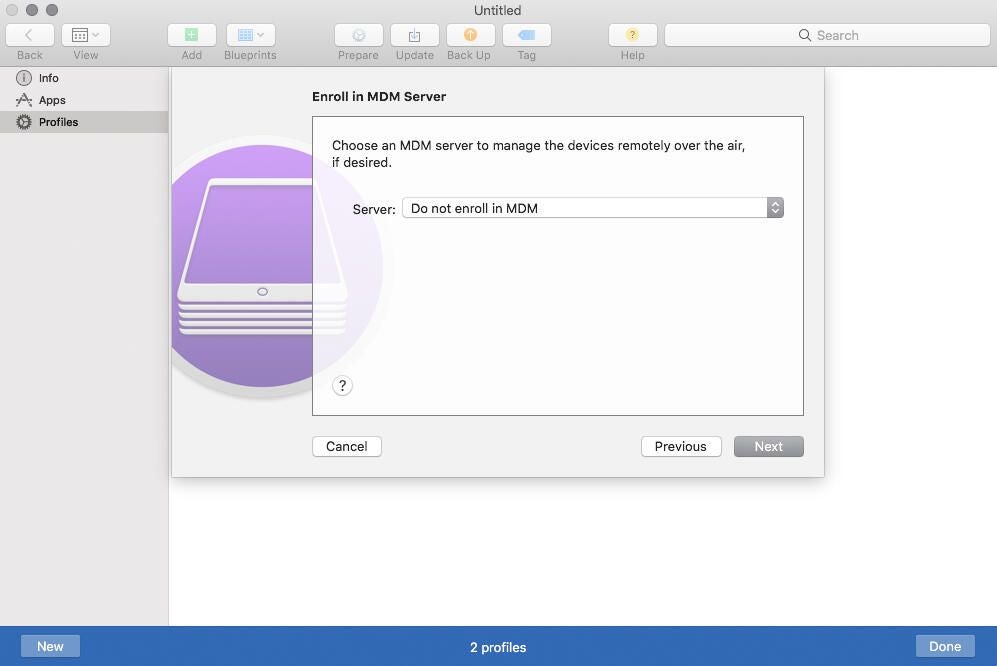
7. A wizard will appear and prompt you for a few pieces of information before finalizing the blueprint. While it is not required to have any of the following items set up, it does facilitate for an easier management process– post-deployment–if any of the settings are available during the prepare process, including adding the device to DEP or whether devices should be supervised prior to deployment. Click the Next button after entering the MDM Server information (Figure K)(Figure L).
Figure K, Figure L
8. On the next page, the Organization section is used to add information that will be used to display an organization’s contact information. Click Next to proceed (Figure M).
Figure M

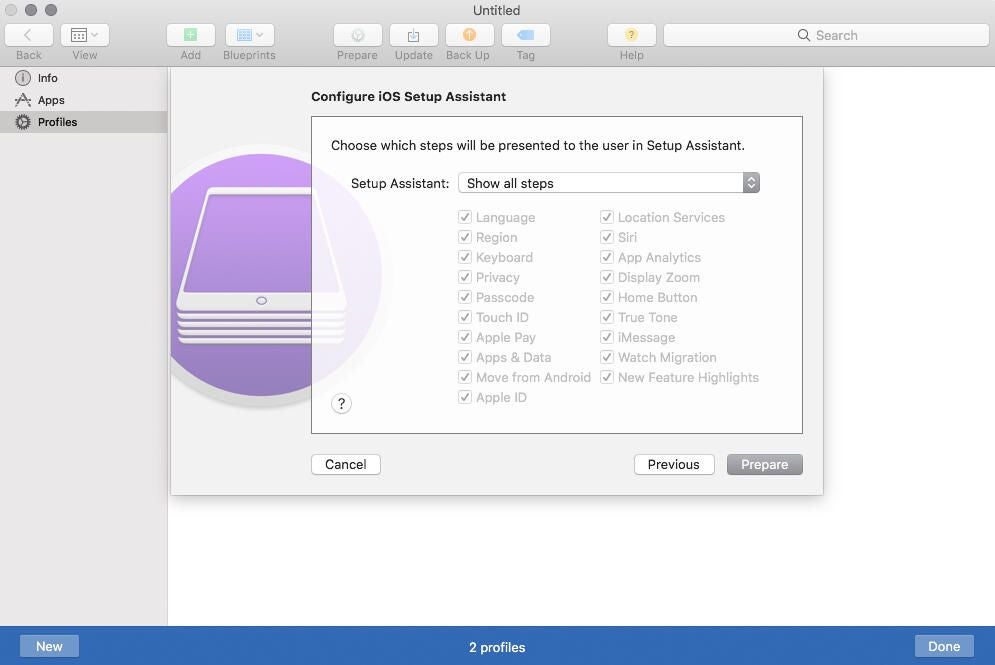
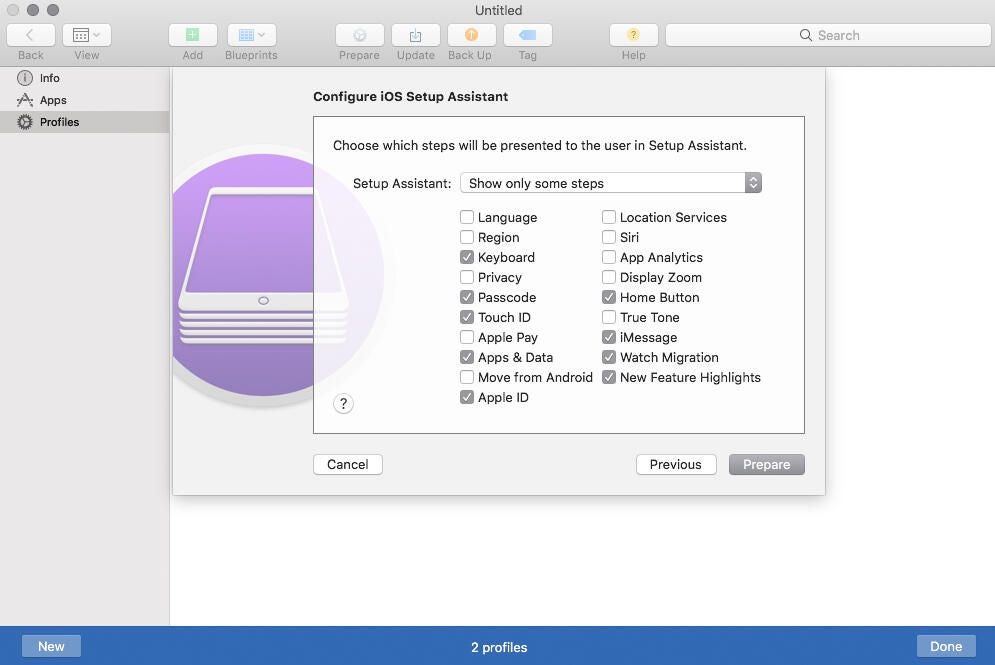
9. The final one is the Configure iOS Setup Assistant page. The settings here are enabled/disabled by using checkboxes that directly impact the Setup Assistant screens the end user will see when receiving the newly deployed devices. By selecting the Show only some steps from the drop-down menu next to Setup Assistant, IT may enable which steps users will view and ultimately be able to configure. Click the Prepare button to complete the process and save your blueprint (Figure N)(Figure O).
Figure N, Figure O
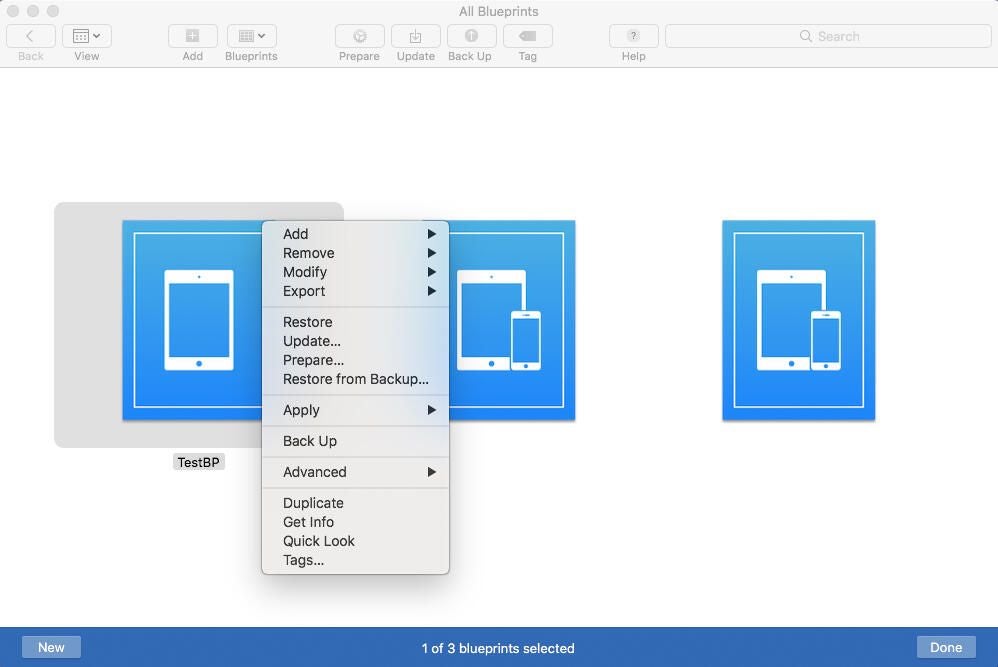
Once the blueprint is saved, it can be brought up any time by selecting it from the list of blueprints. By right-clicking the blueprint, IT may modify, add, or remove items to/from it. Also, when devices are connected to Apple Configurator, the blueprint selected may be applied to these devices so as to configure them according to the information stored within the blueprint (Figure P).
Figure P