


Illustration: Andy Wolber/TechRepublic
A video can be a great way to show people how to accomplish a technical task on a Chromebook. For example, a video might document how to adjust Chromebook settings, add Google Docs add-ons, or search for information on Google Drive.
However, video files can be very large. Unfortunately, not everyone who works, teaches, or learns has access to a high-speed internet connection without any data usage limits. Even if people download and save files for reference later, video files can consume significant storage space.
What's hot at TechRepublic
- Blackpoint Cyber vs. Arctic Wolf: Which MDR Solution is Right for You?
- Why AWS Sellers Choose Deepgram Over Other Voice AI Tools
- SS&C Intralinks DealCentre AI vs. Datasite: Which platform is built for the future of dealmaking?
- SS&C Intralinks FundCentre AI vs. Juniper Square: Which platform better supports modern private markets fund managers?
- Verito vs. Rightworks: Which IT Provider Is Best for Your Firm?
Animated GIFs offer the potential to convey action at smaller file sizes than video. For example, a technical support team member might record a series of instructions in video, then convert the video into one or more GIFs. The limitation, of course, is that a GIF omits audio. So the use of a GIF as an alternative to a video file, such as an MOV or MP4 file, only makes sense when the video doesn’t require an audio track.
Follow the steps below while signed in to your Google account on a Chromebook to record your screen, convert your video to a GIF, then share that GIF with other people.
SEE: Google Sheets: Tips and tricks (TechRepublic download)
1. Minimize distractions
Before you record, reduce the number of potential on-screen distractions (Figure A). On a Chromebook, this means you might:
- Turn off the bookmark bar (Shift+Ctrl+B).
- Set the shelf to auto-hide (put the cursor over an empty spot on the shelf, tap on the touchpad with two fingers, then two finger tap on the touchpad, then select Autohide Shelf).
- Close any non-essential tabs.
- Hide non-essential extensions (tap or click on select the extension icon, which looks like a puzzle piece, then un-pin any extensions you don’t need displayed).
Figure A

2. Enhance cursor focus
Optionally, you might modify the cursor settings to draw attention to the cursor in your recording. These changes may make it easier for viewers to track on-screen mouse actions. To modify the cursor settings, first click on the displayed time (typically in the lower-right corner on a Chromebook), then select the gear (or sprocket) to access settings. In the settings search box, type cursor then press Enter. This should display your Chromebook’s mouse and touchpad accessibility settings (Figure B).
I suggest you:
- Enable the slider next to Show Large Mouse Cursor, then adjust the slider to an appropriate size (e.g., maybe about one-quarter of the way from the left).
- Select an alternate Cursor color (e.g., from Black to Red) from the drop-down options.
- Enable the slider next to Highlight The Mouse When It’s Moving. This displays a red circle around the cursor when in motion.
Figure B
3. Make your screen recording
Next, use your preferred method of recording your screen. I use Loom, which I’ve covered previously. The free version of Loom limits each recording to no more than five minutes. Start your recording, capture whatever sequence of steps you wish, then stop your recording (Figure C).
Figure C

4. Trim and/or edit as desired
With my screen recordings, I often need to delete portions of the recorded sequence. That means I end up cutting recorded video both from the start and end of the recording. Loom lets me select and trim sections of my screen-recording. The goal is to have your video include only the specific actions needed for a task. Make sure to leave in a moment surrounding your actions for people to spot your cursor. For additional browser-based editing tools, explore Kapwing.
When finished editing, save your video to your Chromebook or to Google Drive.
5. Convert your video file to a .GIF
Next, use CloudConvert.com to convert your video–typically in .MOV or .MP4 format–to an image in .GIF format. Either upload the video to CloudConvert, or, if you or an administrator have connected CloudConvert to your Google account, select the file on Google Drive, choose the three-vertical dot “more” menu, choose Open With and pick CloudConvert.
Once the file is at CloudConvert.com, select the drop-down options to the right of Convert To, choose Image, select GIF, then Convert. The system will process your video file and convert it to a GIF image file. In one example I tested, a 2.9 MB .MOV video file converted into a 1.5 MB .GIF image file.
Be careful, though. Sometimes the resulting GIF is larger than your original video file! If you prefer, you may select the wrench-icon before you press Convert. Specifically, you might change either the resolution or FPS (i.e., fewer frames per second, which results in more “jumps” in the image, but a smaller file) (Figure D). Since Loom typically records at 1280 x 720 (720p), a conversion to either 1024 x 576 or 960 x 540 would result in a lower-resolution, smaller file, while still maintaining the same aspect ratio. Experiment with different settings until you find a resolution and FPS rate that produces an acceptable file size and file viewing experience
Figure D

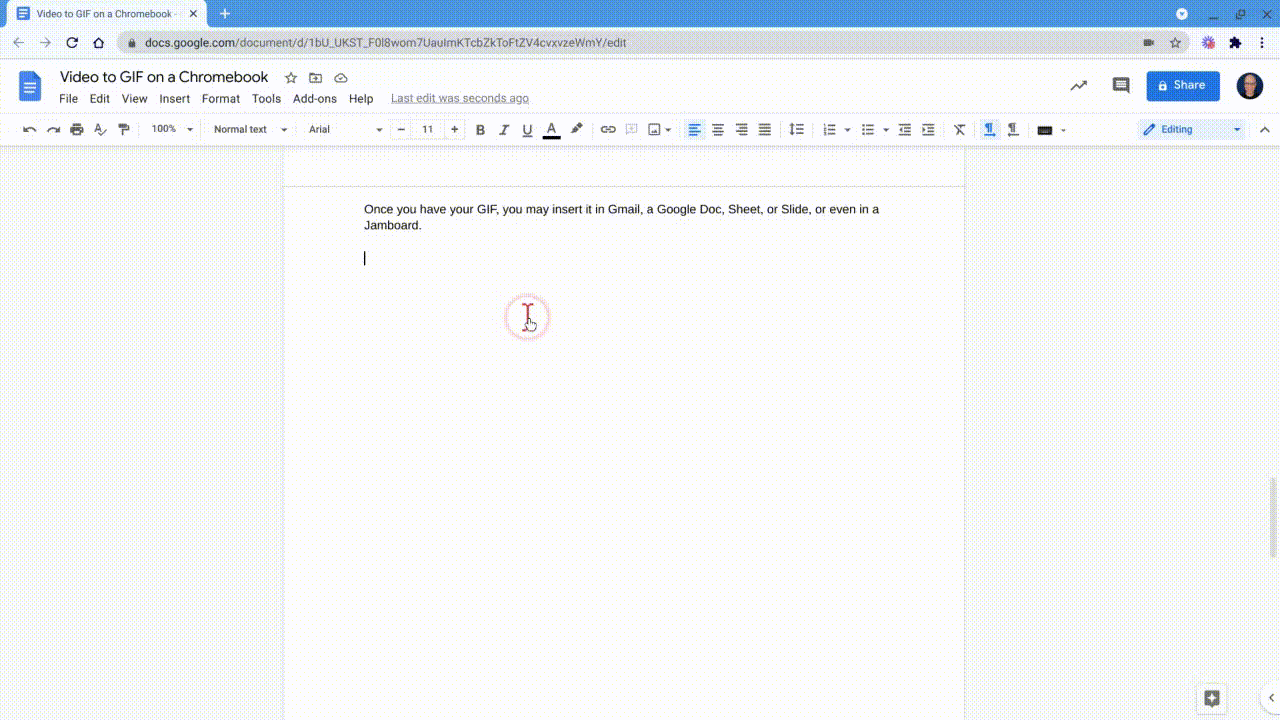
6. Insert your GIF
Once you have a GIF, you may insert it almost anywhere images are accepted, such as in an email in Gmail or in any Google Docs, Sheets, or Slides file (Figure E). As an added benefit, when any of those items are saved for offline access, the GIF will continue to display.
Figure E
What’s your experience with video and GIF files on a Chromebook?
How often do you share screen-recordings with other people to show them how to complete a task? Have you experimented with converting video segments into GIFs? Do you maintain a library of GIFs to address frequently asked “how do I do this” questions? Let me know what tools you use to record, edit, and convert video to GIFs on a Chromebook, either in the comments below or on Twitter (@awolber).