


Illustration: Andy Wolber/TechRepublic
Behind the scenes, a Google Workspace administrator takes all sorts of actions before a new addition to the organization begins work. This includes hundreds of configuration settings that affect how the various Google Workspace apps operate. And, it also means the creation of an account for each person new to the organization.
What's hot at TechRepublic
- Blackpoint Cyber vs. Arctic Wolf: Which MDR Solution is Right for You?
- Why AWS Sellers Choose Deepgram Over Other Voice AI Tools
- SS&C Intralinks DealCentre AI vs. Datasite: Which platform is built for the future of dealmaking?
- SS&C Intralinks FundCentre AI vs. Juniper Square: Which platform better supports modern private markets fund managers?
- Verito vs. Rightworks: Which IT Provider Is Best for Your Firm?
However, an additional task remains on the very first day people join the organization: the need to help people get set up, signed in and ready to work. It’s easy to overwhelm people with too much information in one session — especially on their first day.
The following five steps are the ones I’ve found strike a nice balance between too much and too little information. These steps, specifically, are ones I suggest you use to help people who are setting up Google Workspace on a Windows or macOS desktop or laptop. (Chrome OS and mobile device Google Workspace setups require different steps, which I’ll cover separately soon.) So, on the first day that someone joins your organization, I recommend you have someone on the IT team help the new person through the following activities and information.
SEE: How to use Google Meet (free PDF) (TechRepublic)
1. Install and sign in to Chrome
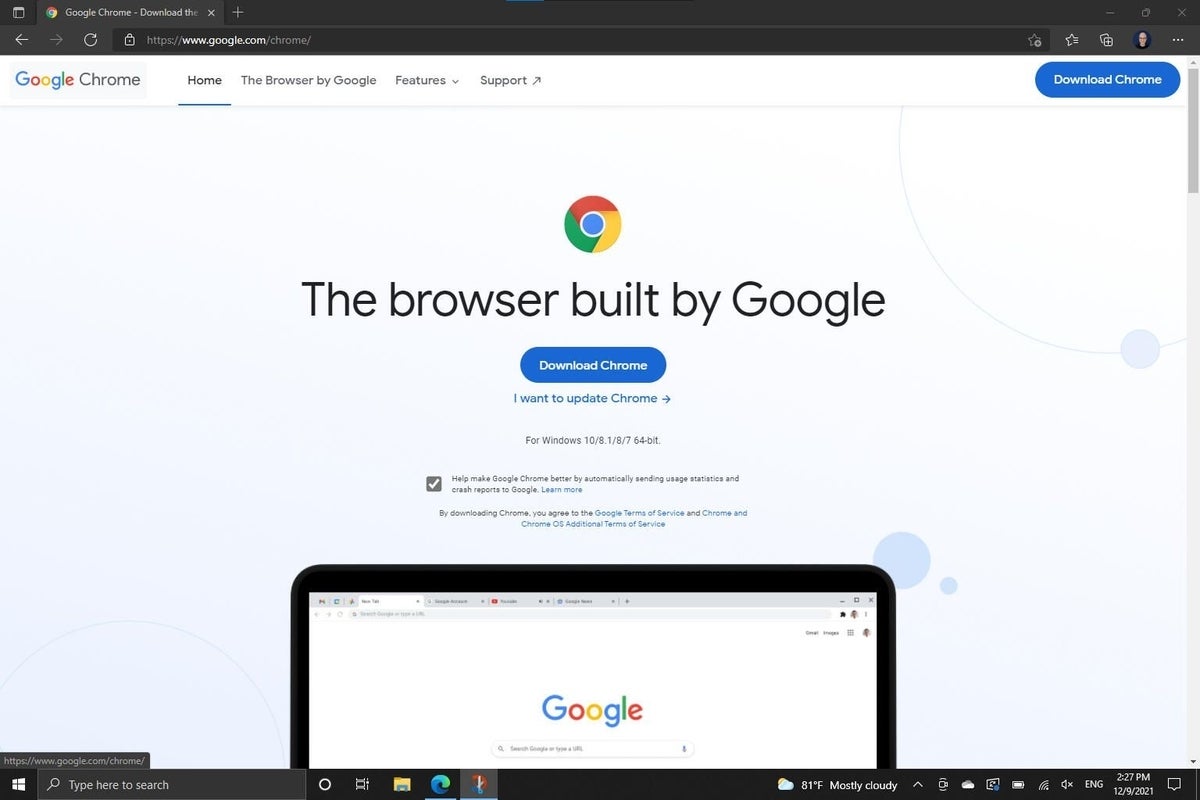
First, download and install Chrome (Figure A). Google Workspace apps work in most modern desktop browsers, such as Safari, Microsoft Edge and Firefox. But some features, such as offline access for Gmail and Google Calendar, work only with Chrome. I strongly recommend that people who use Google Workspace for work or school on a computer do so while signed in to Google Chrome.
Figure A
After you have installed Chrome, sign in to your Google Workspace account in Chrome. I recommend you allow Chrome to sync your settings. This allows bookmarks, history and other settings associated with your account to sync across systems. Should you ever sign in to Chrome on another computer, sync helps provide a consistent experience in Chrome not only across different devices (e.g., a desktop and a laptop), but also across different operating systems (Windows, macOS, etc.).
2. Install and sign in to Google Drive for Desktop
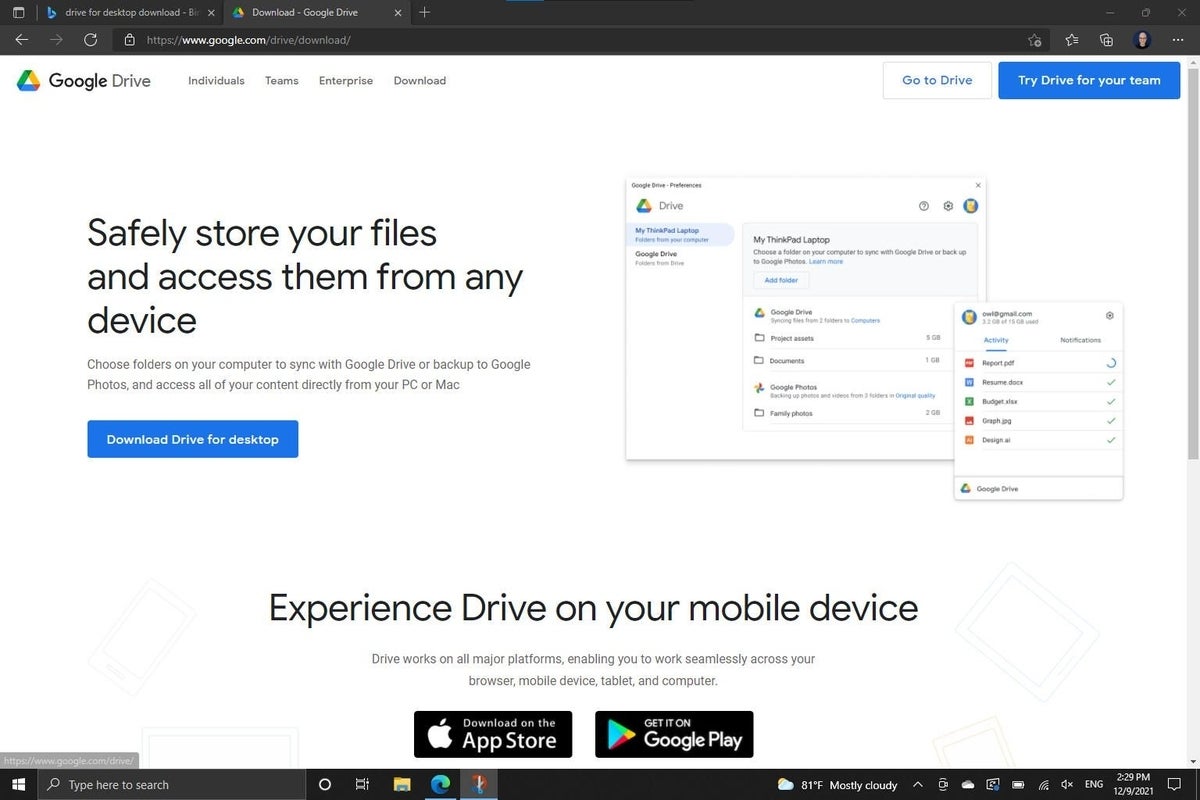
On Windows and macOS systems, I recommend that you download and install Google Drive for desktop (Figure B). Once installed, you may browse, open and save files stored on Google Drive much as you would access files stored on your computer. Drive for Desktop makes it much easier for people to use Google Drive not only with Google Workspace apps, but also with locally installed applications. For example you may create a new document with Microsoft Word locally and then save it to Google Drive. And, of course, Drive for Desktop lets you browse and work with Google Docs, Sheets and Slides files.
Figure B
3. In Gmail, enable Chat and Meet
With a tweak of two settings, Gmail can serve as the central communication hub not only for email, but also for chat and web meetings. In Gmail, select the Settings sprocket | See All Settings | Chat And Meet (tab), then make sure that Chat is set to Google Chat (not Off) and Meet is set to Show The Meet Section In The Main Menu (Figure C). Select the Save Changes button to make both Chat and Meet available in Gmail.
Figure C

Additionally, when I help someone get started with Gmail, I typically point out four items on the page:
- The Compose button, to create new email
- The Search box and Show Search options icon, to find email
- The side panel, for access to Calendar, Keep and Tasks within Gmail
- The app launcher, to access Workspace and other apps
SEE: Google Workspace vs. Microsoft 365: A side-by-side analysis w/checklist (TechRepublic Premium)
4. In Calendar, configure time zone and working hours
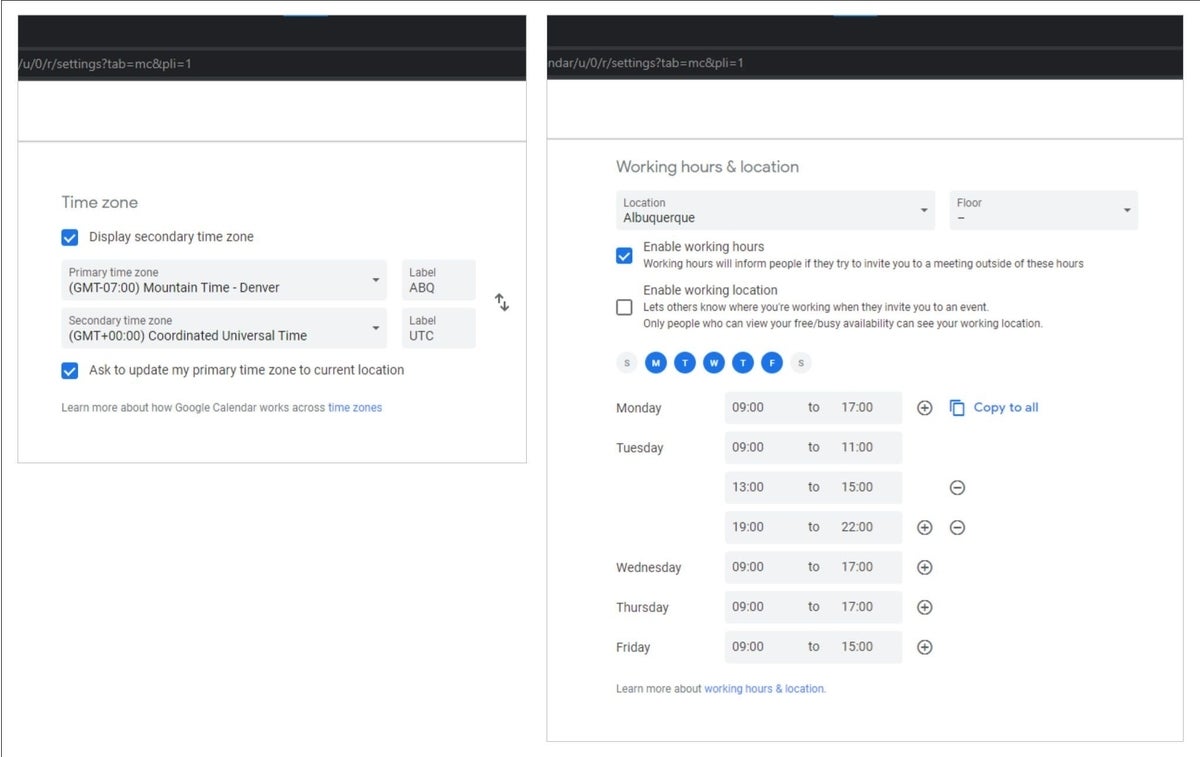
When you properly set both your time zone and working hours in Google Calendar, you at least help reduce the chances that you’ll be accidentally invited to meetings at inconvenient times. In Calendar, select the Settings sprocket | Settings, then scroll to the Time Zone. Adjust it, if needed, to accurately reflect your location (Figure D, left). Optionally, you might also choose to display a secondary time zone. Typically, this might be either a location where many of your colleagues work or UTC / Coordinated Universal Time. Scroll down to Working Hours & Location (if available) and select Enable Working Hours. Customize the hours for each day to reflect your standard schedule (as shown in Figure D, right).
Figure D
When I help someone get started with Google Calendar, I typically point out:
- The View switcher, to change the time-span displayed
- The Add Other Calendars option, to discover and display a colleague’s schedule
SEE: How to use Google Calendar: 6 tips (TechRepublic)
5. Briefly introduce users to Google Drive
With those two essential configuration changes made, I proceed to introduce people to Google Drive. That means opening Google Drive and covering the basic differences between My Drive, which holds folders and files you may access (but that may or may not be shared with other people), and Shared Drives, which holds folders and files with access levels that vary based on each Shared Drive member’s permission level (Figure E, left-side menu).
Figure E
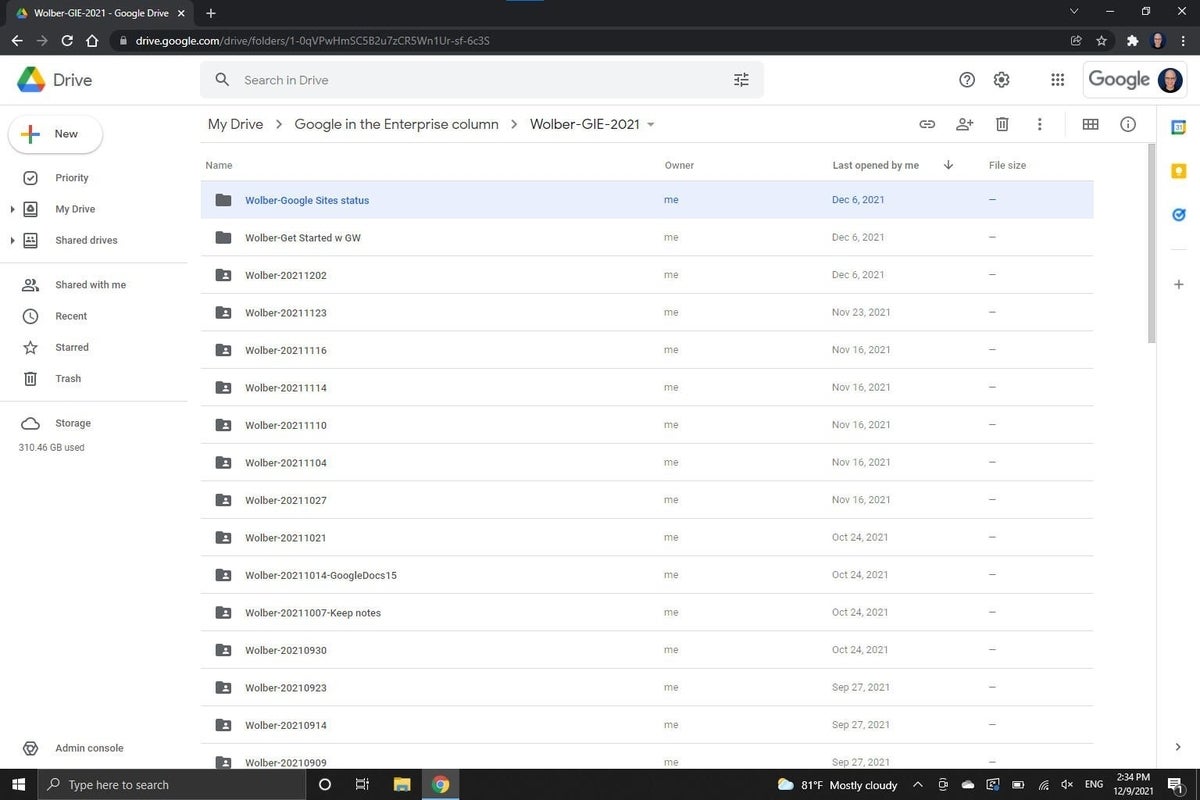
While on Google Drive, I also typically ask the person to select My Drive, then click on the + New button. This brings up a menu that offers options to make a new folder, upload items or create a new file (new Google Docs, Sheets, Slides, Forms, etc.).
I suggest you also point out the search box (and search options icon) and the app launcher icon.
SEE: How to get started with G Suite shared drives (TechRepublic)
What steps do you recommend?
Of course, there are many other setup steps that a person new to Google Workspace might find helpful. Some people set Chrome to automatically open Gmail as the homepage. Others bookmark frequently used Workspace apps (e.g., Gmail, Calendar, Drive, Docs). Often, people configure Gmail, Calendar and Drive for offline access.
What steps do you take when you help people get started with Google Workspace on their first day in your organization? Do you cover a much longer list? Or do you focus on far fewer setup steps? Let me know what core Google Workspace knowledge you cover, either with a comment below or on Twitter (@awolber).