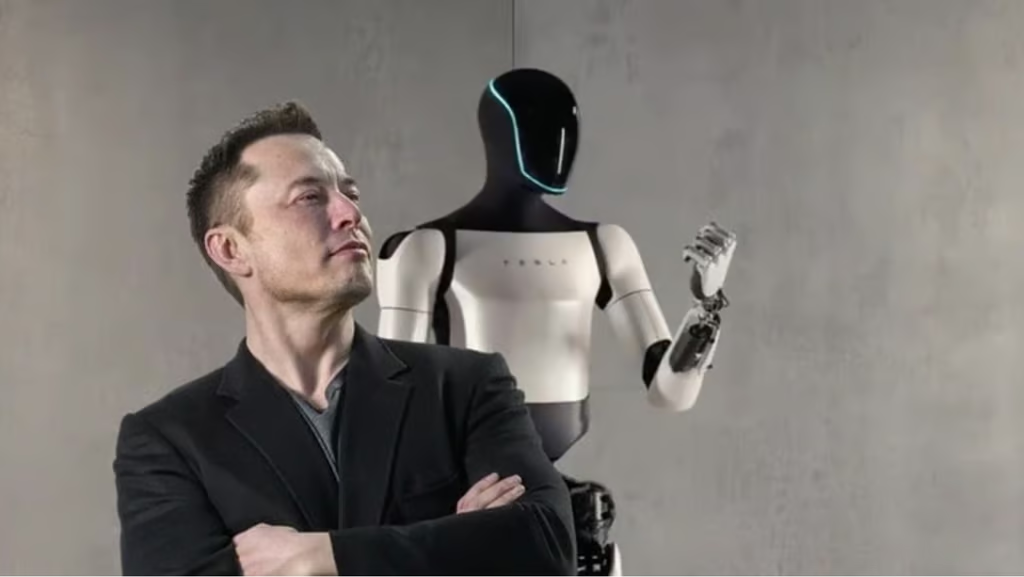
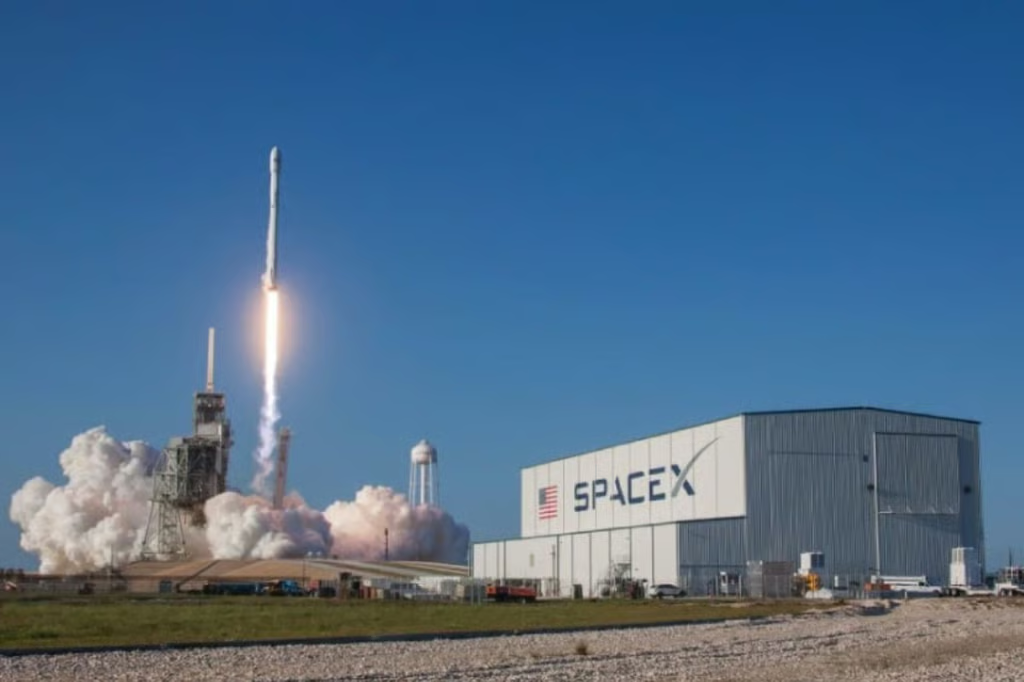
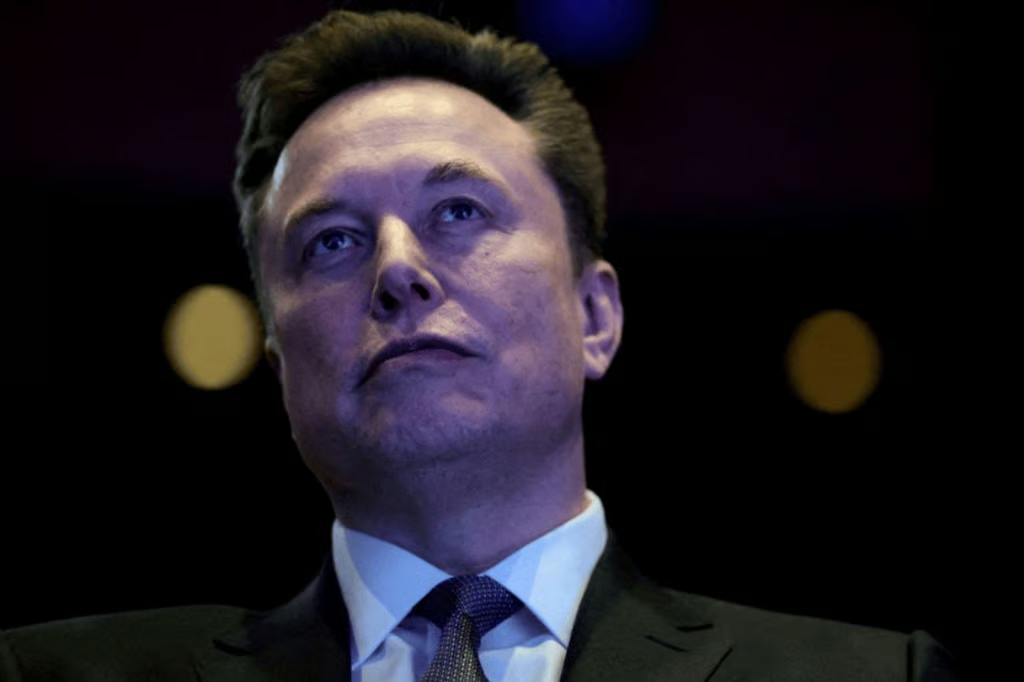
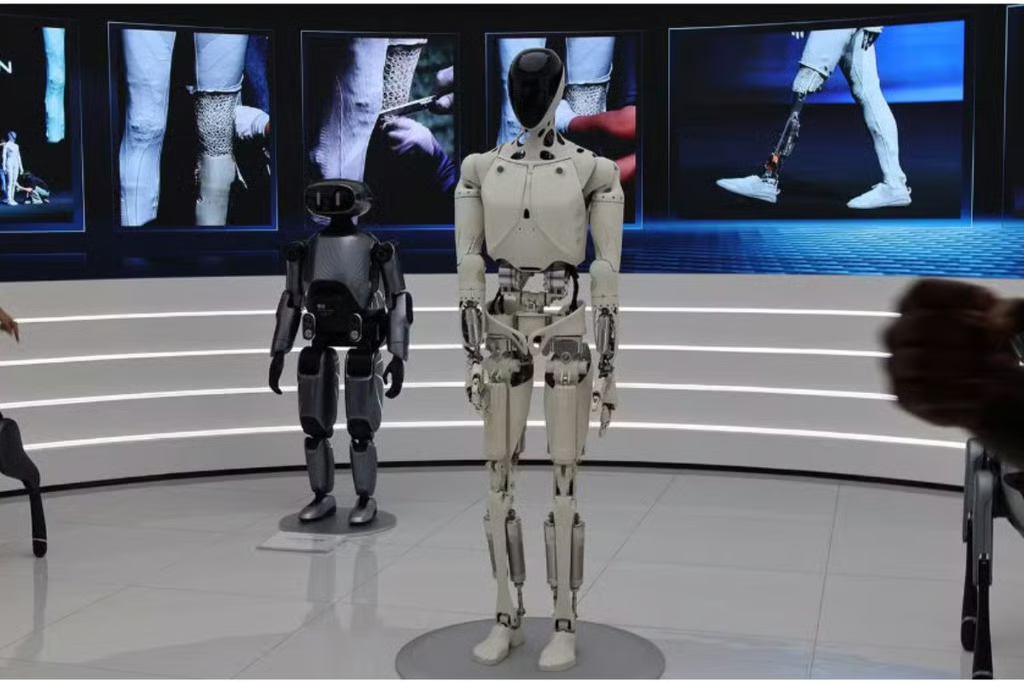
In the previous installment of this series, we covered why a home lab might be of interest to a technology leader: It’s a laboratory in a box of sorts that allows you to experiment with new and emerging technologies and get reconnected with the technologies that underpin today’s digital transformation initiatives.
SEE: Tech projects for IT leaders: How to build a home lab, automate your home, install Node-RED and more (free PDF) (TechRepublic)
With your hardware selected, which might range from a garage-sale desktop that would otherwise end up in a landfill, to an end-of-lease, enterprise-grade server from eBay, to a custom designed and built home server, it’s time to consider software. Luckily there are several options available at low or no cost, each of which supports the game-changing service that’s made home labs far more useful: virtual machines and Docker.
Editor’s note: This is the second in a six-part series of tech projects for IT leaders. See the other installments: How to build a home lab, How and why to add Node-RED to your home lab, How to use RESTful APIs with Node-RED and How to build a home automation project with RESTful APIs in Node-RED. Stay tuned for more tech projects for IT leaders.
Virtual machines and Docker: the magic in your home lab
At a basic level, virtual machines and Docker do the same thing: They allow you to run multiple virtual servers on a single piece of hardware. This allows my humble coat-closet home lab server to run what would have once taken a rack full of servers, and experiment with connecting and integrating those services and easily starting over when I’m finished or misconfigure something to the point that it’s not easily fixable.
SEE: How to apply “platform thinking” to your tech strategy for greater success (TechRepublic)
Where they differ is that a virtual machine is a software version of a complete physical server, including the hardware, operating system, and applications. Docker provides containers that share core functions. Put simply, if I have five VMs, I am running five operating systems that provide core functions like networking and file storage. If I’m running five Docker containers, the networking and file storage is shared between them. Docker simplifies installation and maintenance of new services, since you don’t have to worry about the underlying operating systems of each.
In my home lab, I look for a Docker container first to experiment with a new service. The only two exceptions are when a Docker is not available, or if I want to experiment with an operating system itself. I can run nearly any OS in a VM, from Linux to Windows.
Selecting your home lab software
While the applications you run inside Docker and VMs are what makes a home lab interesting, you do need a core operating system that powers your home lab server and provides Docker and VM services. If you buy a prebuilt NAS server from a company like QNAP or Synology, they will already have all the software you need installed, including Docker and a VM service.
SEE: Want to build a home lab for containers and virtualization? Consider mini PCs (TechRepublic)
If you’re using your own hardware, there are several free and low-cost options, primarily:
- DIY: Install your choice of free operating system (usually a Linux variant), Docker, KVM, and support tools. This option provides the most flexibility but requires the most configuration and maintenance.
- FreeNAS (changing its name to TrueNAS in late 2021): A storage-focused freemium OS that provides network storage options and VM/Docker hosting.
- ProxMox VE: A free VM/Docker-focused platform that’s enterprise-focused.
- unRAID: A low-cost ($60-$130 depending on storage devices, 30-day trial available) OS that provides storage, Docker and VM hosting, and a robust community.
- VMware ESXi: A free version of VMware’s virtual machine platform. This is helpful if you’re focused on learning VMware’s tools but focused primarily on running VMs rather than providing a full home lab.
After several years with a QNAP device, I switched to my own hardware and unRAID about two years ago, and recommend it for most users. While it’s not free, I’ve found unRAID to have two significant benefits for home lab users.
First, it strikes a good balance between capabilities and user-friendliness. UnRAID doesn’t aspire to be enterprise-grade software, making it a bit more approachable than the other choices.
Secondly, there’s a robust community around unRAID that can be accessed through the company’s online forums, YouTube videos (primarily from SpaceInvader One) and Reddit groups. Anything you’d like to experiment with, from home automation, to reverse proxies, to artificial intelligence and security cameras is likely available and documented. Thousands of Docker containers are easily accessed through an app store that’s available once you install the Community Applications plugin. Consider the $60 price of admission a down payment on hours of time and frustration saved.
SEE: Try adding ambition to your department’s goals to gain better clarity (TechRepublic)
The other nice feature of unRAID is that the operating system itself runs from a USB thumb drive, so you can boot unRAID on an existing machine, experiment a bit (just be sure not to erase any existing hard disk drives until you’re ready), and see if unRAID makes sense for you. UnRAID offers a helpful Wiki on getting started, and if you’re more visually oriented, there’s a Spaceinvader One overview of installing the OS as well.
What’s next?
With your OS of choice installed, you can embark on some simple home lab projects immediately. If you’re using unRAID, FreeNAS or QNAP/Synology, a simple initial project is setting up a network file share for storing large files. This can be very helpful for video or large image files that are too large for cloud storage services, and your home lab can ultimately serve as a way to share content among family members or across devices in your home. For an initial experiment with Docker, I’d suggest installing the netdata Docker, a simple package that provides monitoring and charting of your home lab performance.
For more advanced projects, start by following tutorials from the aforementioned resources, and you’ll start to get a feel for how your OS works and what’s possible with your home lab. I’ll also be sharing projects that I’ve found rewarding in future projects for tech leaders.

Image: iStock/Chainarong Prasertthai